Fabric Scrap Mâché Bowls

As a parent, there are few things I value more than creativity. I’m not the type to save my childrens’ hair or teeth or clothes, but I have never discarded anything they’ve created to completion. If you’ve followed me for a while and know how intentional I am about keeping a pared down living environment, this may surprise you. To be honest, sometimes it surprises me. But since they were born, I’ve kept and stored just about every drawing, painting, and sculpture they’ve made.
Although I love encouraging creativity, I sometimes cringe thinking about how much waste comes with the territory. As long as I can remember, I’ve tried to source natural materials that can be easily recycled or composted (think: wool, cotton, beeswax, wooden pencils). But more recently, I’ve made an effort to stock our art room with materials that can be reused, upcycled, and repurposed, both to reduce how much waste we create and to give used materials a second life. These fabric scrap bowls are the perfect example of how we repurposed stuff most people would throw away to make something beautiful and practical.
Unlike most craft projects that clutter your environment when you put them on display, these bowls do just the opposite and help declutter and organize your a space. We recently made four and use them to sort art supplies, jewelry, natural objects, and other non-consumable nick nacks. We also used fabrics that match the aesthetic of our home, so they look really nice hanging out on a shelf or a desk in any room of the house.
To make these bowls, we used the paper mâché technique (a crafting technique that uses paper and paste to create a variety of objects), but instead of using paper and glue, we used fabric and modge podge. If you’ve ever made a piñata, you’re probably familiar with this method; if not, the instructions below will walk you through it step by step.
I want to apologize in advance for not including a photo of each step of the process. I jumped right into this project with my daughter and, within minutes, my hands were too sticky and messy to handle my camera. If the directions are confusing, feel free to contact me in the comments below - I’m happy to walk you through then. Enjoy!
Materials
balloons (one per bowl)
modge podge
Mug
paint brush
fabric scraps
scissors
Directions
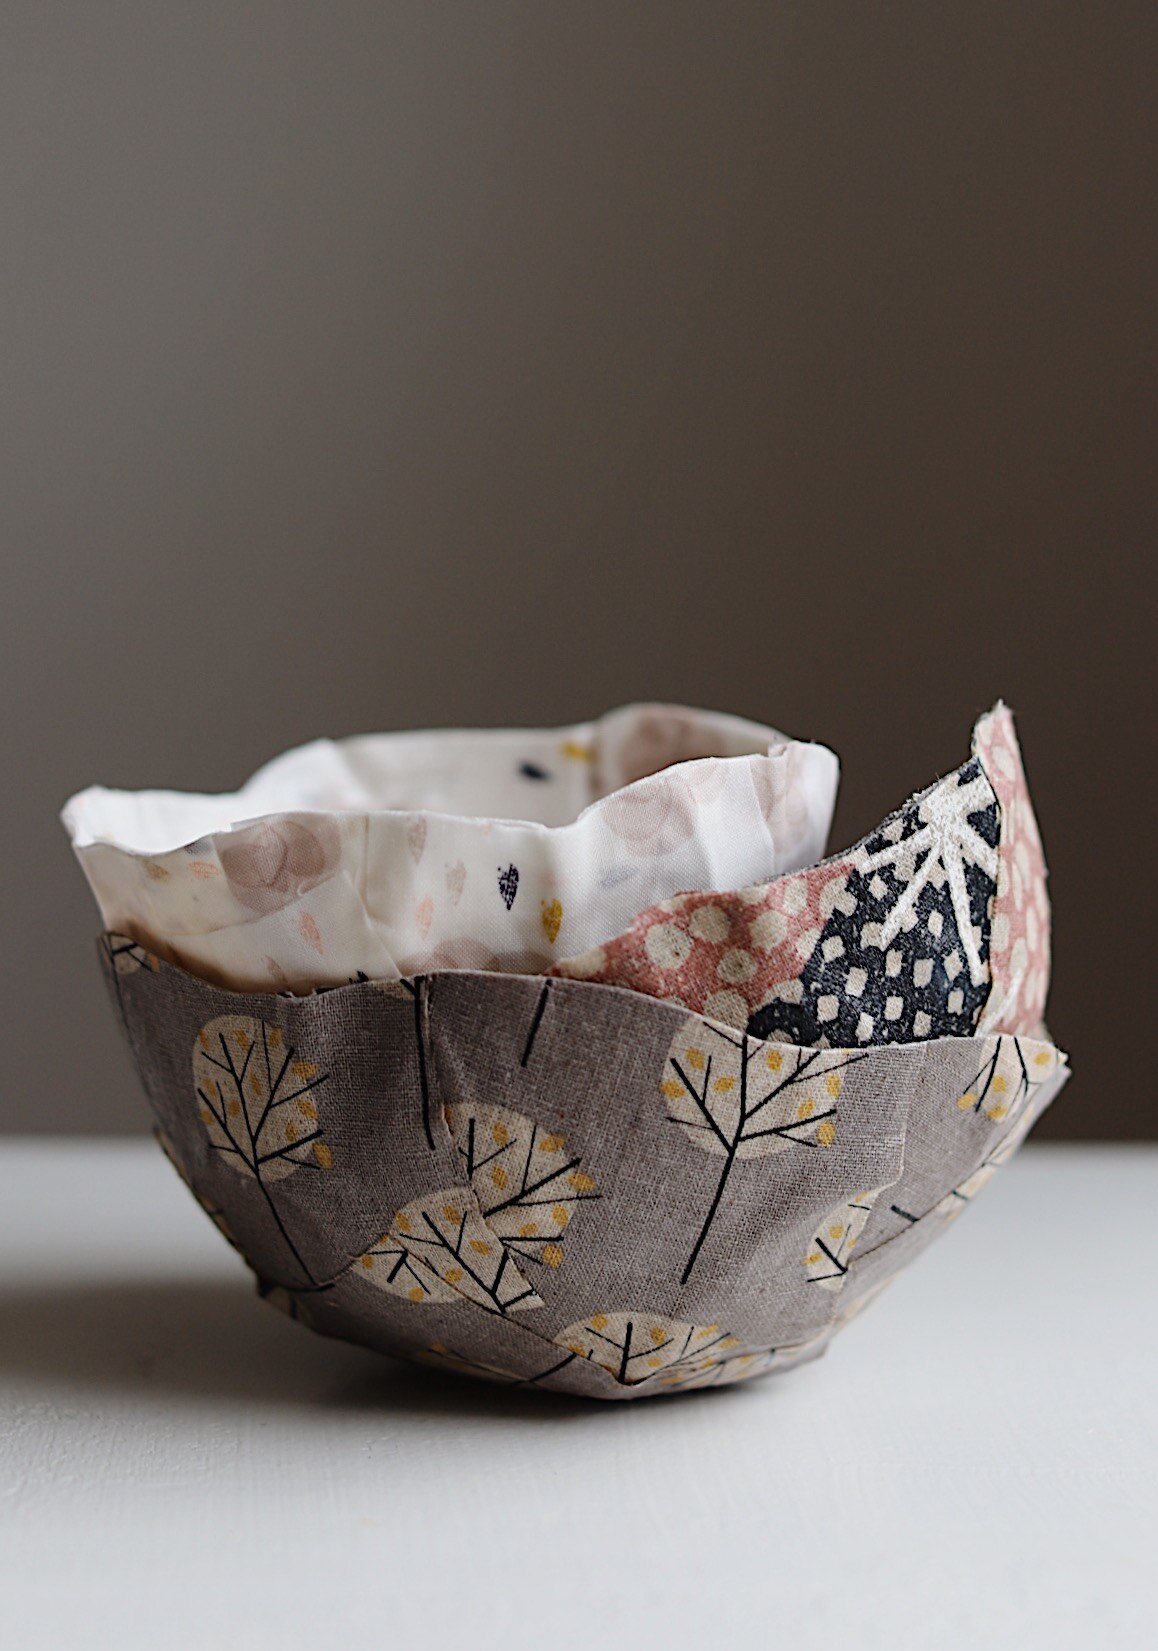
1. Blow up a balloon and secure it with a knot. As you blow up the balloon, remember the more air you blow into the balloon, the bigger the balloon will get. The bigger the balloon, the bigger the bowl will be. Any size will work so you don’t need to worry about creating the perfect size. As you can see from the top photo, we created bowls in three different sizes.
2. Cut fabric scraps into rectangles and squares, roughly 3-6” in length and width, depending on the size of the balloon.
3. Rest the balloon, knot side down, on a mug or cup to hold it in place. The mug or cup will keep the balloon steady while you glue layers of fabric to it. If it topples off the mug, just place it back on, knot side down.
4. Pour some modge podge into a bowl, then paint a layer of it onto the top center of the balloon.
5. Place a piece of fabric, right side down, onto the top center of the balloon. You want to place the first layer of fabric right side down because this is the side of fabric you’ll see when you look into the basin of the bowl.
6. Paint more modge podge over the first layer of fabric and smooth out the wrinkles with your paint brush (but also don’t stress about wrinkles too much - as you can see from my photos, we don’t really mind them at all!). Next add another layer of fabric, right side down and perpendicular to the first layer of fabric.
7. Paint another layer of modge podge over the second piece of fabric, and place the third piece of fabric right side down and diagonal to the first two pieces.
8. Repeat step 7 but place the fourth piece of fabric right side down and diagonal in the opposite direction of the third piece of fabric. This should ensure that the right side of the fabric is what you see on the inside of the bowl.
9. Continue placing a layer of modge podge and a layer of fabric in the same pattern as above but with the right side out, so that the right side of the fabric also appears on the outside of the bowl. Place 8-12 more pieces of fabric on the balloon until the bowl is thick and sturdy. How many pieces you use will depend on the type of fabric you use. We used different types of fabric for our bowls, but my favorites are cotton and linen.
10. Allow the bowl to dry and harden overnight. Dry time will vary according to how many layers of fabric you used, but expect it to take somewhere between 8-24 hours.
11. Once the bowl has completely hardened, remove the balloon from the cup or mug by turning it over and popping it with a safety pin or a pair of scissors.
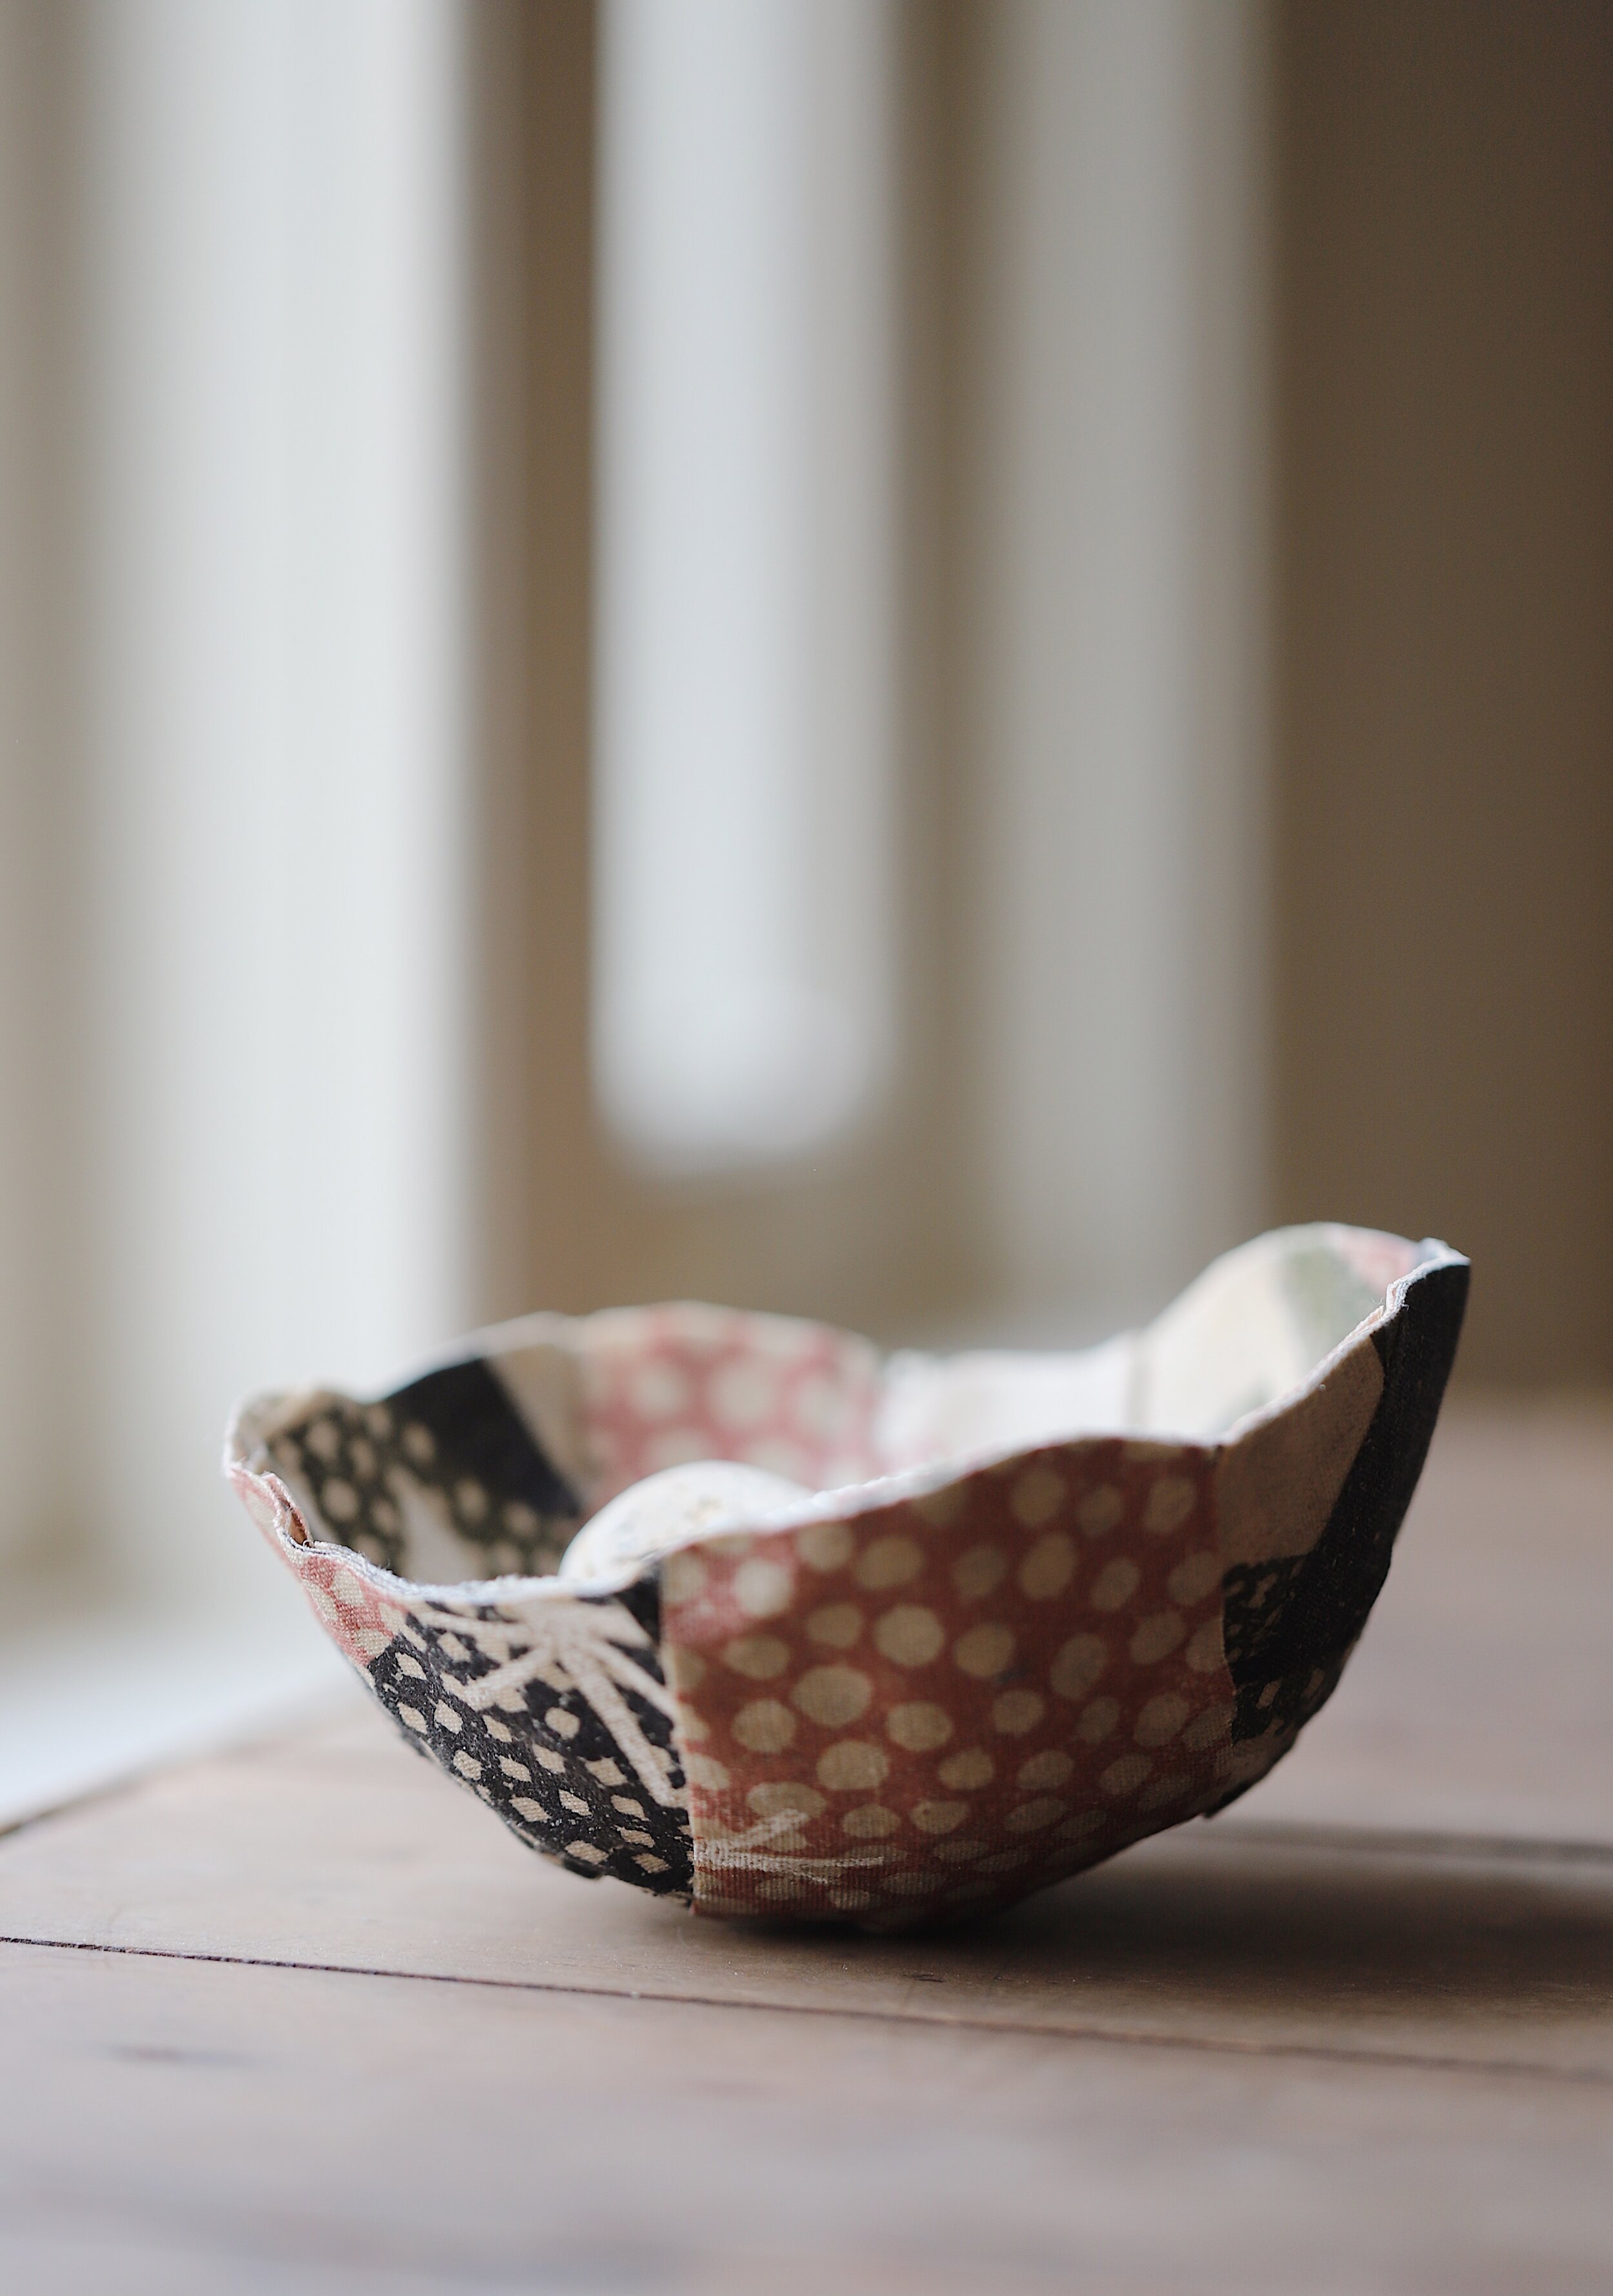
12. Carefully peel the balloon away from the bowl, then use your scissors to trim the edge of the bowl to your liking. You can create a straight edge, a wavy edge, or even a zig zag edge if you have a pair of pinking shears.