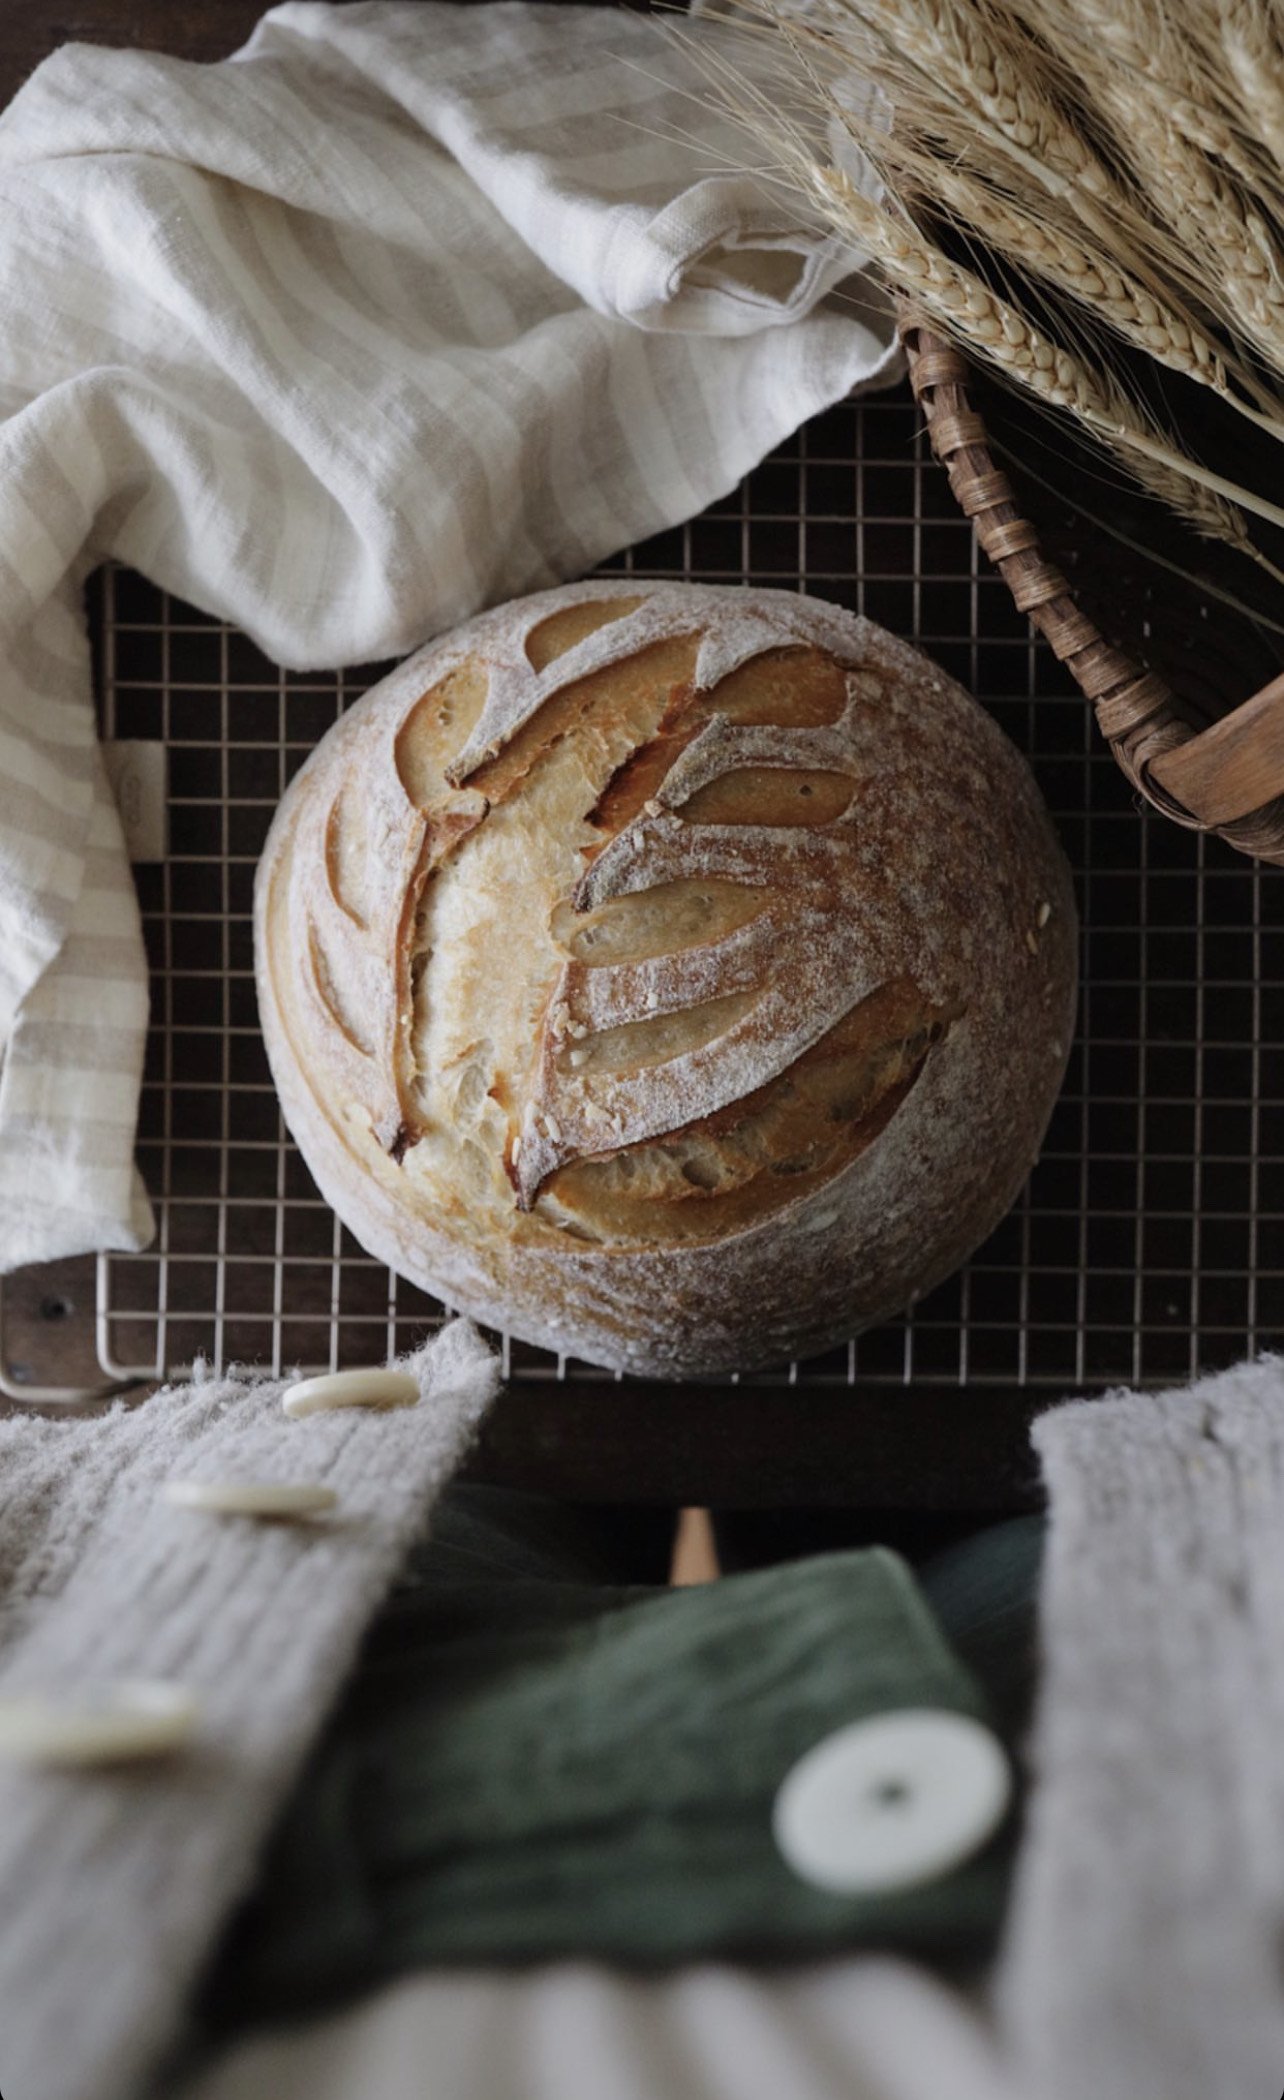
Sourdough Starter
“Good food is very often, even most often, simple food.” - Anthony Bourdain
I can’t remember where I found this sourdough starter recipe, but I do remember writing it on an index card and taping it to the inside of our spice cabinet when we moved to Chicago. Since then and for the past seven years, a fall rhythm has taken hold. It starts with sending kids back to school and follows with me pulling jars of flour off the shelves, dusting off my kitchen scale, and opening the spice cabinets in search of this recipe. Like muscle memory, I do it without forethought or planning. I do it because - after all these years of doing it - it’s just what I do.
Hearing this, diehard sourdough bakers will probably shake their heads, especially if they’re the dutiful types who name their starters and vow to keep them alive for decades. So here’s where I divulge a shortcoming - when it comes to caring for a starter, I’m forgetful, neglectful, and woefully untrustworthy. In the cooler months of the year, and especially when I’m baking regularly, I do a decent job of keeping my starter fed and happy. But as soon as spring arrives, my attention shifts to the garden and my sourdough pays the price. What this means for me and what this means for YOU, is that you can trust I’ve had a lot of practice making starters and similarly a lot of practice comparing recipes. What’s unique about this one is that it uses rye instead of all-purpose flour to stimulate fermentation. Rye is rich in amylases, nutrients, and microbes, which help the starter convert sugars quickly for a faster fermentation process. I’ve found I get much better results with this recipe than any of the all-purpose flour-based ones I’ve tried.
If you also need a recipe for making sourdough bread, I would recommend Elaine Foodbod’s master recipe, found here. In lieu of kneading, she uses the lift and fold method to build up the structure of the dough and wake up the gluten. Her method is much easier than kneading and her directions are clear and easy to follow. She also includes video directions to walk you through every step of the process. Now that I think about it, I’m sure Elaine has a sourdough starter recipe as well, but I’ve been using this one for such a long time and like it more than any other recipe I’ve tried. If you pair this starter with her master recipe, I can almost promise good results. If you do make either or both, I’d love to see your results via a Instagram. Please tag me at @simply.living.well. Enjoy!
Ingredients
rye flour
water
unbleached all-purpose flour
TOOLS
quart-size mason jars
kitchen scale (preferably digital)
wooden spoon
tea towel
Directions
Day 1: In a quart-size mason jar, combine 100g rye flour + 125g water. Mix well (the consistency will be thick and pasty), then cover the jar with a tea towel and let it sit on the counter in a warm room (75-80 degrees F) for 24 hours.
Day 2-4: In a new, clean jar, combine 50g rye flour + 50g unbleached all-purpose flour + 115g water + 75g of the starter from the previous day (you can discard the rest). Mix well, then cover the jar with a towel and let it sit on the counter in a warm room for 24 hours.
Day 5+: In a new, clean jar, combine 50g rye flour + 50g unbleached all-purpose flour + 115g water + 75g of starter from previous day (again you can discard the rest). Cover with a tea towel and let it sit on the counter. From today onward, begin feeding your starter twice a day, once every twelve hours. It should be active and very hungry now!
Your starter is ready when it doubles in size; has small and large bubbles on the surface; is spongy and fluffy in texture; and smells pleasant (but not putrid!). It usually takes me about 6-7 days to make a nice, healthy starter.
Note 1: If during this process a dark, stinky liquid appears on the surface of your starter, don’t panic. It’s called “hooch” and is an indication that your starter needs to be fed. Before feeding your starter, simply pour it off and carry on as usual.
Note 2: In terms of maintenance, if you’re baking daily, you can keep your starter on the counter and feed it twice a day, as in step 3. If you’re baking less frequently, you can store it in the fridge, but you’ll need to feed it once a week to keep it happy. When you’re ready to bake with it, just remove it from the fridge, feed it per step 3, and set it on the counter at room temperature for 12 hours. Then feed it again., if needed. Depending on how long it’s been in the fridge and how long it’s been since you last fed it, you fed it, your starter may need to be fed 2-3 times for 12 hours between each feeding before it’s active enough to make bread.
Technically . starter can be stored up to two months in the fridge without being fed - just be warned that it will probably form a hooch, as mentioned in note 1 above and it may take 3 feedings to wake it up.

