Tips for Planning a Garden
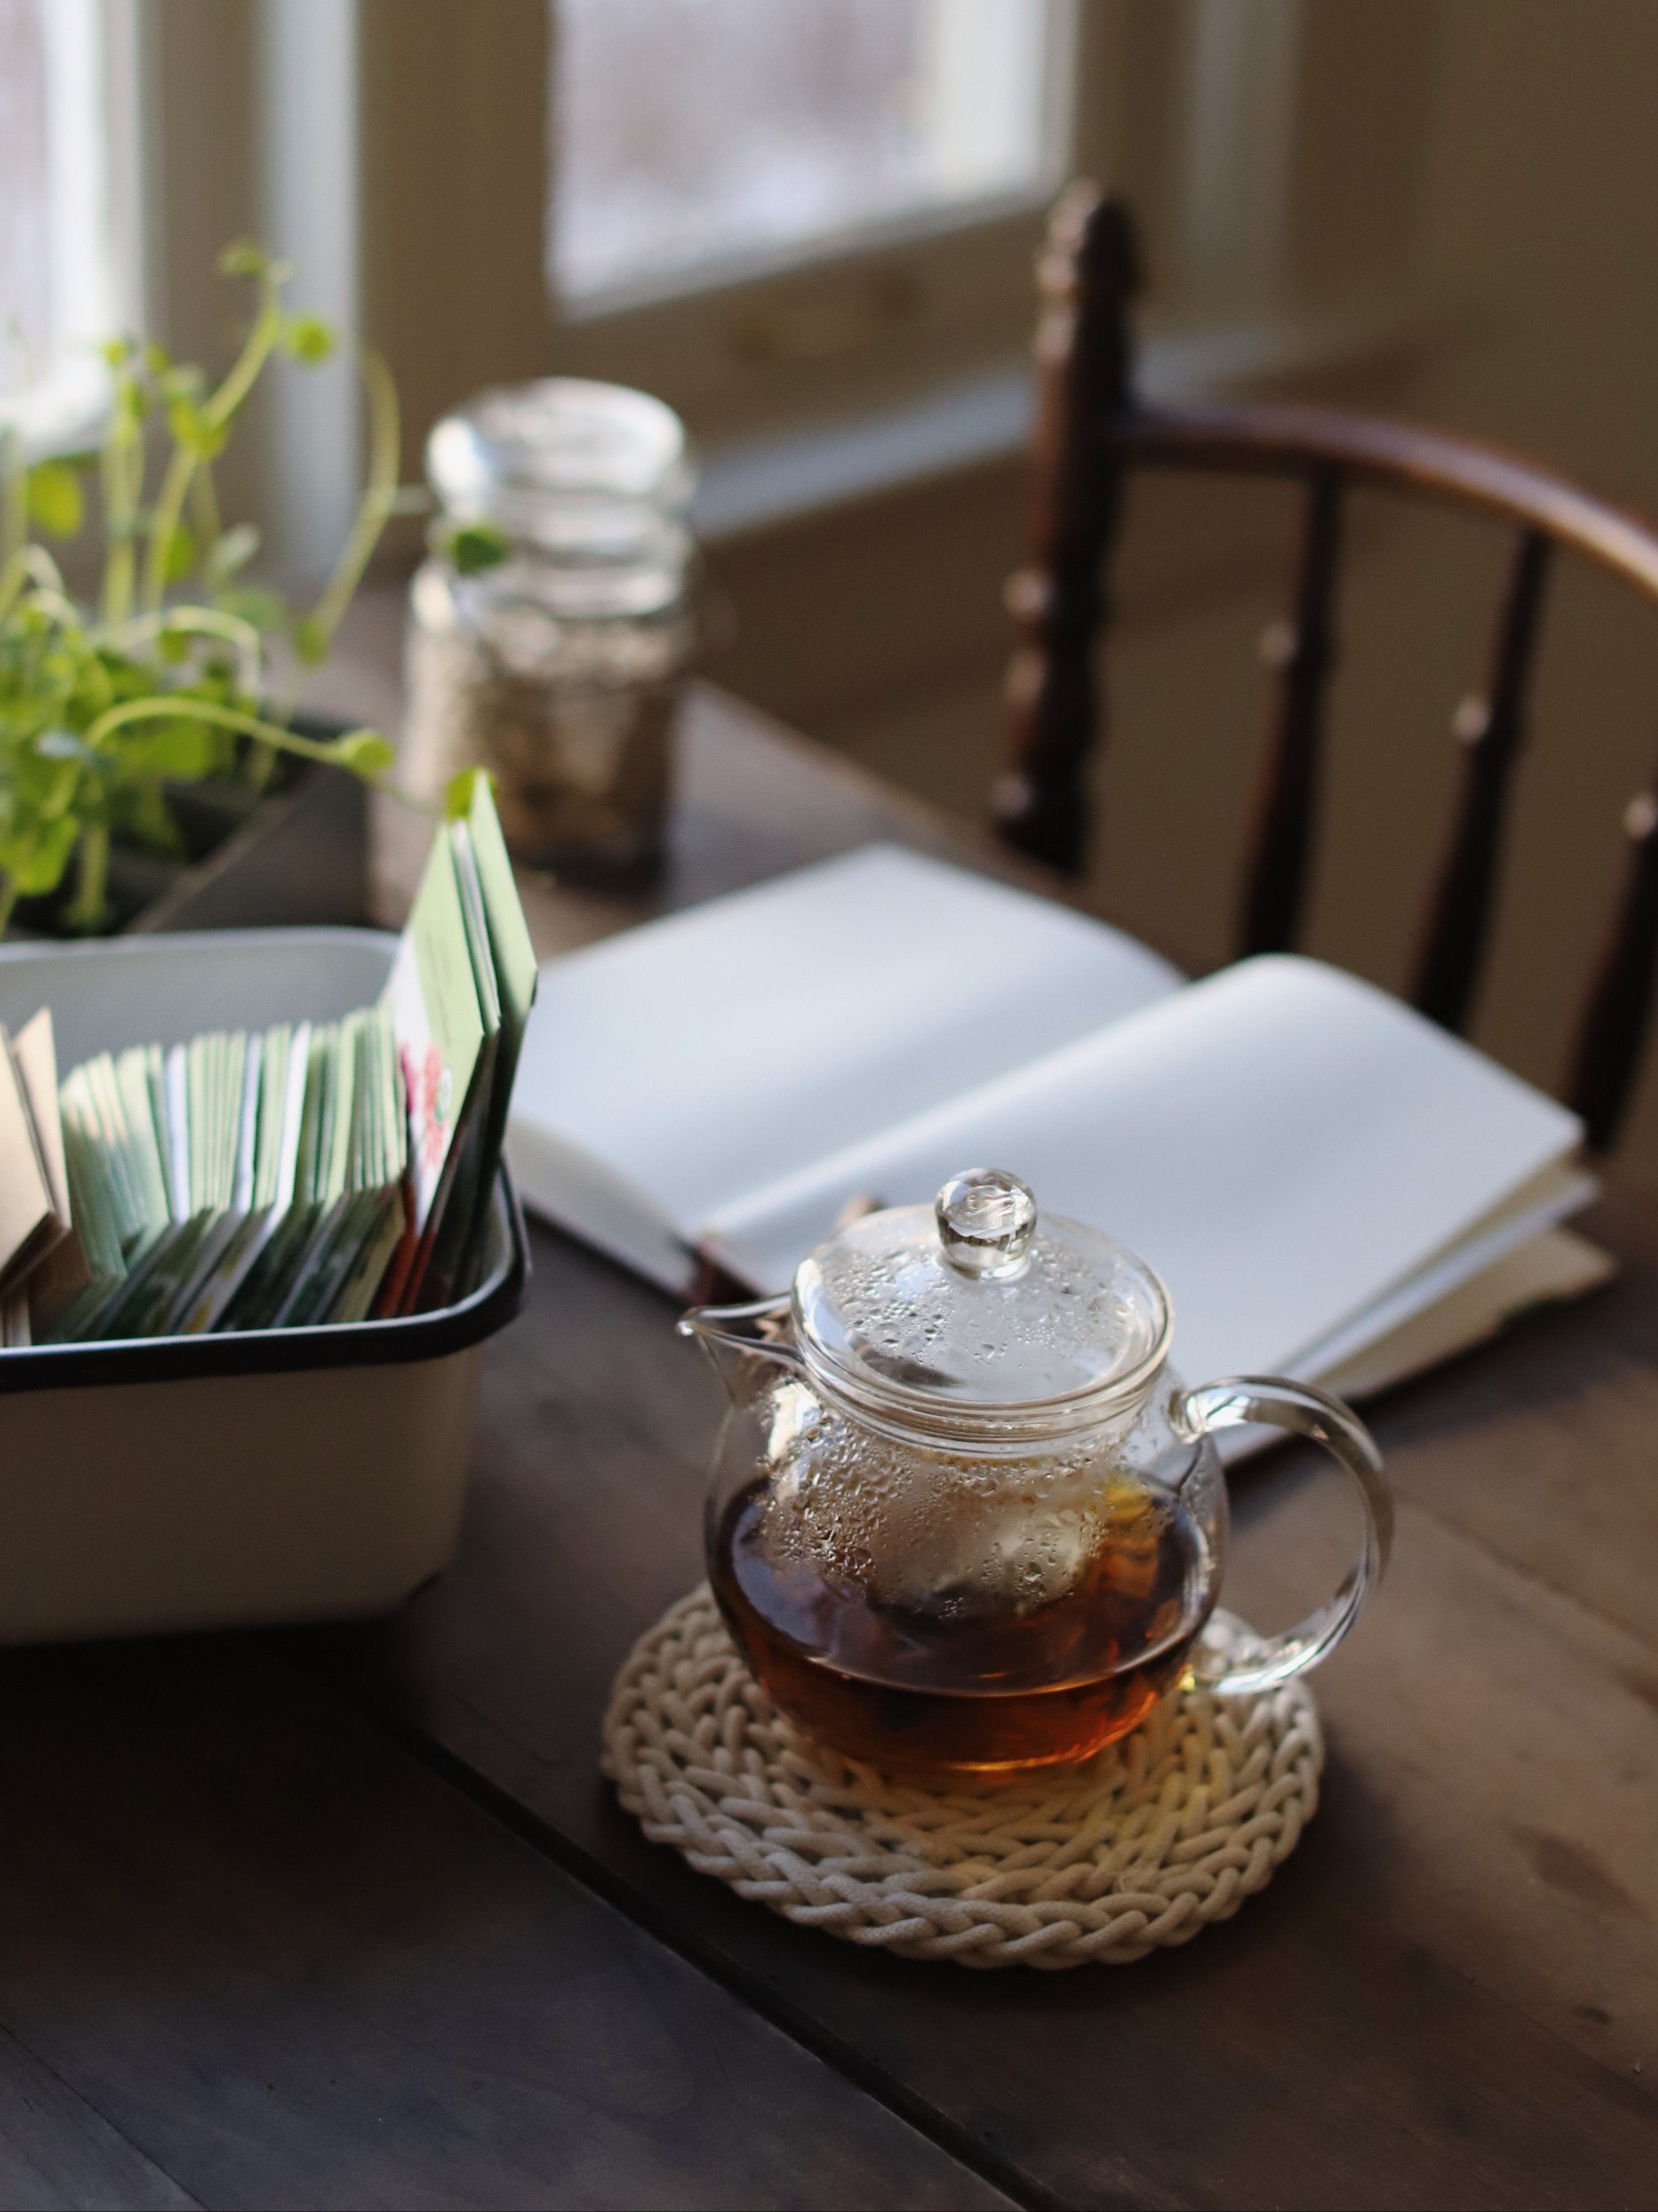


Every year around this time, I set aside a week to carefully plan my garden. I usually work from an old table in a dark room in the dead of winter, with snow piled waste high outside my windows and wool wrapped around every square inch of my body. Turning my attention to veggies and herbs and flowers is always, ALWAYS a welcome escape, especially knowing that come February, I’m only halfway through a midwestern winter.
Around this time, I often post photos of my journal and seeds on Instagram. Most years I receive questions about how I plan my garden, but I’m sorry to say I’ve never taken the time to share my process…until today. Before I jump in, I should clarify that these tips don’t come from a textbook or a horticultural expert but rather the left brain of a somewhat logical, restless gardener.
Although the way I plan my garden works well for me, you should pick and choose what works for you. I like to think the best gardening book is the one you write yourself - nothing will better capture what’s going on in your garden than the notes, stories, sketches, and figures you jot down in a personal planner.
If you’re a visual learner and find my written suggestions too text heavy, I have a downloadable garden planner that walks you through these steps coming out next week. If that’s something that might interest you, click here.
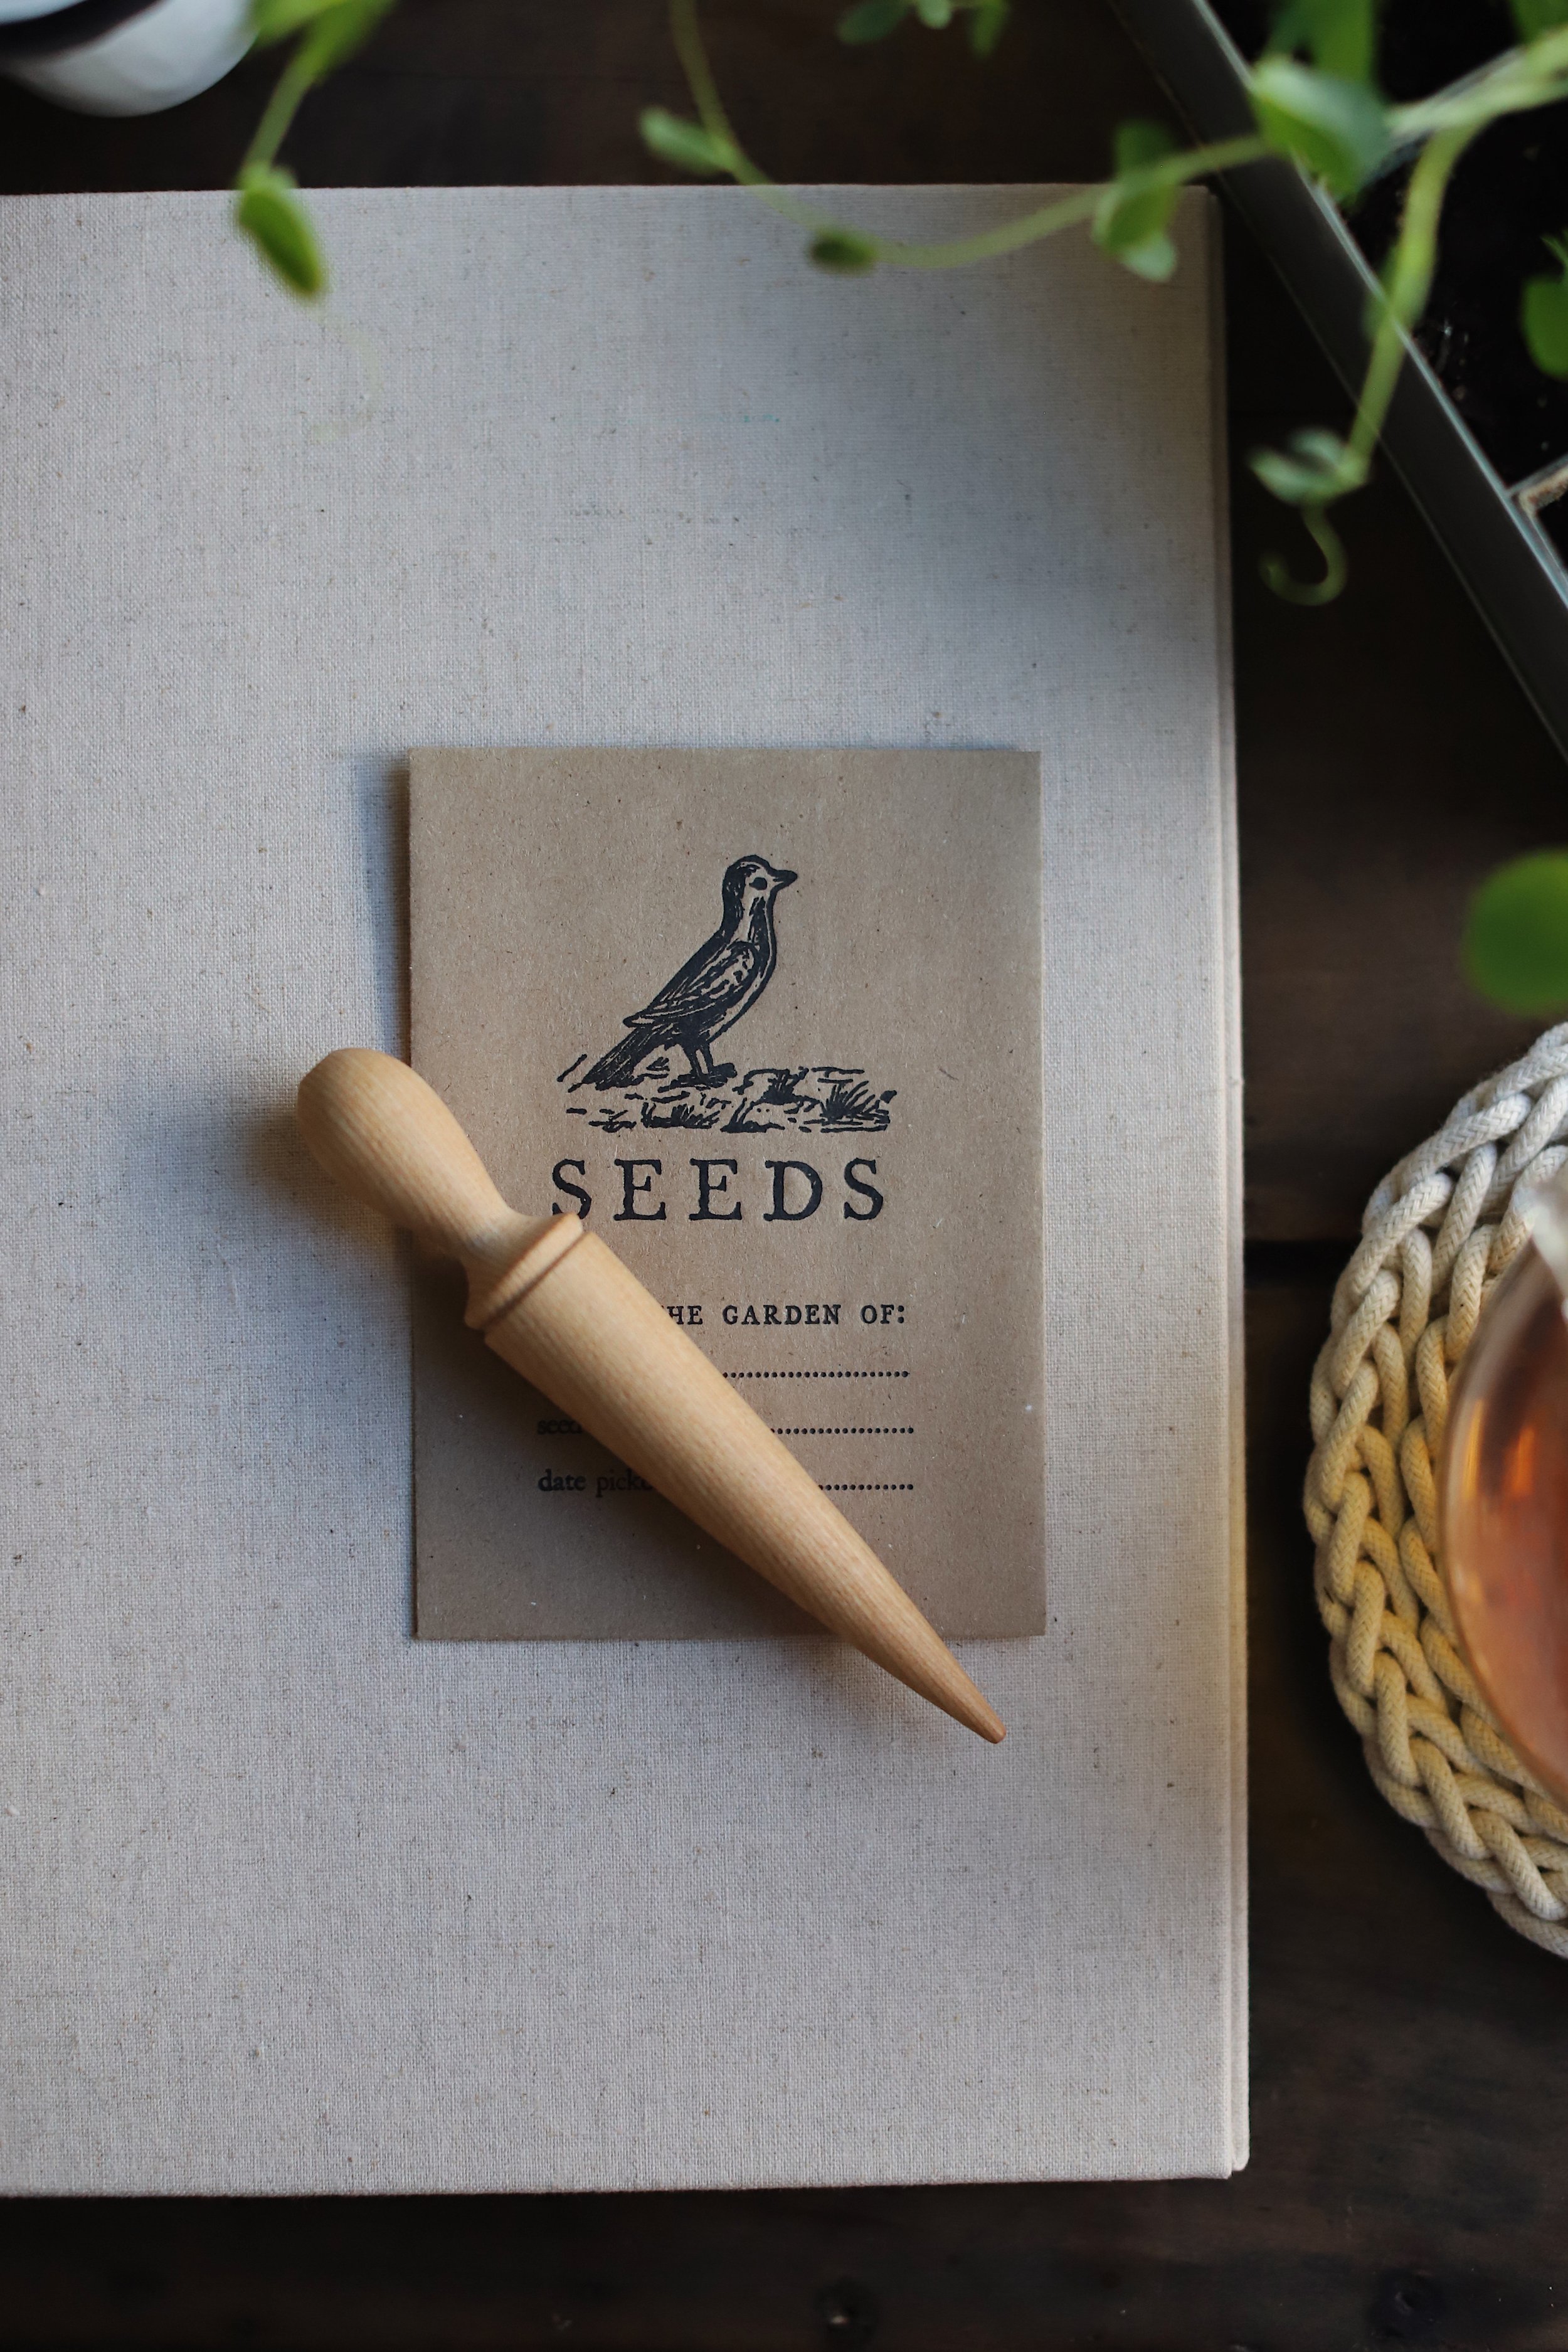
Get yourself a planner/journal. First things first, you’ll need some paper. A blank journal works well, but so does a 3-ring binder with loose leaf paper. The great thing about a binder is that you can store several years' worth of planners in one place, by separating each year with an index tab. If you keep a good record of your garden, including what you grew, what worked, what didn't work, etc., you’ll save yourself a lot of trouble by not repeating old mistakes year after year. It’s also helpful to be able to look back and remember the name and variety of a particular seed that produced the juiciest tasting tomato or the roundest, fattest pumpkin.
Record general Information. Once I have a planner, the next thing I do is write down as much general information about my garden as possible. This always includes my hardiness zone (in the United States, you can find yours here), as well as my area’s first and last spring frost dates (which you can find here). If I’ve done a soil test, I like to record the results here too.
Take an inventory of tools and supplies. At some point in the planning process, I take an inventory of my tools and supplies, mostly to wrap my brain around what I have and don’t have, but also to prevent myself from buying what I don't need. Since I like to start a lot of seeds indoors, this is a good time to assess whether I need to purchase new seed trays, potting soil, organic fertilizer, spray bottles, etc., Other tools and supplies that are sometimes on my list include gardening gloves, a watering can, hand trowels, hand cultivators, a rain gauge, a soil thermometer, pruning sheers, a shovel, a wheelbarrow, a good hose, twine, spades, and bamboo poles.
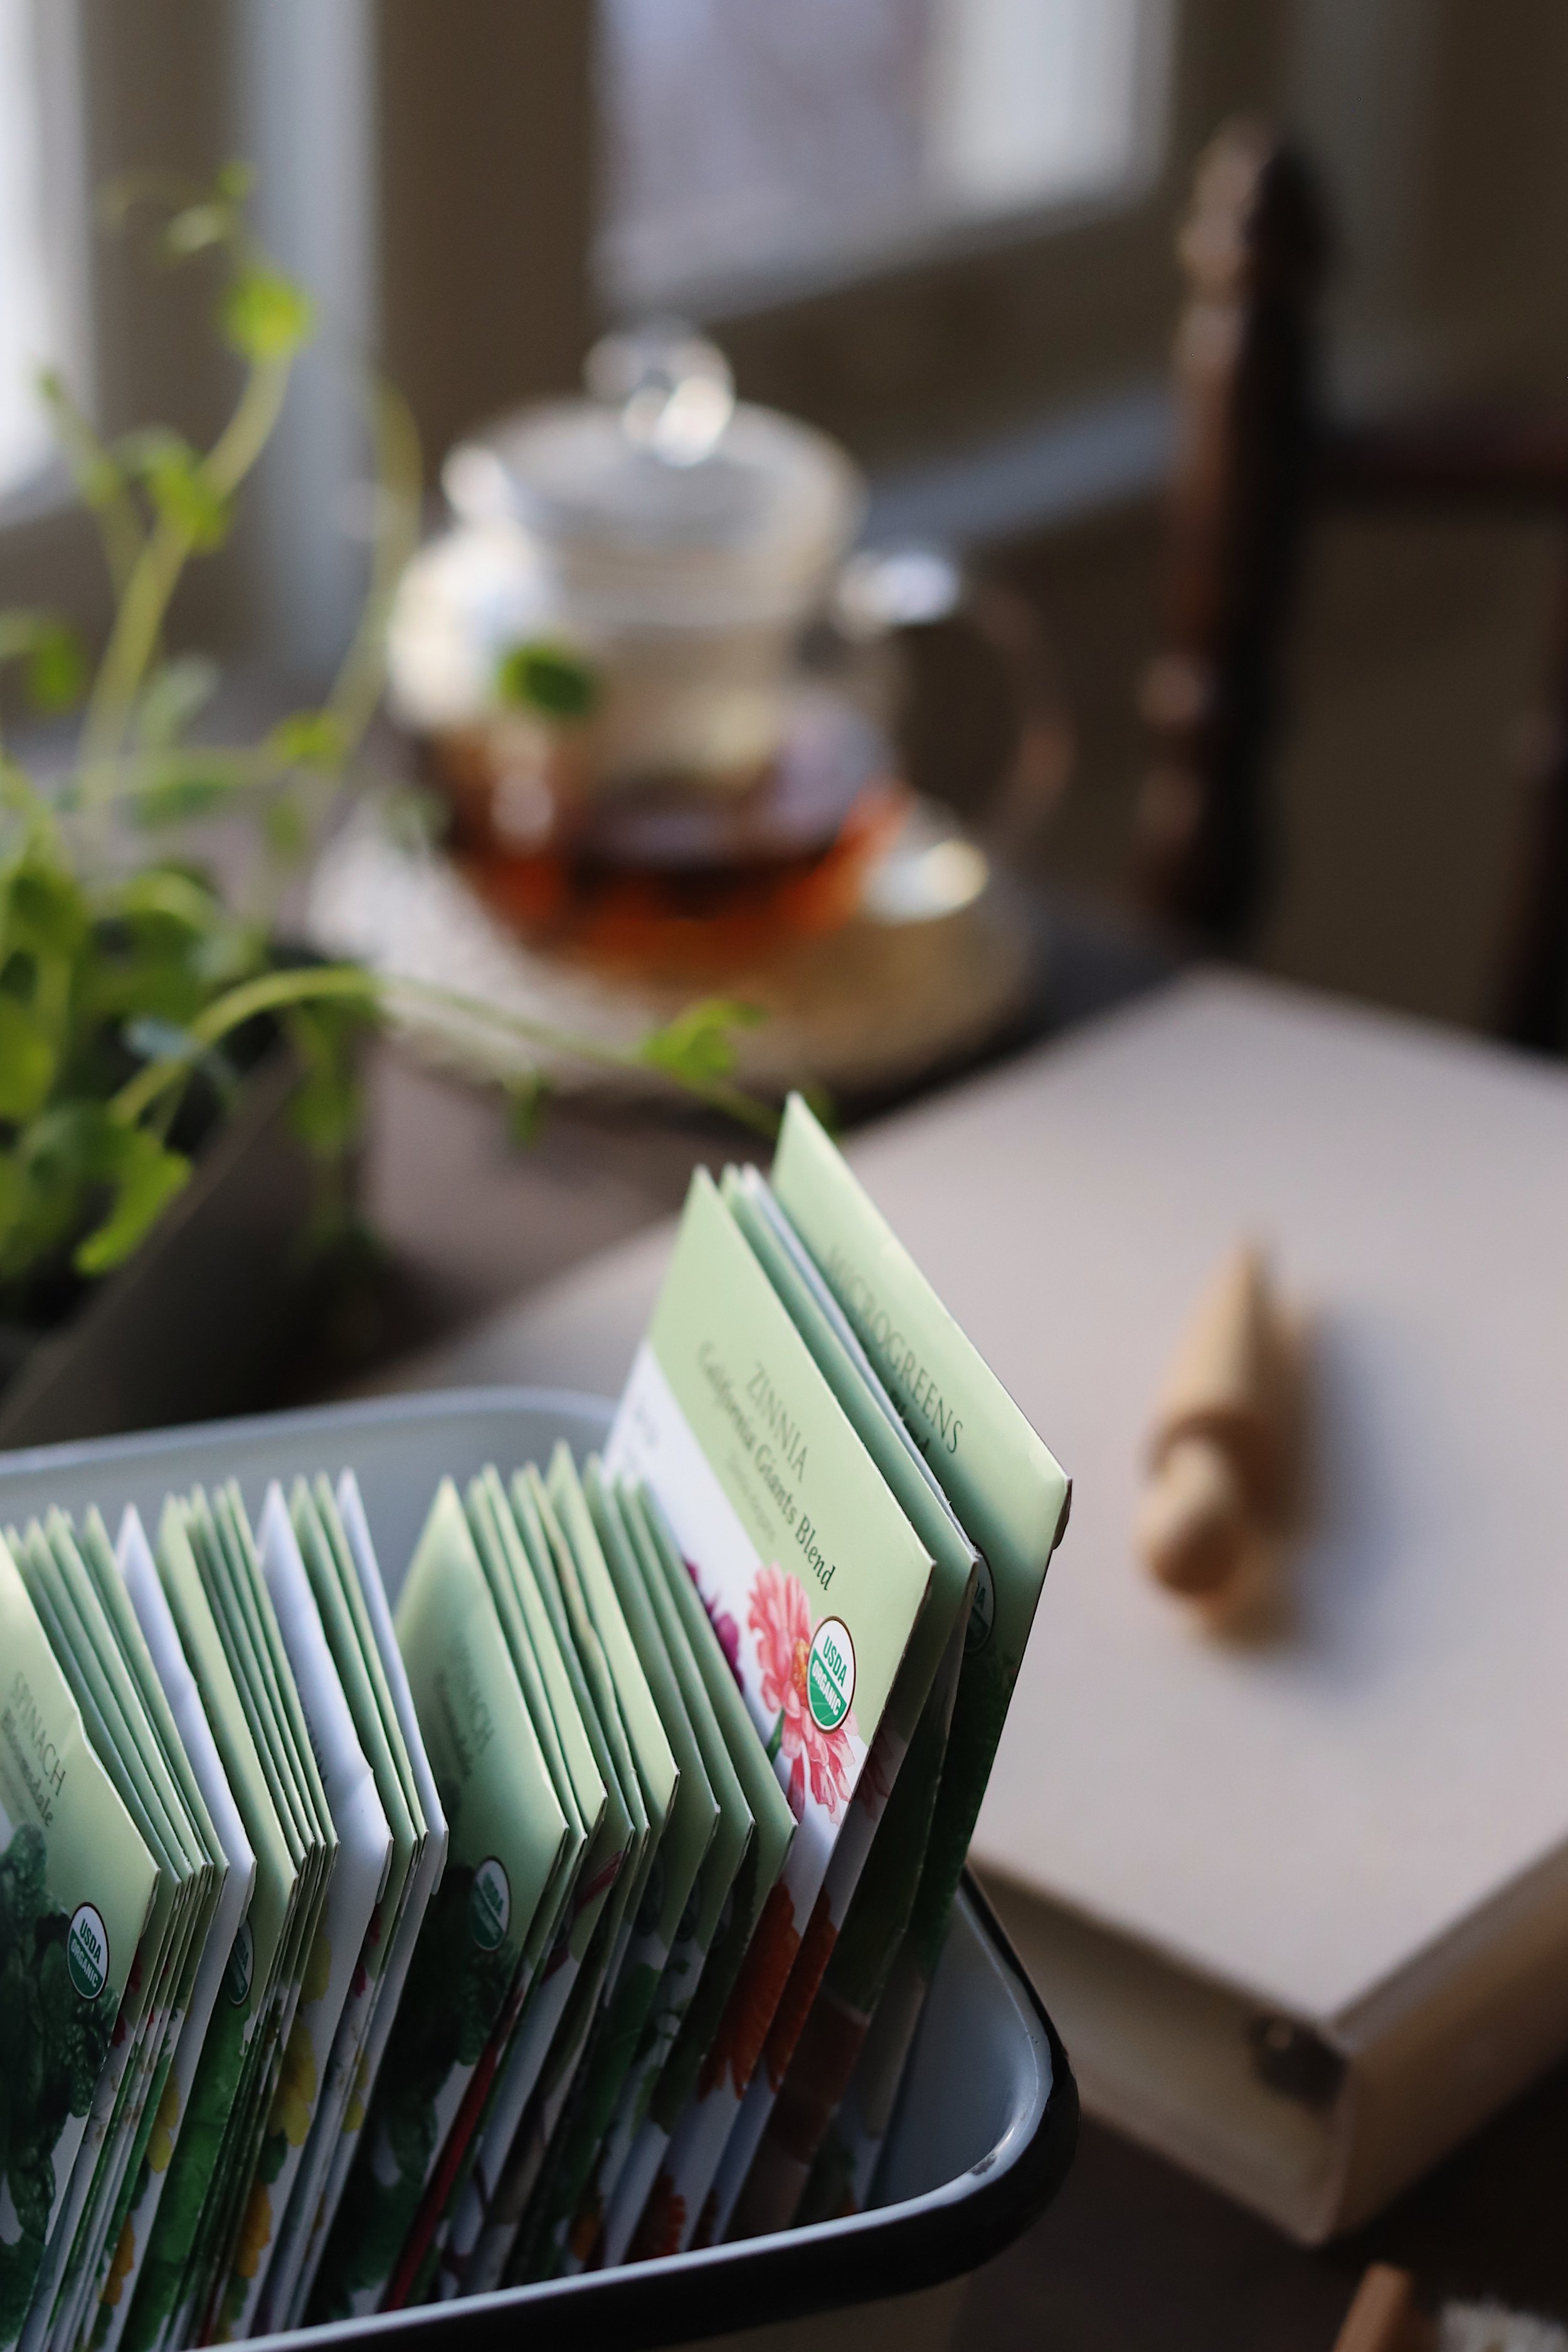
Plan what crops to grow. Next I create a list of WHAT I’d like to grow, from veggies to herbs and flowers. Once I’ve made a list, I organize my list into two columns, one labeled 1) cold-season crops and the other labeled 2) warm-season crops. This isn’t entirely necessary at this stage, but it helps me gather my thoughts for the next stage when I consider WHEN to start my seeds.
If I want to grow perennials, like mint or lavender, I make a note of that in this section too. While I’m at it, I check online to confirm whether a particular perennial is hardy in my zone. If I’m in zone 5, for example, and a perennial is only hardy in zones 8-9 (like French lavender), it’s probably not a good idea to plant it in my garden - not unless I’m willing to replant it again the following year.
Plan how to grow each crop. Once I’ve created a list of WHAT I’d like to grow, I take note of HOW I’d like to start each crop - 1) from seed indoors, 2) from seed outdoors, or 3) as a young seedling (or transplant) purchased from a nursery. This detail is crucial for planning, especially if I’m hoping to sow a crop from seed indoors. It’s easy to buy transplants from the garden center at the last minute, but it takes careful planning to figure out when to start seeds indoors so they’ll be ready to be transplanted at just the right time.
Plan when to grow each crop. Once I know WHAT and HOW I want to grow a crop, I create a timeline to help me determine WHEN to start each crop. The easiest way to do this is to create a table with four columns, labeled from left to write: 1) crop, 2) date to sow indoors, 3) date to sow outdoors, 4) date to transplant outdoors. At this point, I refer to the back of seed packets to determine when crops should be sown (indoors or outdoors) or transplanted, relative to the last spring frost. Once I know that, I use a calendar to determine the best dates for starting my crops. For example, if tomatoes need to be sown indoors 6 weeks before the last spring frost date and my last spring frost date is May 2, I’ll count six weeks prior to that date on my calendar and write it down. In this scenario, the date for sowing tomatoes indoors would be March 21.
Draw a garden layout. This is my favorite stage of the planning process and the one that brings out the schoolgirl nerd in me. If you have graph paper, I’d highly recommend using it - the squares make it easy to draw straight garden beds and estimate how much space you need between each crop. A straightedge ruler and a good old fashioned pencil come in handy too. I never use a pen for the first couple of drafts as I’m constantly changing my mind and moving crops from bed to bed.
Reference companion planting, succession planting, square foot gardening books. As I’m planning my garden layout, I like to reference books on companion planning, succession planting, and square foot gardening to help me plan WHAT to plant WHERE. I don’t follow any of these principles to a T, but each one inspires a lot of my decision-making.
Consider design principles. Aside from thinking about what grows well together and at what density, I like to think about how the garden will look. Some gardeners don’t care about aesthetics, which is perfectly fine. But if you do, you might try placing tall plants towards the back of the garden (or beds) and shorter crops upfront - that way, you can see everything from your kitchen window or back porch. In my case, I plant crops that grow vertically up poles and trellises - like tomatoes, peas, and beans - on the back row of my garden and reserve shorter crops, like carrots, lettuces, and beets for the front row. Medium-sized plants like kale, Swiss chard, broccoli, and cabbage are naturally saved for the middle row of beds. I plant flowers around the borders and edges of beds, both to add color and texture to the garden and to attract pollinators and other beneficial organisms to the garden.
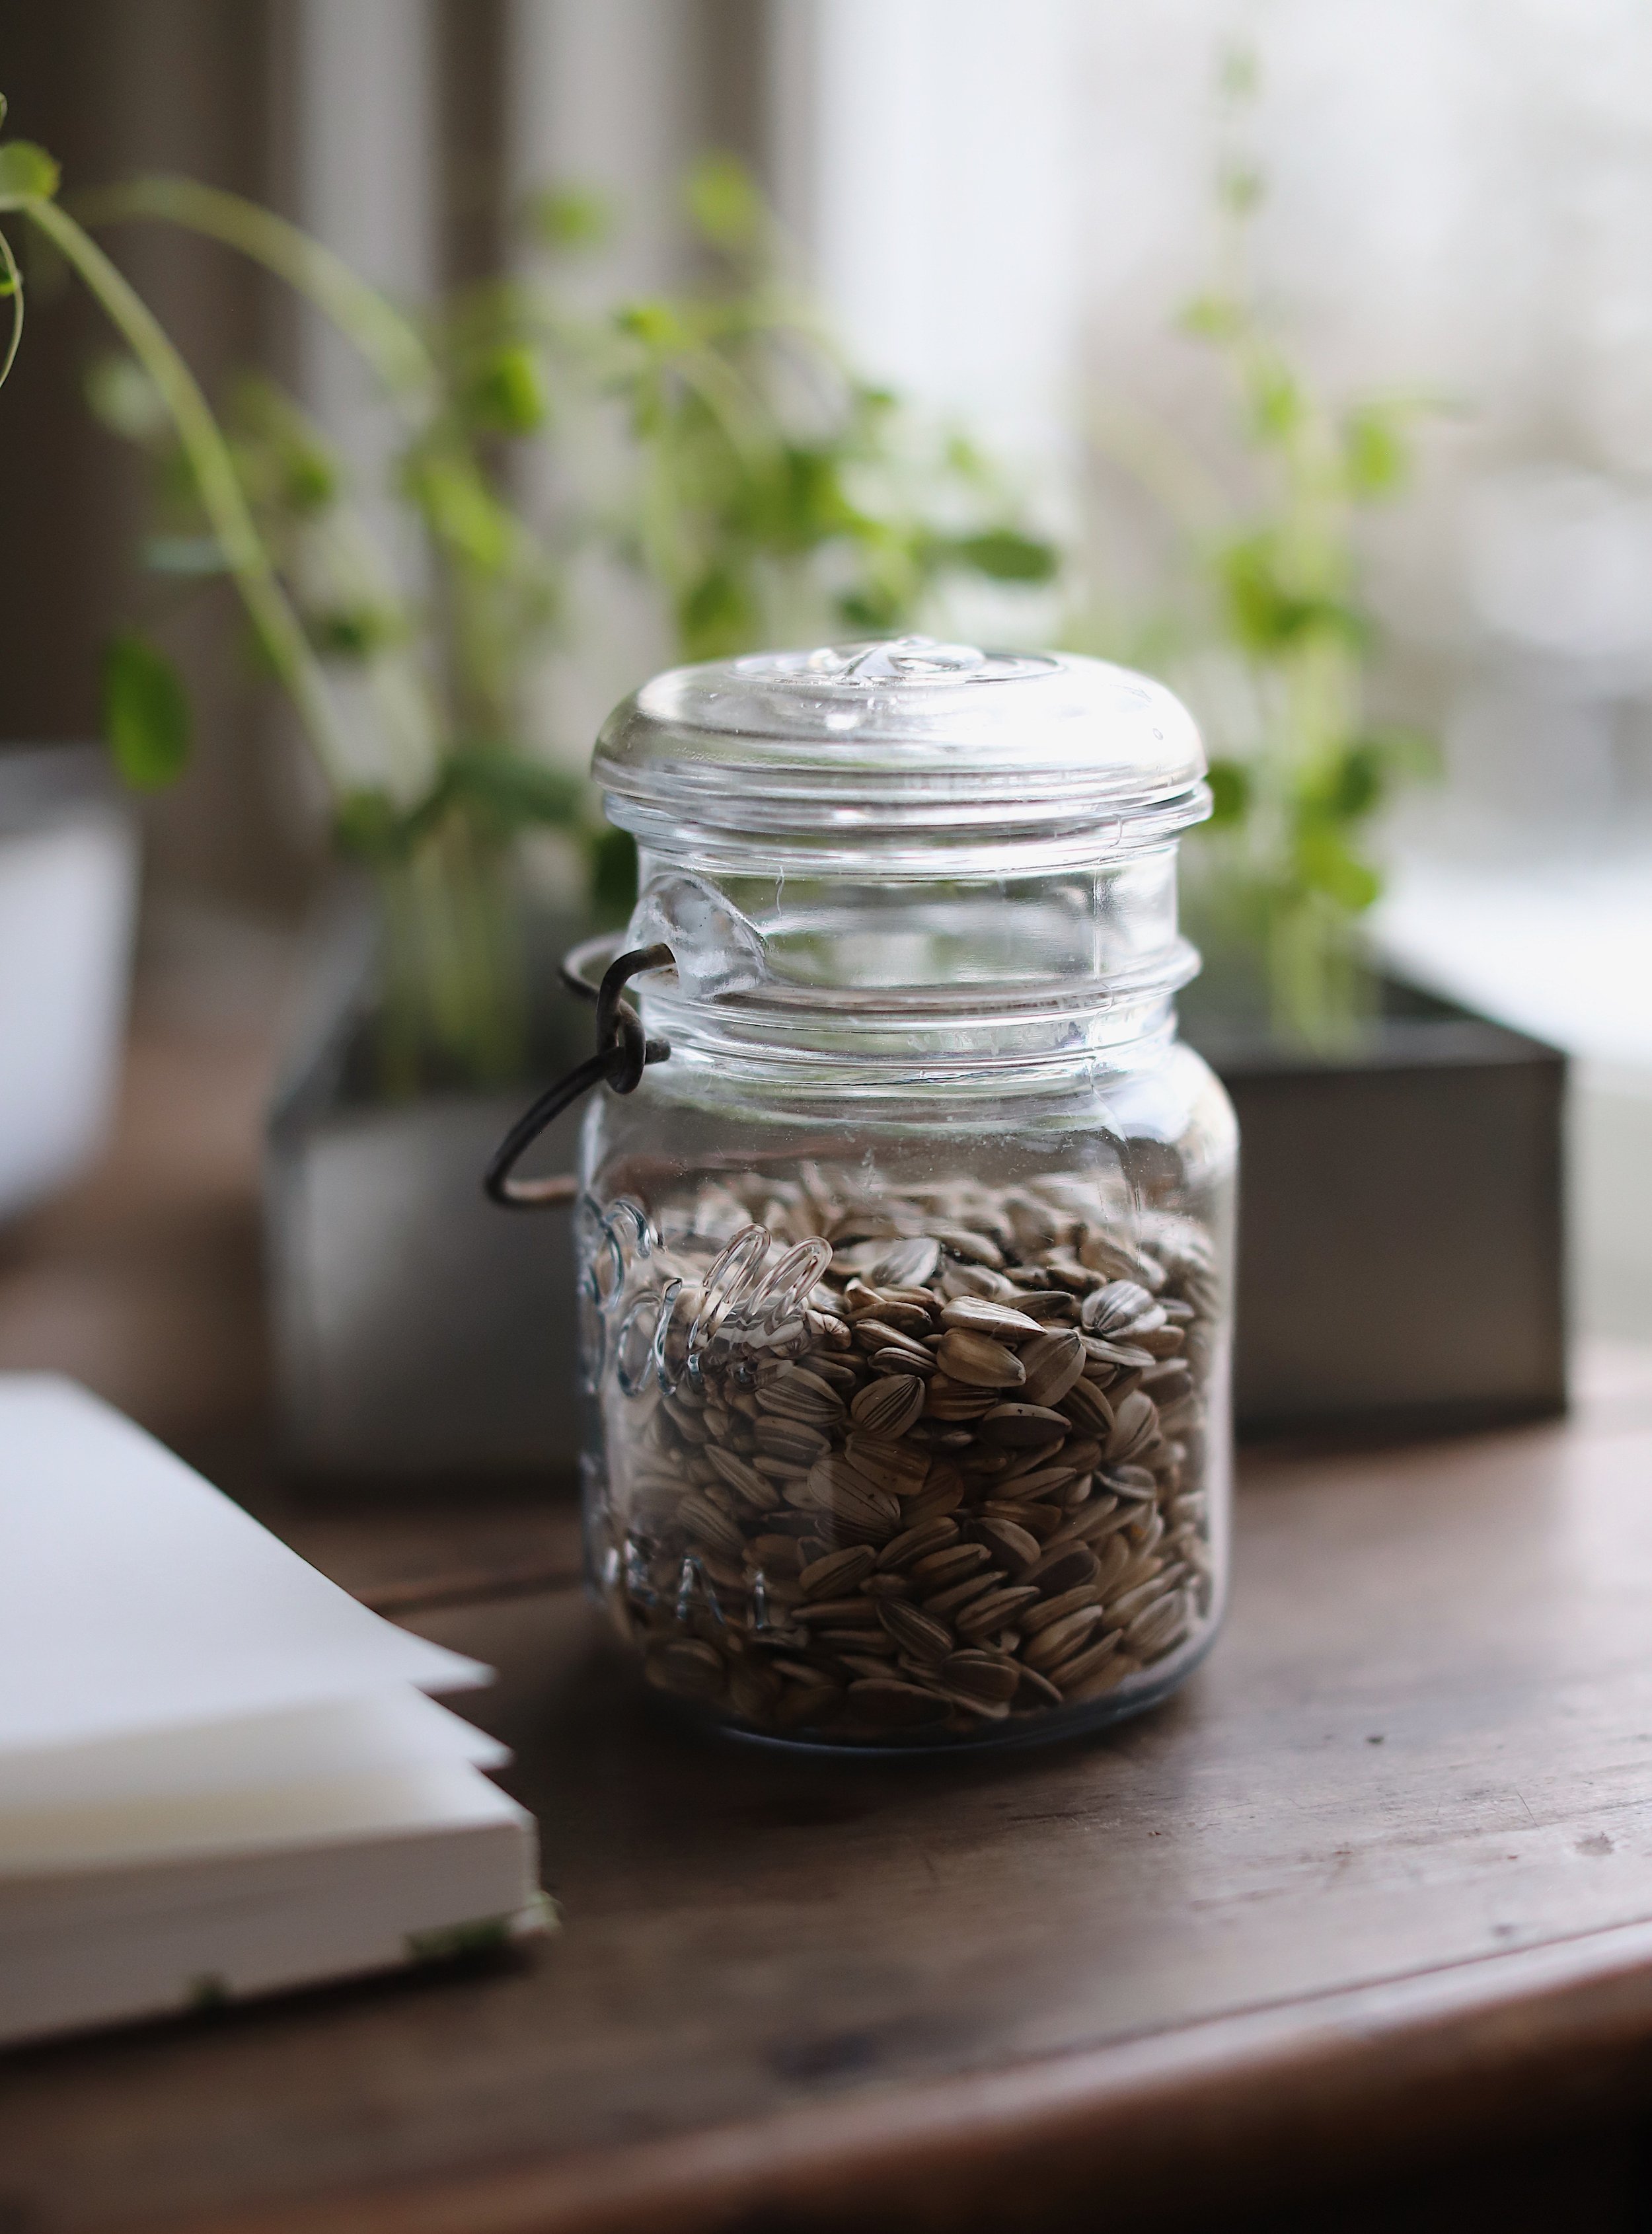
Take a seed inventory. Once I have a good idea of what I want to plant, I like to take an inventory of my seeds. I don’t usually have a lot leftover from seasons’ past, but it’s worth double-checking. If I go to the nursery with a list of what I need, there’s a good chance I’ll restrain myself when my hearts all a flutter in the seed aisle.
If you’re a seasoned gardener, you probably do this already, but it’s worth the reminder to check your garden journal from last year to see if there are any seeds (including specific varieties from specific companies) you want to avoid or buy again. I always keep those sorts of notes in my journal as I can’t rely on my memory to recall this kind of information. If you need ideas for reputable seed companies, I shared my favorites in this blog post.
Make a list of garden chores. As any long-time gardener knows, caring for a garden is more than a summer activity. Every month of the year presents opportunities for staying connected to and tending to your garden. In midwinter, I plan my garden, order new seeds, and test my soil. In early spring, I sow seeds indoors and compost my beds. In my planner, I like to write down chores for every month of the year. Otherwise, I find that I’m often late doing something I wish I’d done on time (composting, starting seeds, etc.,). Below are some suggestions for each month of the year, although obviously this will vary according to where you live.
January: Order seed catalogs; have soil tested.
February: Plan garden; buy seeds.
March: Start sowing seeds indoors; compost beds.
April: Start direct-sowing cool-season seeds outdoors
May: Move pots to garden, direct sow warm-season seeds outdoors; transplant seeds into beds and pots.
June: Fertilize summer plants; stake tomatoes; harvest; preserve.
July; Prune if needed; harvest early season crops; succession plant new crops; harvest; preserve.
August: Start sowing and planting fall crops; harvest; preserve; clean garden.
September: Continue sowing and planting fall crops; clean up spent plants.
October: Harvest fall crops; clean garden; clean garden tools; store tools in weather-proof shed or garage.
November: Harvest fall crops; protect winter crops with row covers; mulch perennials; compost beds.
December: Winterize garden; rest.
There’s so much more you can add to a garden journal or planner, but this is a good start. As you start planting crops, you want to add a lot of notes about how you started them, where you planted them, what went well, what didn’t go well, etc., Again, it’s your planner and your journal, so it should ultimately reflect what will be most useful to you. If it seems like it could be helpful later, write it down. Happy planning!