How to Create a Worm Bin
After years of waiting for our small town to pass an ordinance for backyard chickens, last spring I settled for something a little less visible and a lot less involved: I bought a worm bin and 1,000 red wiggler worms and introduced my children to worm farming! My friend in Hawaii had been doing it for years, and the reviews online convinced me it was worth the effort. Plus, it was another way to divert food scraps from the landfill to our garden and a distraction to two children who had spent months angling for another dog!
Known as vermicomposting, worm farming uses worms to convert kitchen waste into a nutrient-rich organic matter euphemistically referred to as “worm castings.” Worm bins are popular with gardeners and eco-conscious folks who have limited room for composting in an outdoor space. Not only are they small and compact, there’s also no turning involved, which makes them easier than outdoor bins to maintain..
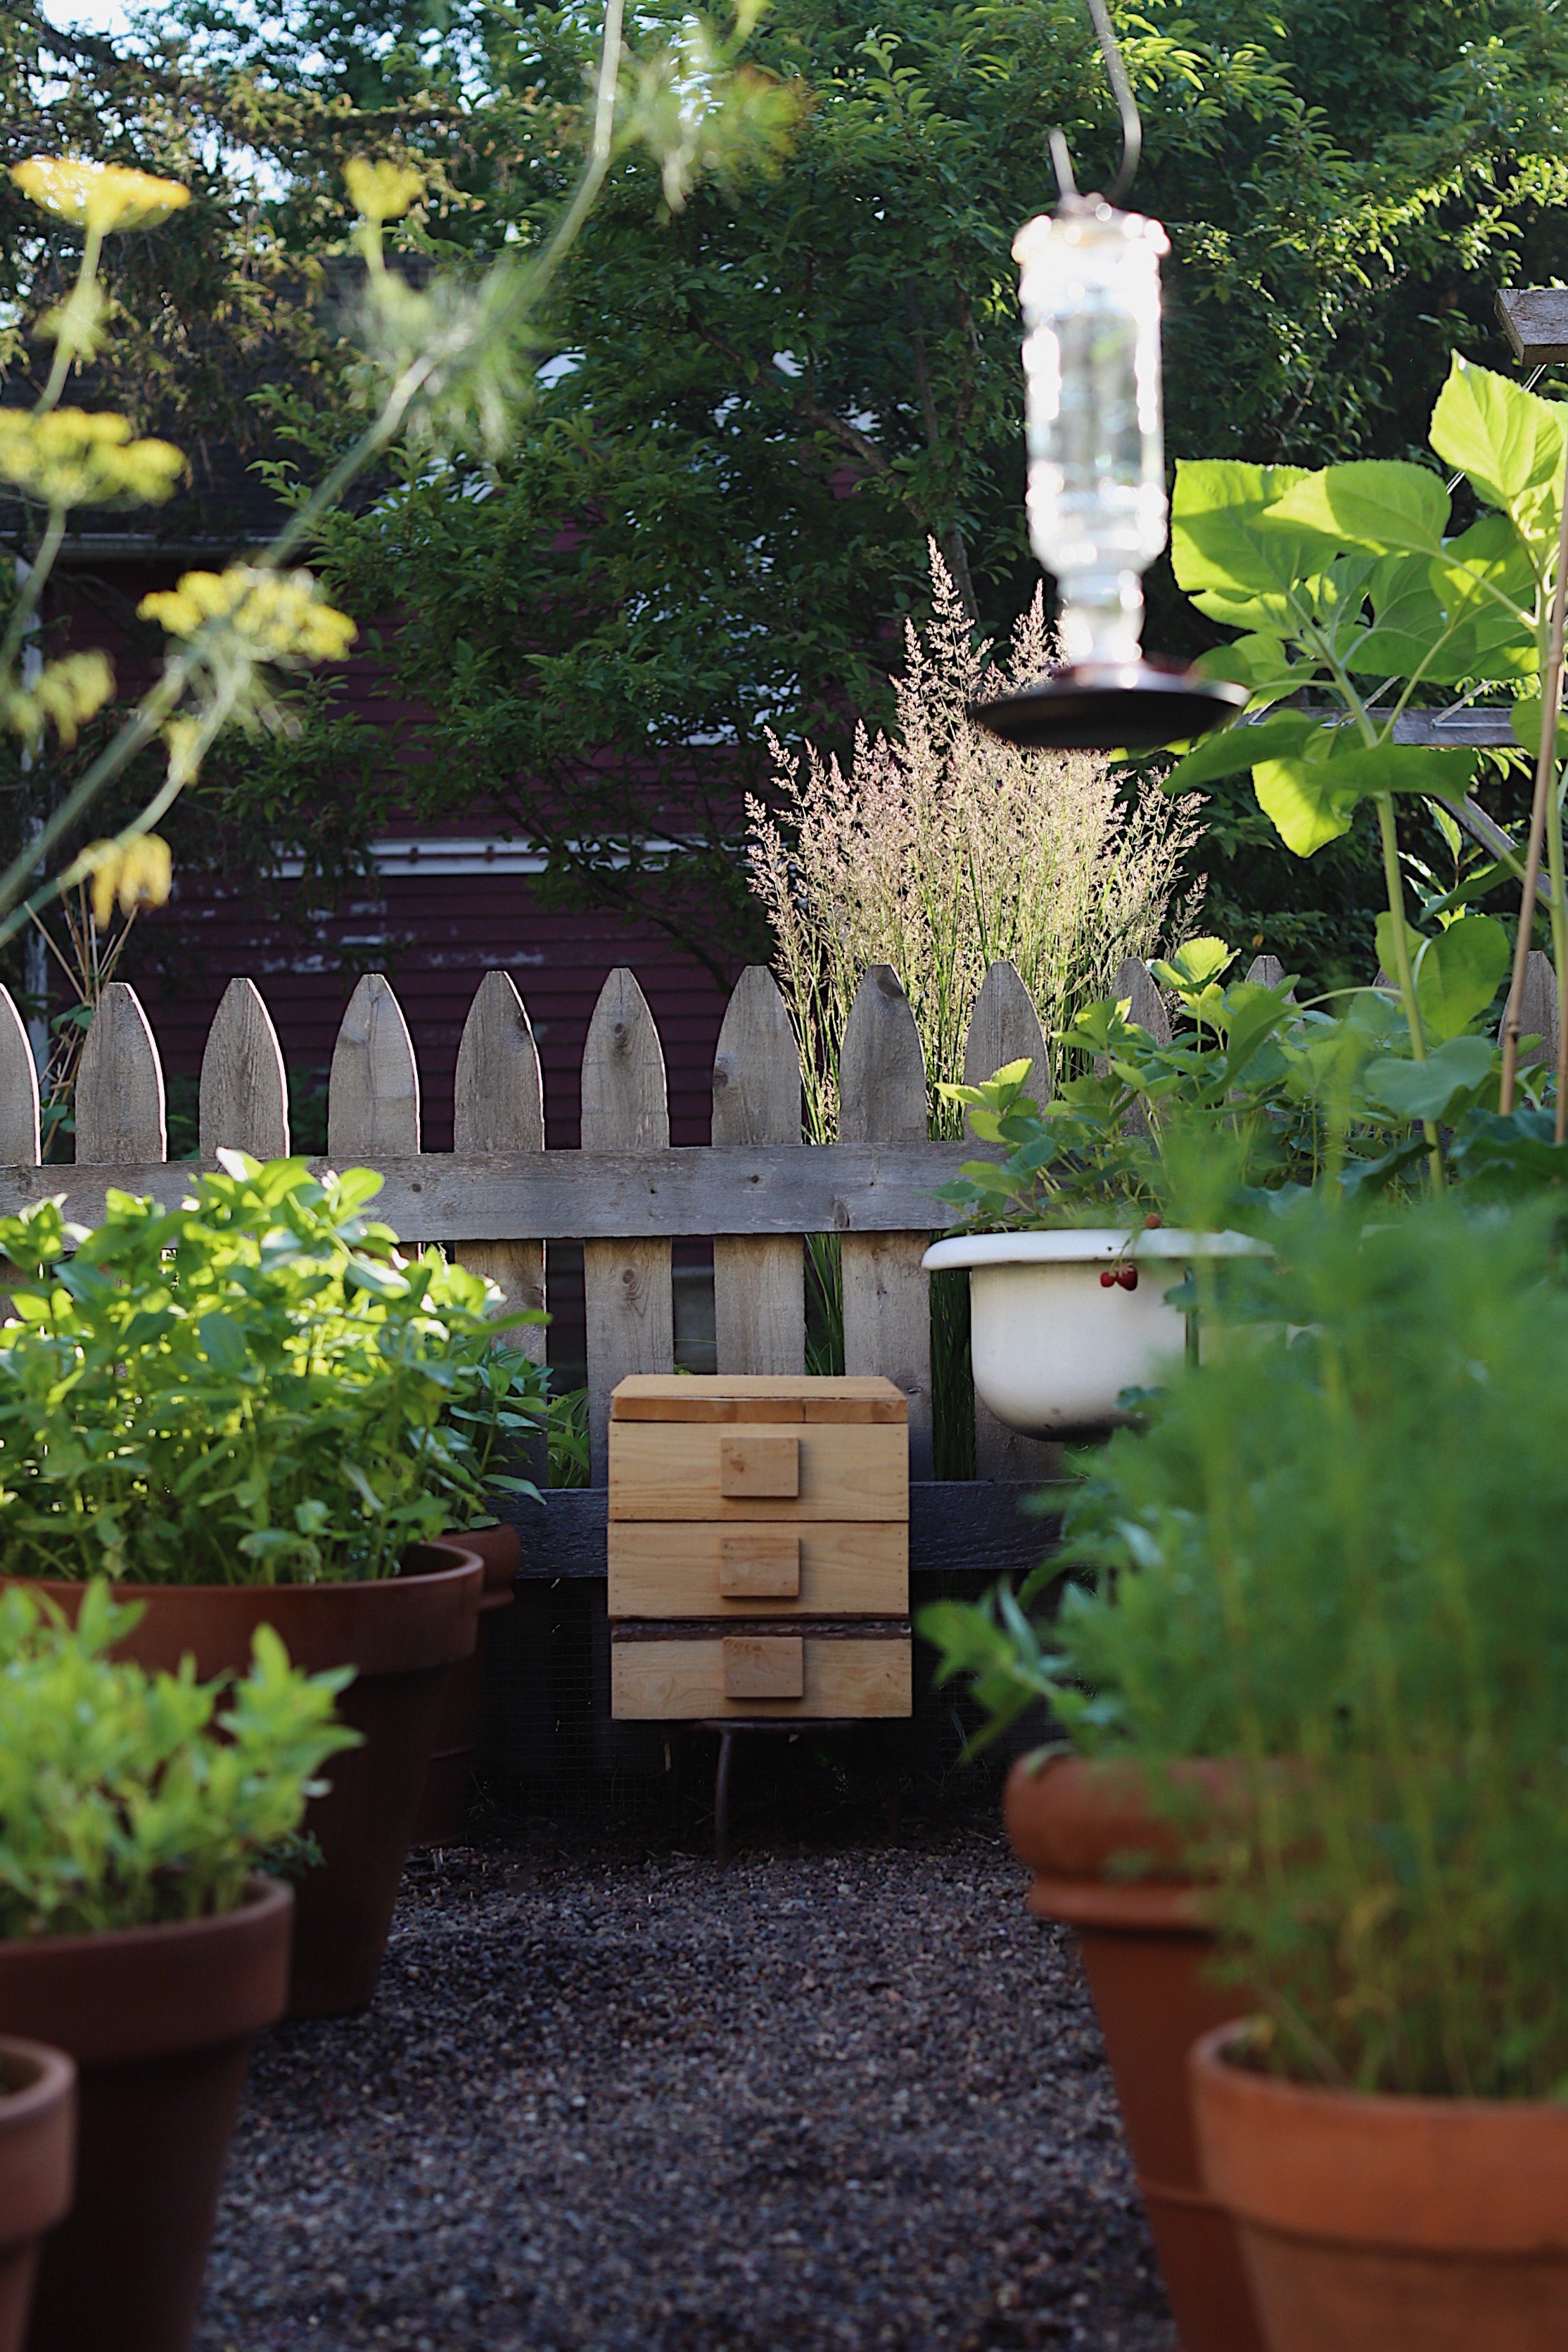
Composting with worms also requires little in the way of time and money. Worms are easy to keep happy, so long as they’re fed, warm (55 to 75 degrees F), and watered regularly. You can purchase a worm bin kit online (I have this beautiful wooden one from Etsy vendor Red Spruce Woodworks), or you can make one yourself (see below). If you have kids, worm farming is a fun way to lure them to the garden. To get started, you’ll need a bin, newspapers, garden soil, and worms. Here are directions and links!
Materials
worm bin (homemade or commercial)
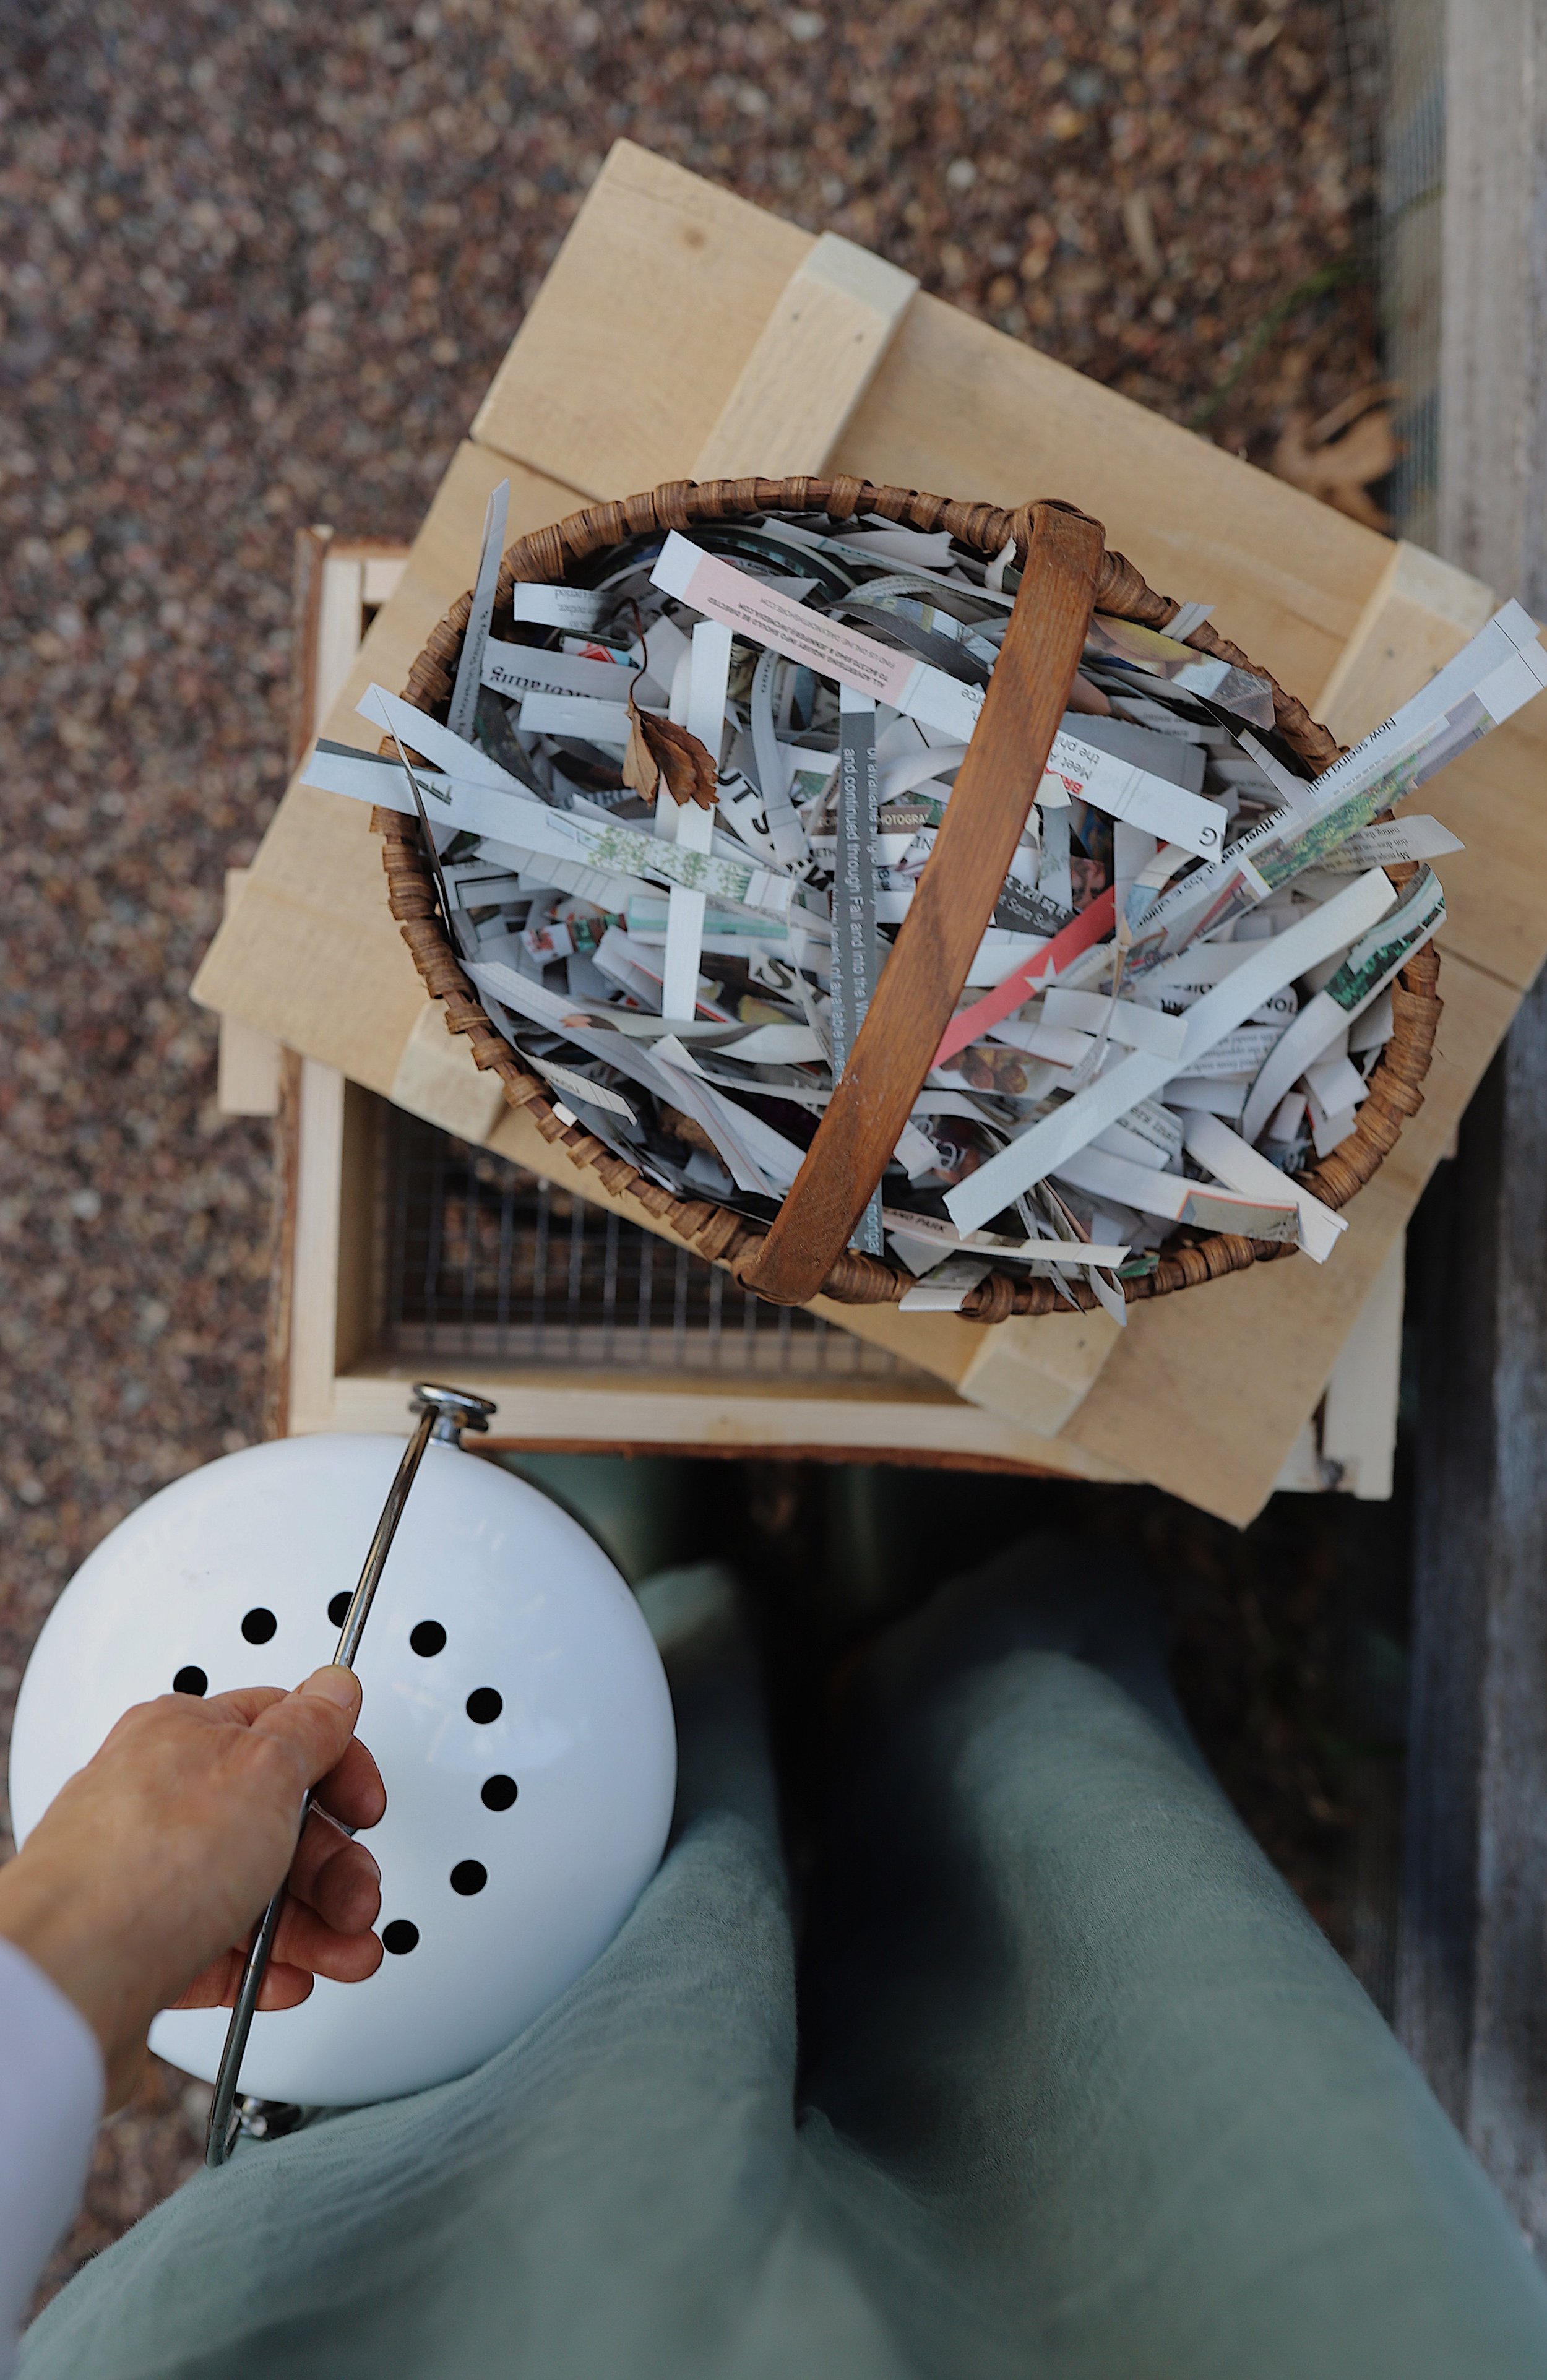
50 pages of newspapers (black and white only)
spray bottle filled with water
garden soil
Directions
Buy or build a bin. I have a stackable wooden bin I purchased on Etsy, but you can easily make a bin yourself by drilling 1/4” holes in the top, bottom, and sides of an opaque 10-gallon rubber storage bin (like this). Some gardeners nest the bin inside a second, identical bin (that you don't drill holes into!) so that the second bin acts as a catchment basin in the event that liquid drains from the first bin.
Prepare the bedding. Instead of soil, composting worms live in moist bedding, which provides the air, soil, and water they need to survive. To prepare the bedding, tear the newspapers into 1/2” strips, then use them to fill the bin 3/4 full, keeping the bedding fluffy (not compact). Spray the bedding with water so that it’s moist but not soggy, like a well-wrung sponge. Sprinkle 3 cups of soil on top of the newspaper to provide grit for the worms’ bellies.
Add the worms. You’ll need red wigglers, which can be found at bait shops or specialist shops online. To figure out how many worms to buy, consider one pound of worms will eat about 1/2 pound of food scraps per day.
Bury food scraps under the bedding. Before adding food scraps to your bin, break them into 1-inch pieces. Then sprinkle them onto the surface of the bedding material and cover the scraps lightly with more newspaper. Most fruits and veggies are fine to use – just be sure to avoid citrus, meat, bones, oils, and dairy products.
Cover the bin. Cover the bin and choose a permanent spot with temperatures between 55°F and 80°F. Continue to feed, water, and fluff your bin and keep an eye on worms to ensure they have enough food and moisture. Adjust feedings and watering, as needed, just as you would for a pet.
Harvest your castings. About two weeks before harvesting, start feeding your worms on one side of the bin only to encourage them to migrate there, so you can easily gather castings from the other side of the bin. If you have a multi-tray system like the ones sold online, put food in the tray above the one you want to harvest. In both types of systems, the worms will migrate to the food and away from the castings so that you can easily collect them.