How to Grow a Sack of Potatoes

Growing potatoes is a perfect beginner’s gardening project, especially for children. Potatoes are nutritious, tasty, easy to grow, and a joy to harvest. If you have lots of room in the garden, you can grow them in raised beds or rows, but if space is an issue, growing potatoes in a sack is an excellent option. Because they grow poorly in hot weather, be sure to plant your potatoes in early spring when daytime temperatures are in the 60s. A good rule of thumb is to plant them three to four weeks before your last frost date. In terms of location, choose an area that gets at least six hours of sunlight a day.
One thing that makes growing potatoes different than other root veggies is that potatoes need to be “hilled up” as they grow. Hilling up is a technique that involves adding more soil around plants as they grow so that only the top leaves stick out of the ground, forcing new tubers and new potatoes to grow under the new mound of soil. This is precisely why grow sacks (and burlap bags) that can be rolled up and expanded vertically make such excellent containers for potatoes. They’re also ideal for small space gardeners who are looking for creative ways to add grow space to patios, decks, or even small plots of land. Children love them too, especially because they give them a sense of authority and ownership of their plants. If you’d like to give it a try, here’s what you’ll need and how to do it.
Materials
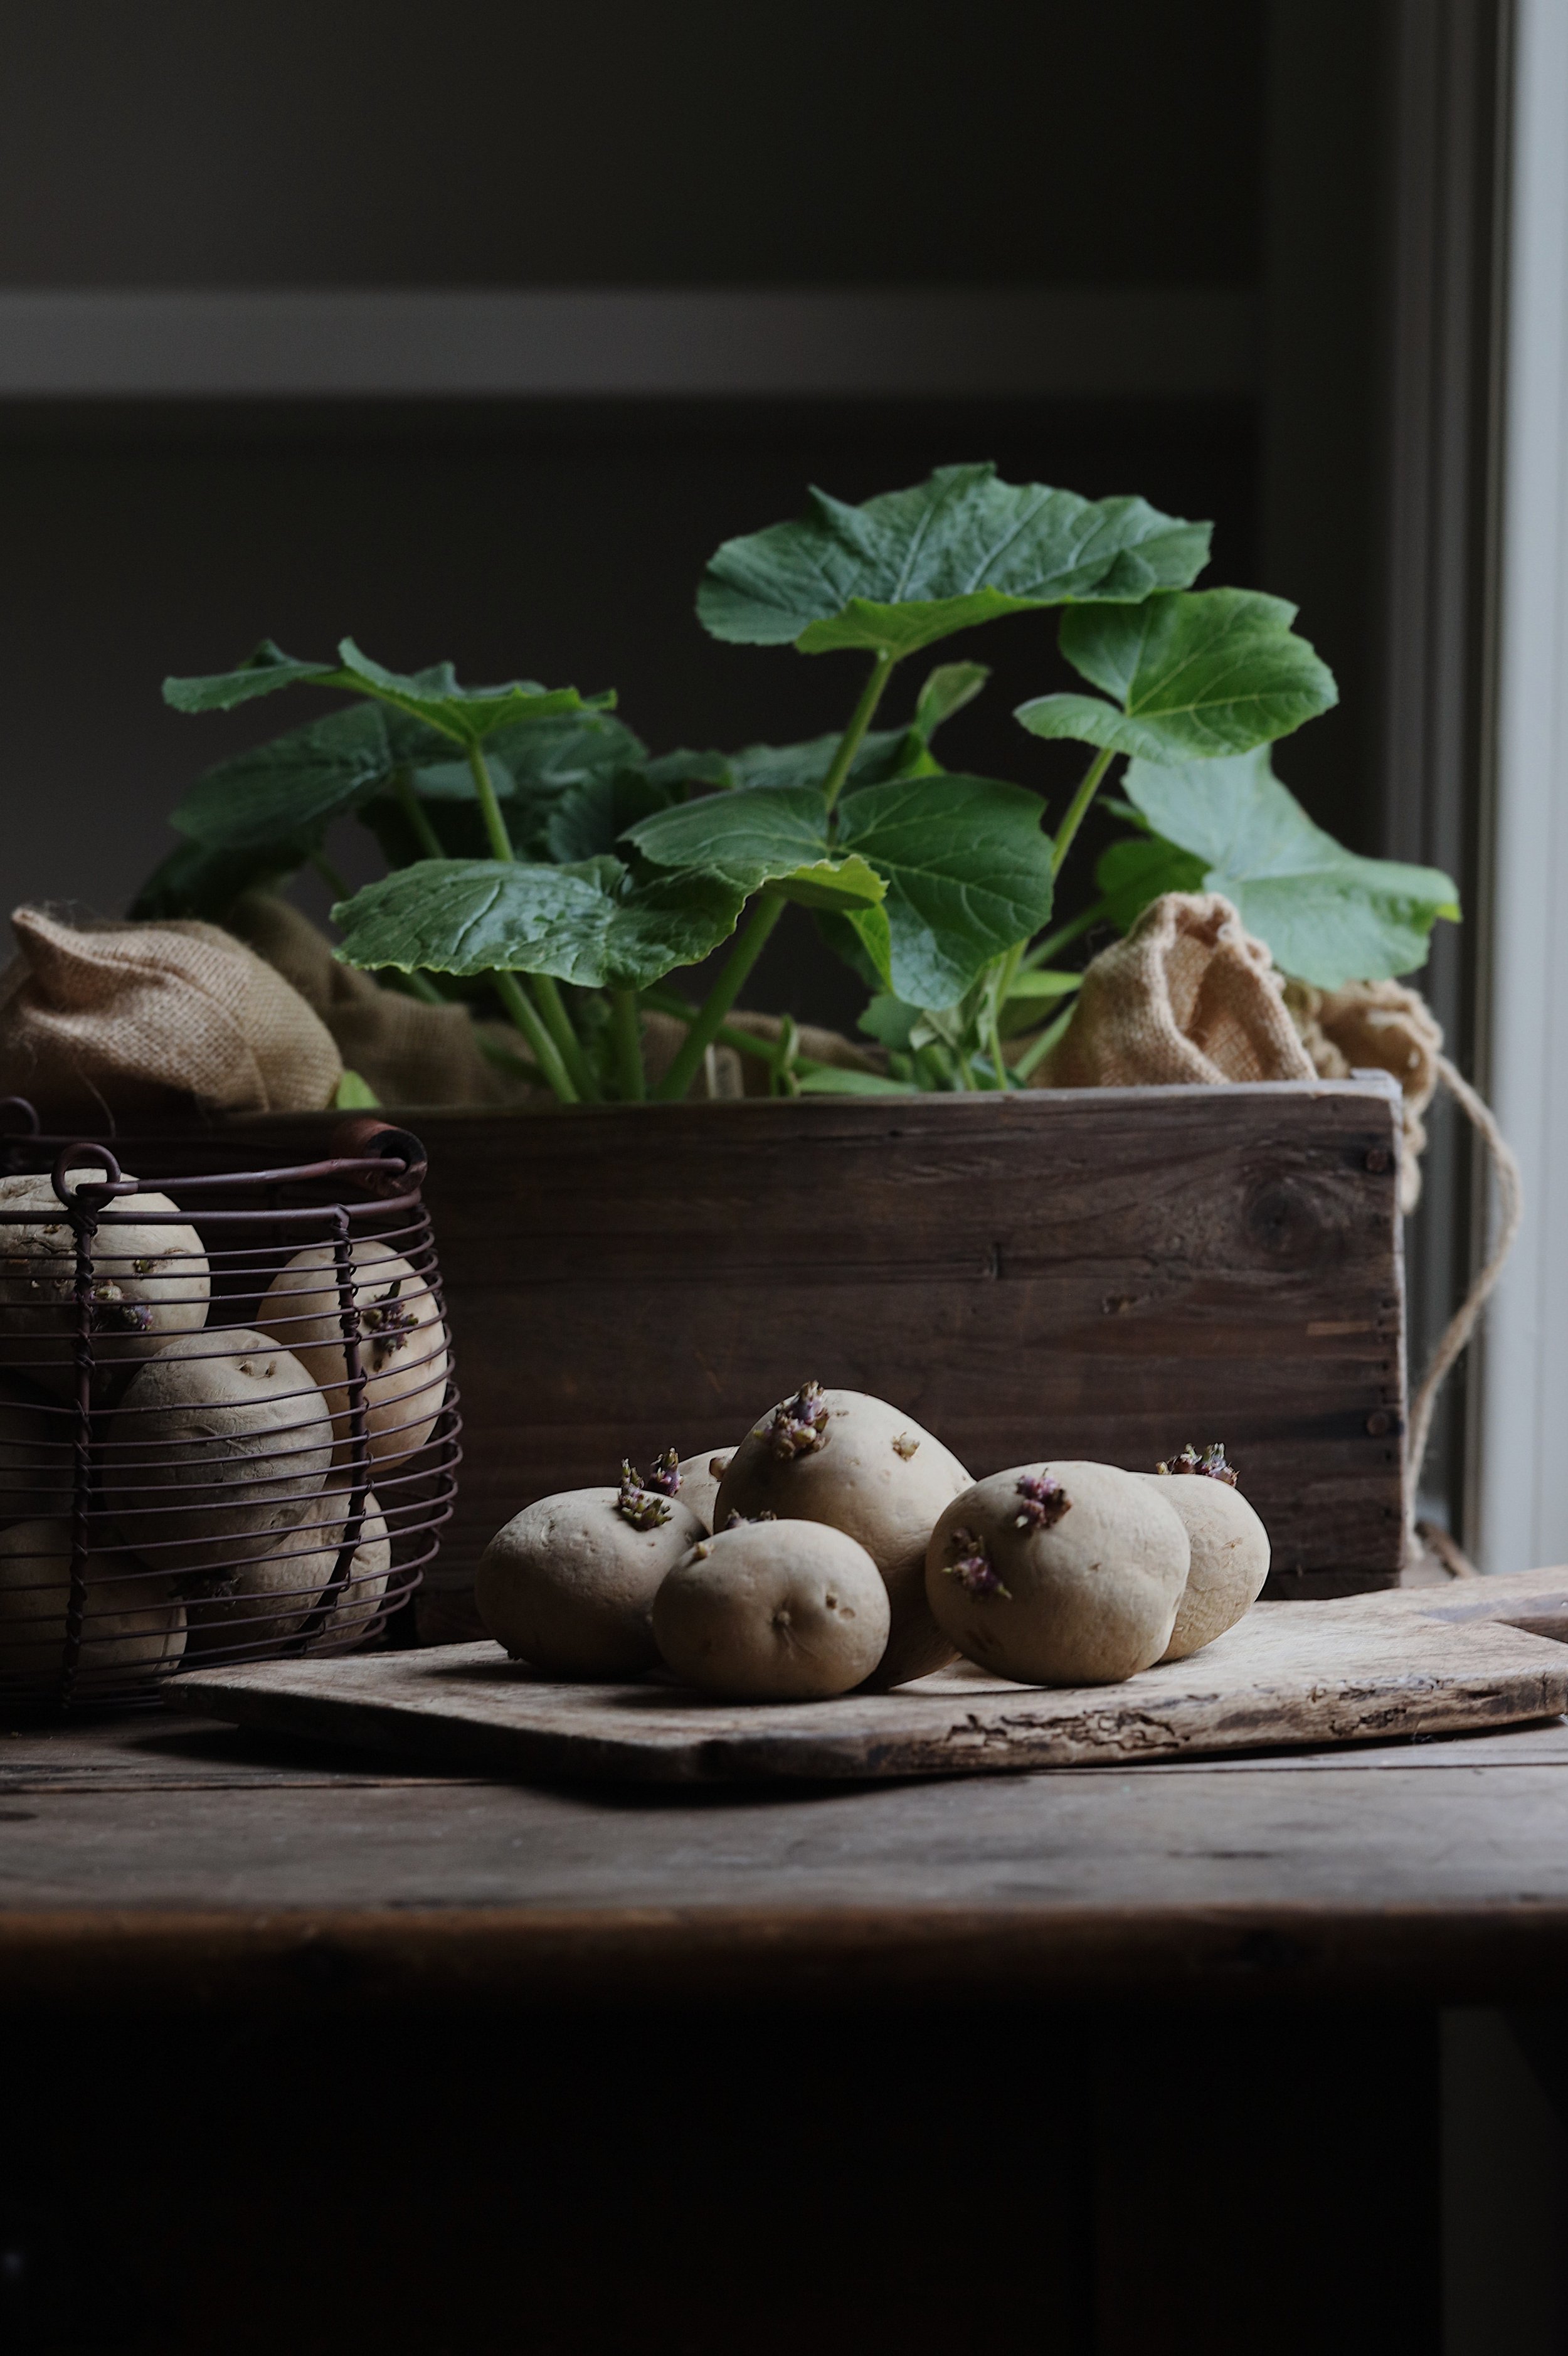
3 seed potatoes (I get mine here, but most garden centers carry them)
paring knife
1 burlap sack, 2 feet wide x 4 feet high (any kind of grow bag will work too)
potting soil
compost
trowel
watering can
cardboard box
scissors
paper bag
Directions
1. Cut the seed potatoes into 2-inch pieces, making sure each piece has one or two eyes. Set the pieces cut side up on a counter, at room temperature, for a few days until the cut ends dry out (this will keep them from rotting once planted). The potato’s eyes may start to grow shoots during this time this is totally fine.
2. When you’re ready to plant your potatoes, place the burlap sack outside at your growing location. Roll down the edges of the sack to create a thick, supportive container about 10 inches tall.
3. Fill the burlap sack 3/4 of the way with potting soil and top off with compost. Mix well.
4. Place the potato pieces on the soil, about 4 inches apart with the eyes facing up. Push the potatoes 2 inches into the soil and cover them with a layer of compost.
5. Water the top of the soil lightly so that it’s moist but not sopping wet.
6. Check your potatoes daily and water if needed, continuing to keep the soil moist but not too wet. After two to three weeks, the seedlings should start to emerge.
7. When the potato plants are 2 to 3 inches tall, add more of the soil compost mix to the sack to create a mound around the stem of the potatoes, leaving the leaves unburied. This is “hilling up”.
8. As your plants grow, continue hilling up the potatoes so that their stems are covered with compost. Unroll your bag as needed to make room for more compost.
9. When you start to see blossoms on your plants, that means potatoes have started to grow below the soil’s surface. Allow the plants to continue to grow until the leaves and stems wilt and turn brown (for most potatoes, this will take about 90 days from when you planted them).
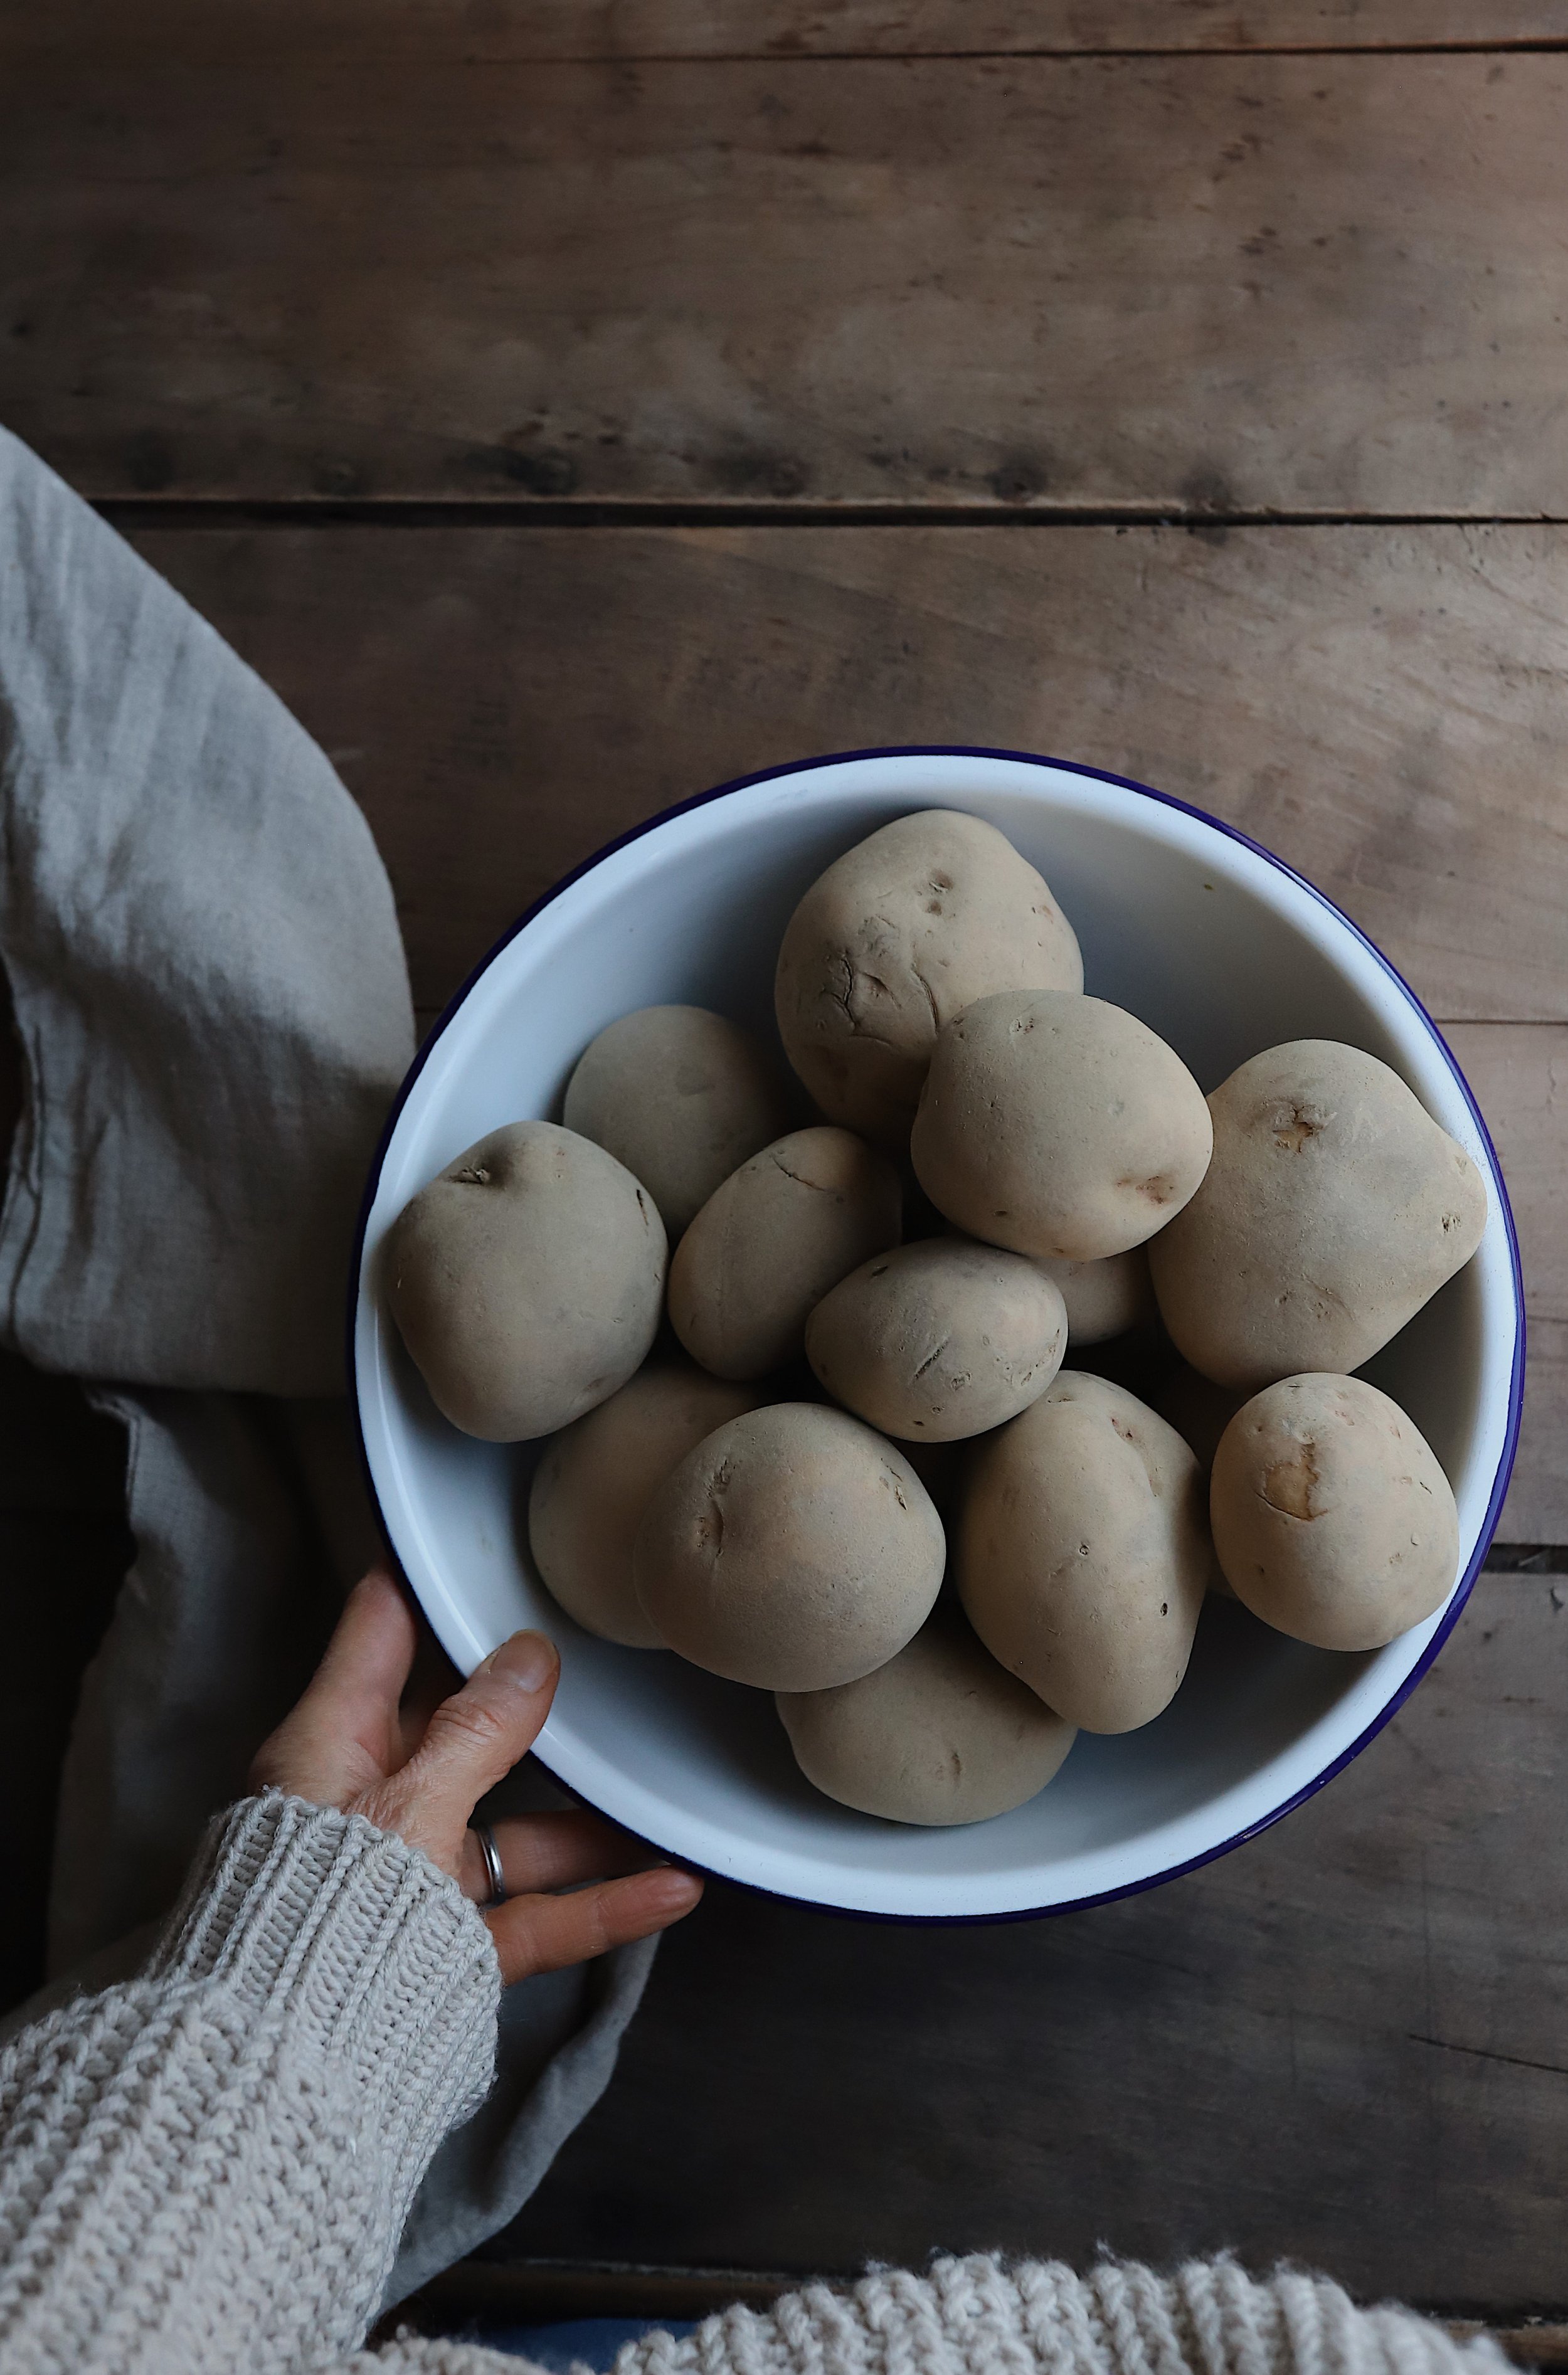
10. Harvest the potatoes by carefully breaking up the soil around the plants with a trowel and then using your hands to dig up the potatoes.
11. Place the potatoes in a single layer in a cardboard box and store in a cool, dry, dark place so that they can cure, or dry, for up to two weeks.
12. Once the potatoes have dried out, move them to a paper bag, then roll the bag tightly to close it, and store the bag in a cool, dry, dark place until you’re ready to eat your potatoes.
13. When you’re ready to eat your potatoes, scrub and wash them first, then enjoy!