Tips for Backyard Composting


There’s a saying in the gardening world that “there’s an entire world beneath your feet”. Because what looks like lifeless dirt, is actually one of the most biologically diverse habitats on earth. This stuff called soil is much like a forest or a marsh, except that it’s arguably more important from a biodiversity perspective. After all, one shovelful of rich, organic soil contains more species of microorganisms than the entire above-ground Amazon rainforest.
As an organic gardener, I learned the hard way that a garden is only as healthy as its soil. Hearty soil supports healthy organisms, which in turn support healthy plants. It’s no wonder that new gardeners often focus on growing healthy plants, while seasoned gardeners aim to grow healthy soil.
I can remember the precise moment when my focus turned from plants to soil. It was just after my second year gardening. My first year in my garden had been a roaring success: My veggies grew and produced like gang busters; pests, diseases, and weeds were nary a concern; and my flowers bloomed in heaps on repeat.
But lest you think this is a saccharine story about a boastful and intuitive gardener, let me assure you, my second year leveled my ego. The pride and joy I’d experienced the previous summer was replaced with consternation, self-flagellation, and humility. My plants were dwarf-like and stagnant; my flowers failed to bloom; and the stems and leaves of most of my plants were mottled and puny. Instead of a nursery, my garden looked like a morgue!
For a while there, I thought it was me. But after thumbing through a stack of gardening books, I remembered a common mantra among gardeners: “feed the soil, not the plants.” I realized rather quickly that the plants from my first year’s garden had depleted the nutrients from the soil, and since I’d failed to replace them, the plants from my second year’s garden were malnourished.
Fortunately, it’s not that difficult to turn poor soil into a plant-friendly medium so long as you understand what comprises healthy soil. Soil is made up of minerals, organic matter, air, and water. But the magic is in the living organisms – the microbes, fungus, worms, insects, and small animals – that flourish when the components of soil are in balance.
One of the best ways to infuse more magic into your soil is by amending it with compost twice a year- once in the fall and once in the summer (and more often if you can!). While soil contains some organic matter, compost is 100 percent organic matter and, more precisely, organic matter that has decomposed and is capable of feeding and conditioning soil. Aside from enriching your soil, compost also helps retain soil moisture, slow evaporation, and stimulate the growth of beneficial organisms.
After my second growing season, I started taking composting seriously. I bought it at the nursery by the bagful, and made it myself. If you’ve got the space, it’s worth the effort to start a backyard system. It will save you money, obviously, but it’ll also help divert food and yard waste from the landfill to your garden. When our family started composting a decade ago, we were able to cut our household waste by more than 40 percent.
If you want to give it a try, here are eight tips for setting up a successful backyard composting system as well as a little follow up on the difference between what gardeners refer to as “greens” and “browns”.
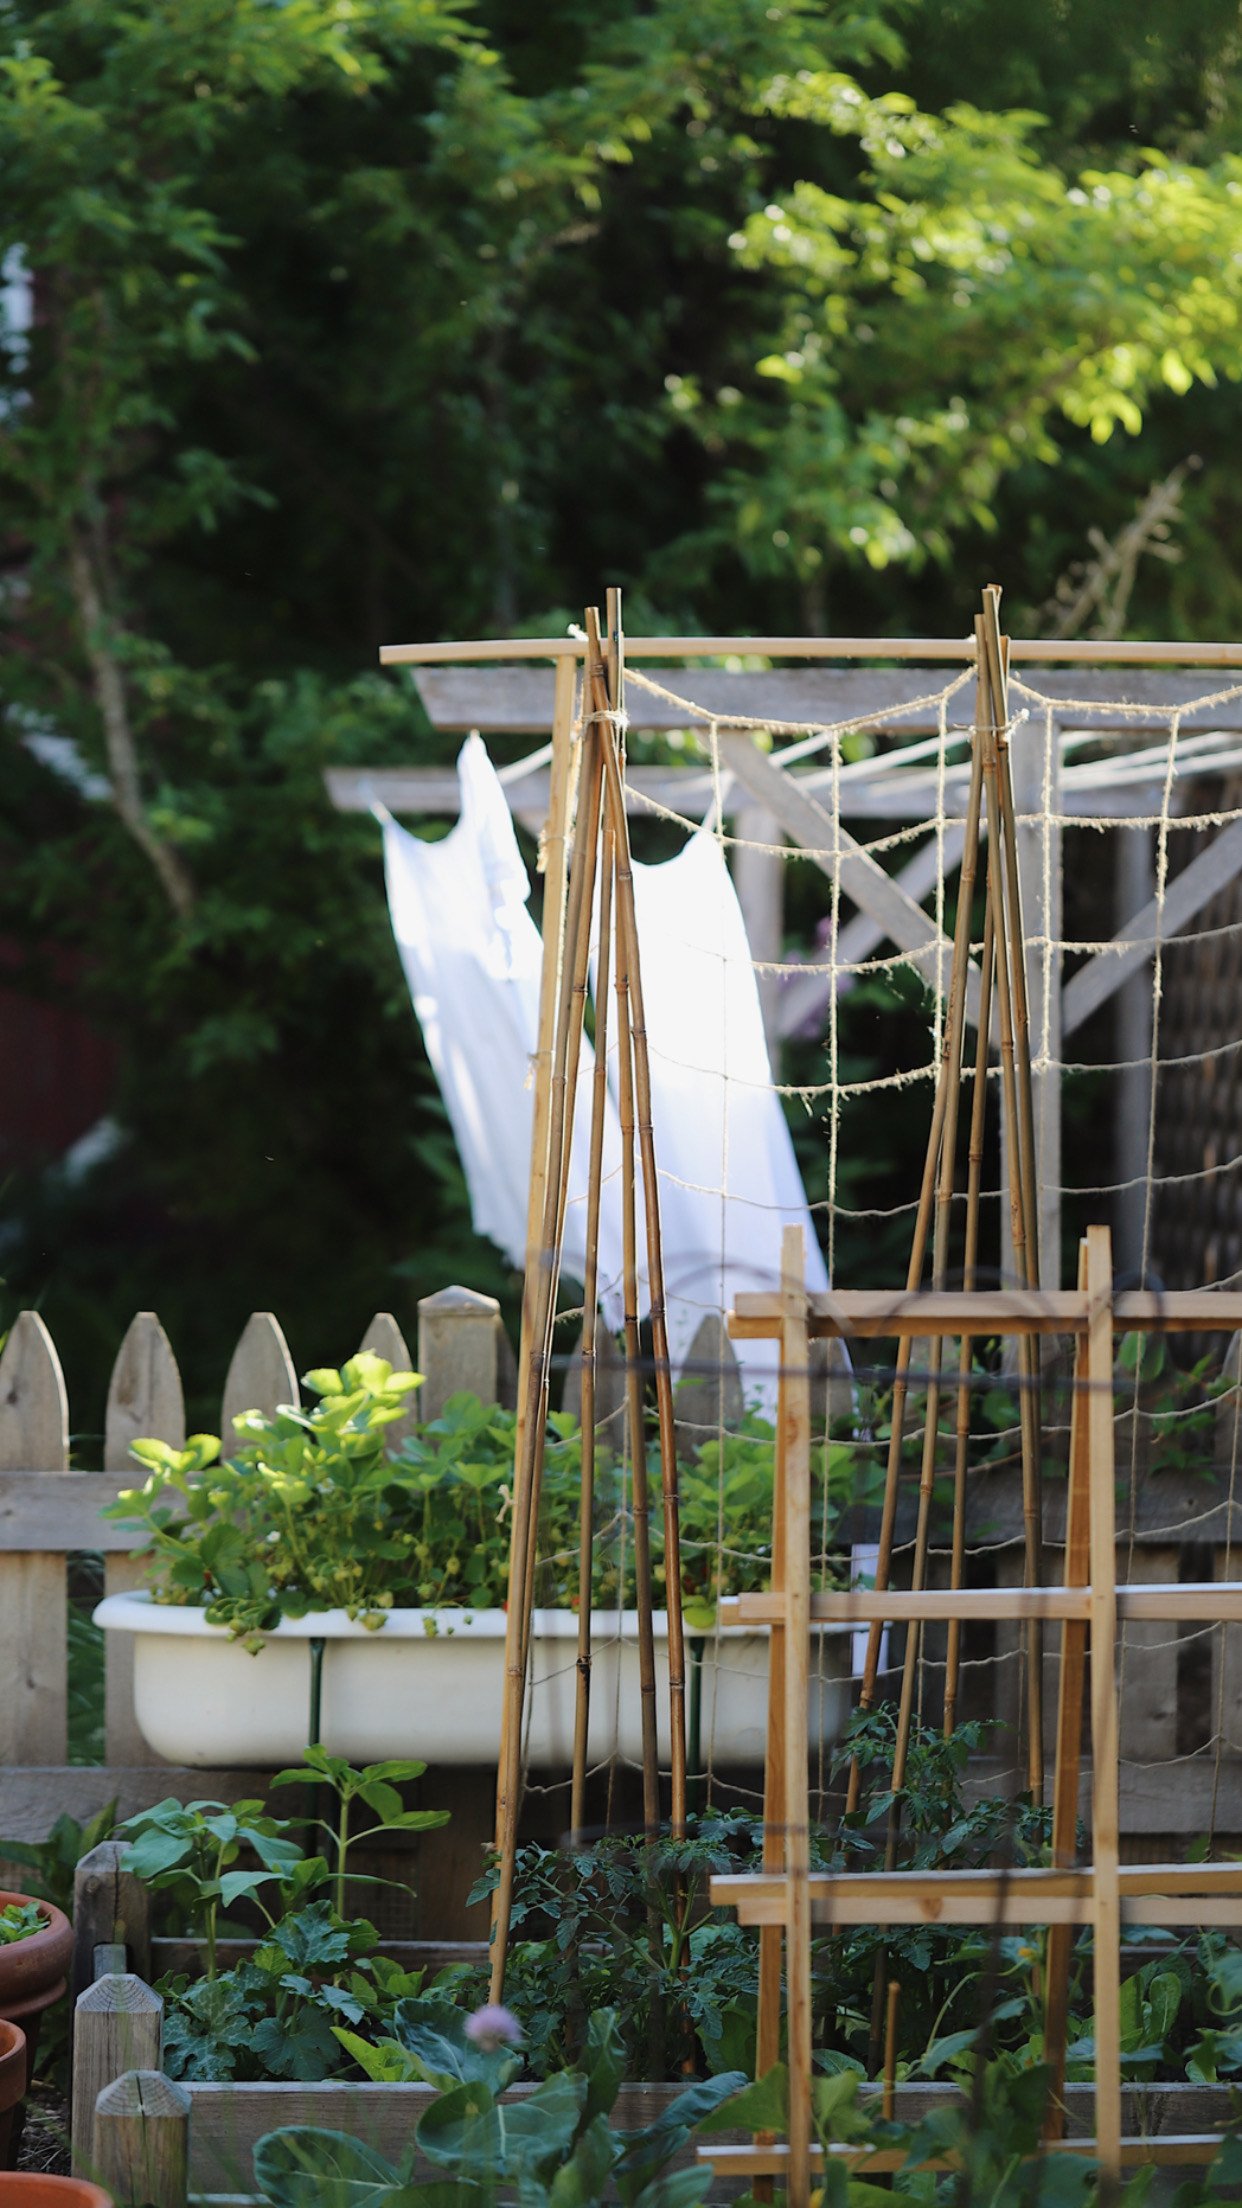
Choose a compost bin or create a pile
A compost bin or an open pile will work. Bins have the advantage of keeping things neat and contained, while keeping out rodents and other critters. You can buy a bin or make one yourself.
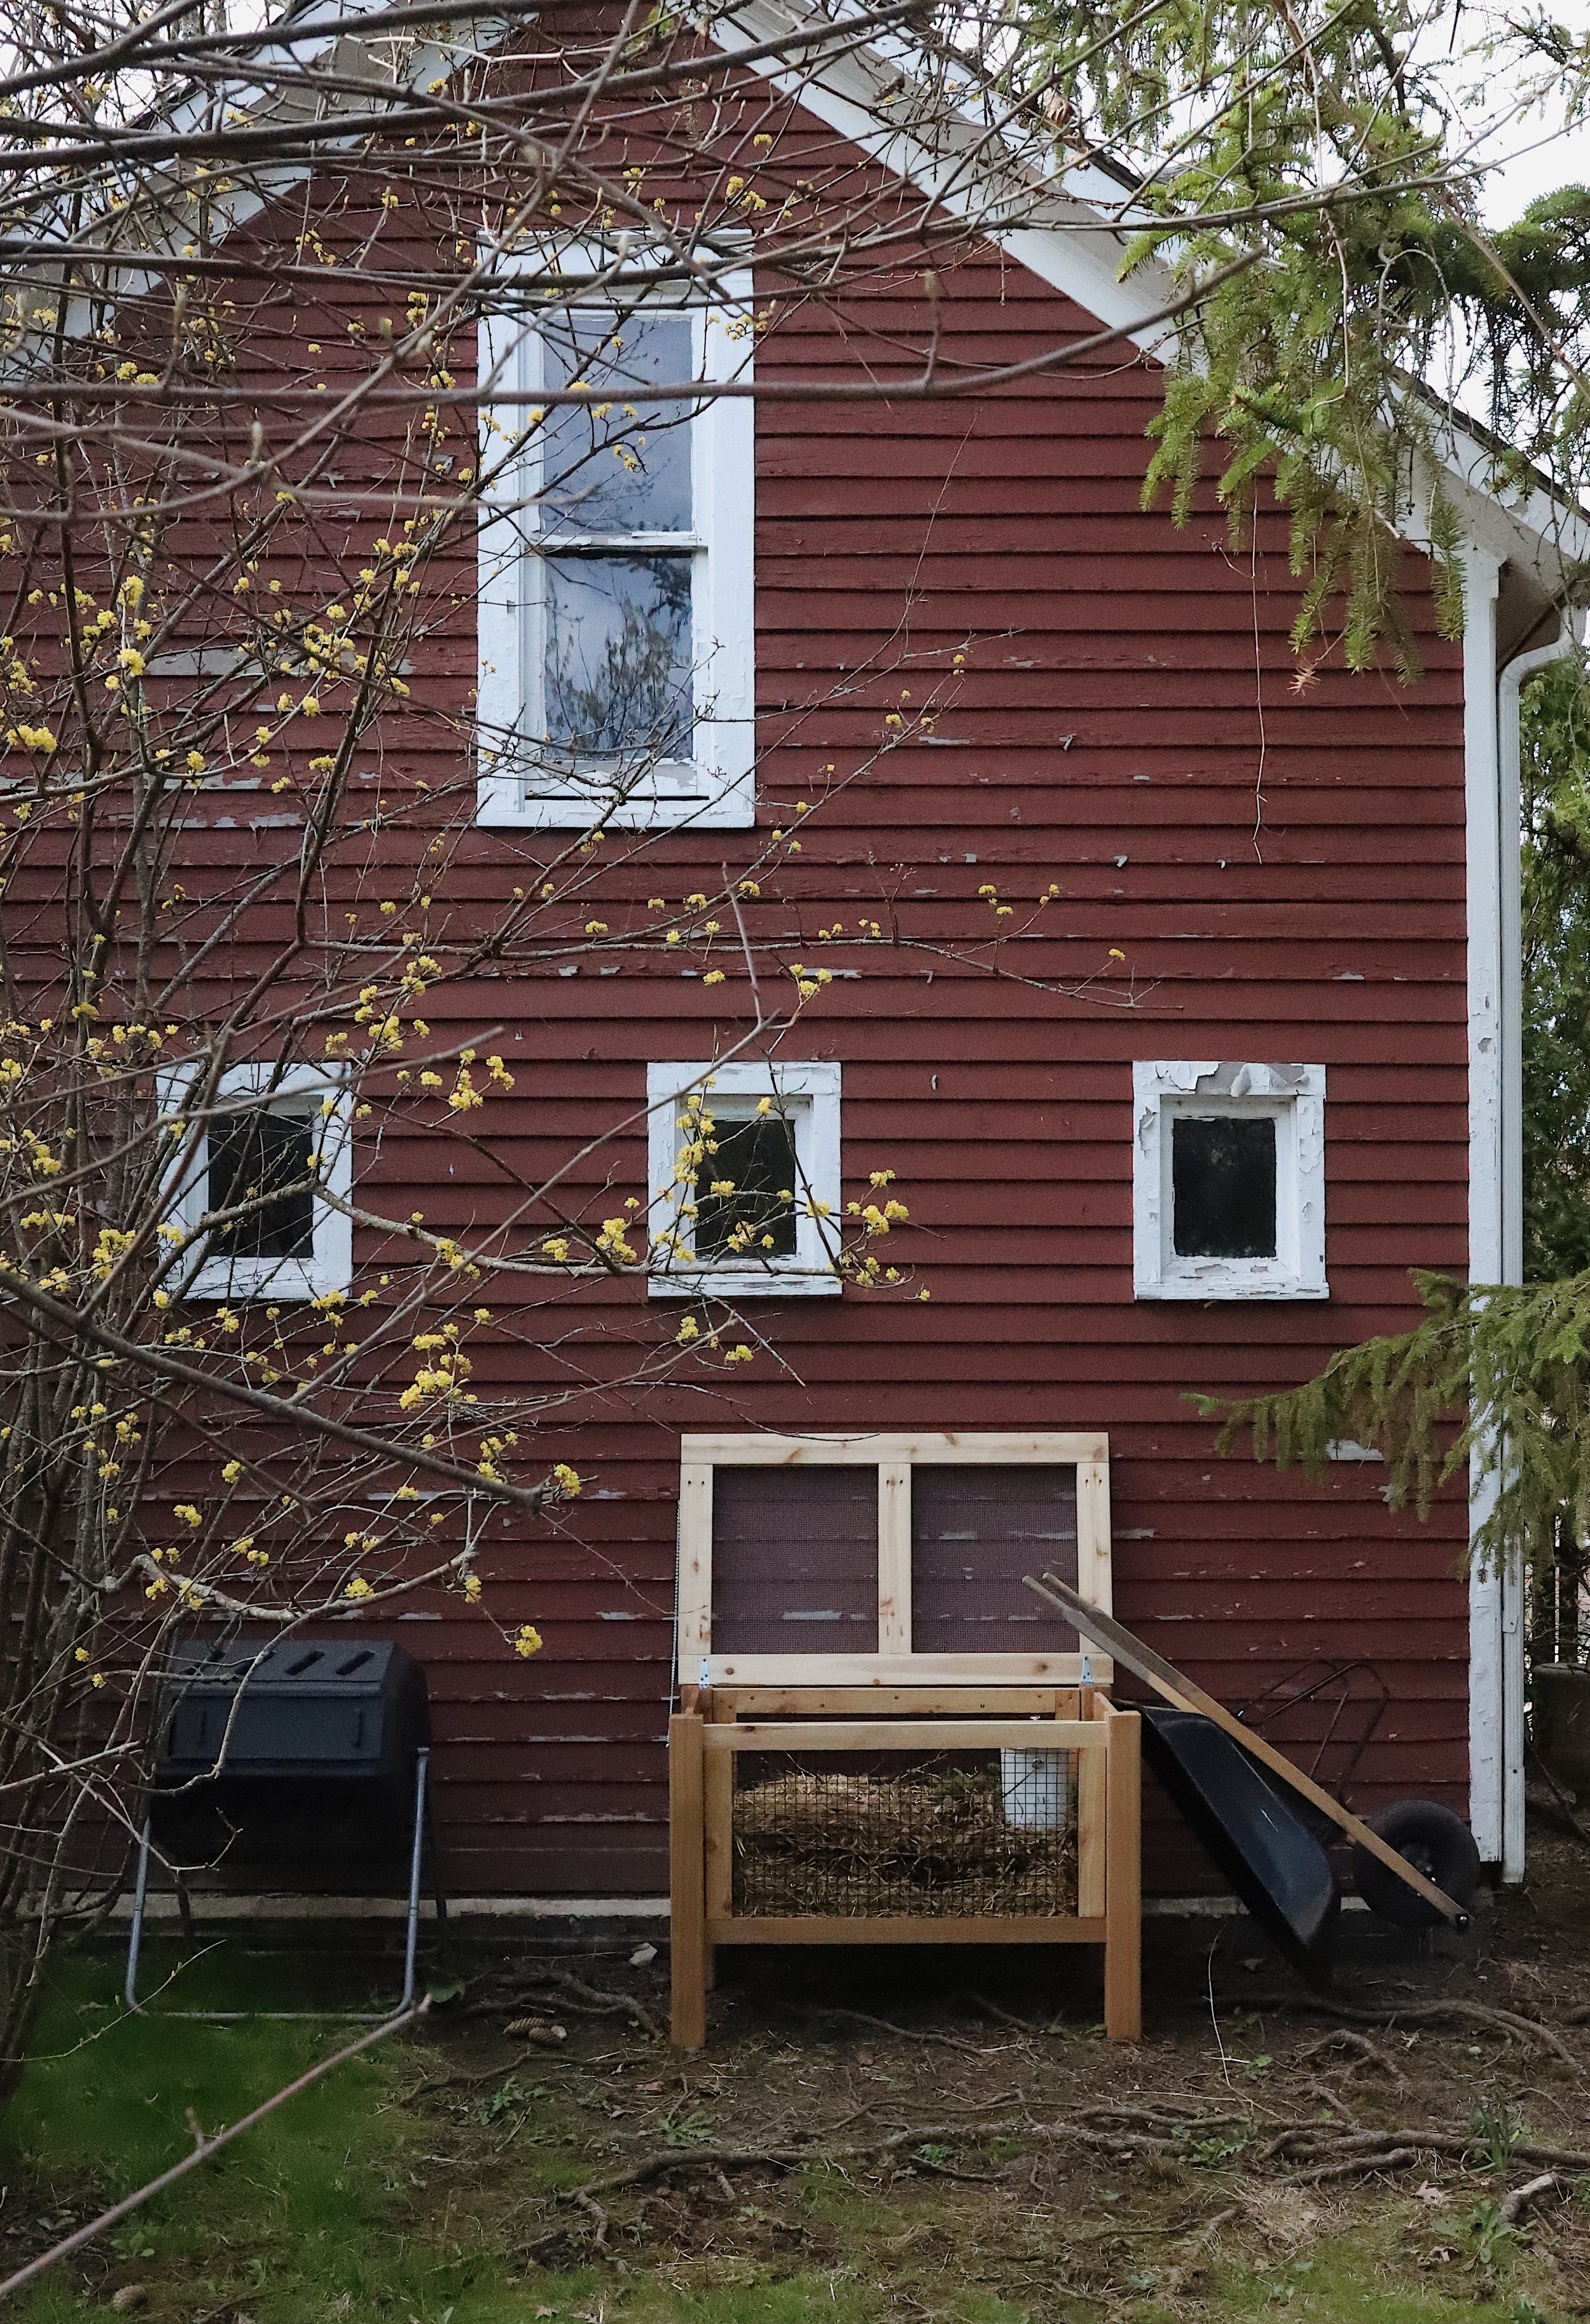
Choose a location for your compost
The best locations are flat, well-drained, and easily accessible. In cool latitudes, place your compost bin or pile in a sunny spot with shelter to protect it from freezing cold winds. In warm, dry latitudes, place your compost in a shadier spot to keep it from drying out too much.
Understand the concept of browns and greens
There are two main ingredients in a compost pile: carbon-rich ingredients (“browns”) and nitrogen-rich ingredients (“greens”). Carbon ingredients are the energy food for microorganisms and are typically dry, tough, or fibrous and tan or brown in color. The nitrogen group provide the protein-rich components that microorganisms need to grow and multiply.
Create a system for collecting kitchen scraps
Have a system for collecting kitchen scraps ( “greens”), whether it be a compost bucket, an old crockpot with a lid, or a large bowl you keep in the freezer to keep foods from rotting and smelling in the house.
Collect and store brown (carbon-rich) materials
Create a system for collecting and storing brown materials to keep them dry, for example in a brown paper yard bag in a shed or garage or in a weather-proof aluminum trash can with a lid near the compost pile.
Alternate layers and strike a healthy carbon to nitrogen ratio
Create layers in your compost pile, starting with a four-inch layer of twigs, hay, or straw, to allow for good air circulation, followed by a layer of dried leaves, and a layer of finished compost. Then alternate between layers of green (nitrogen-rich) materials and brown (carbon-rich) materials. Striking a healthy carbon to nitrogen ratio will speed up the process of decomposition. A good rule of thumb is to add four times as much carbon-rich ingredients as nitrogen-rich ingredients (in volume, not weight).
Maintain your compost pile or bin
While you could leave your compost to decompose on its own, a little maintenance goes a long way to speed up the process. For example, when you add fresh materials, be sure to mix them with the layers below it. Also, aim to keep compost the consistency of a rung-out sponge – moist but not too soggy. If it’s too wet, add brown materials; if it’s too dry, add wet materials and/or water. If it’s stinky, add a handful of shredded newspaper or straw. Finally, mix or turn the compost once a week to introduce oxygen and eliminate odor.
Use the finished compost
It can take anywhere from 2 weeks to 12 months to produce compost. In general, you’ll know it’s ready when its dark and crumbly, with a pleasant, earthy smell. At that point, you can use it to amend your soil or make compost tea (see page 000).
|
(“Greens”)
|
(“Browns”) |
Do not compost |
|
Fruits and vegetables |
Corn cobs and stalks |
Black walnut tree leaves/twigs |
|
Eggshells |
Paper |
Coal |
|
Coffee grounds |
Pine needles |
Charcoal ash |
|
Coffee filters |
Sawdust |
Meat or meat bones |
|
Tea bags/tea leaves |
Wood shavings |
Fish or fish bones |
|
Yard trimmings |
Straw |
Dairy products or eggs |
|
Grass clippings |
Dried vegetable stalks |
Diseased plants |
|
House plants |
Dry leaves |
Fat, grease, lard, or oil |
|
Fresh leaves |
Hay |
Cat, dog feces, or cat litter |
|
Hair and fur |
Straw |
Pressure-treated wood |
|
Seaweed |
Nutshells |
Sand |
|
Fresh manure |
Shredded newspaper |
Yard trimmings treated with chemicals |
|
Alfalfa meal |
Cardboard |
Color or glossy paper |
|
Feathers |
Wood ash |
Weeds gone to seed |