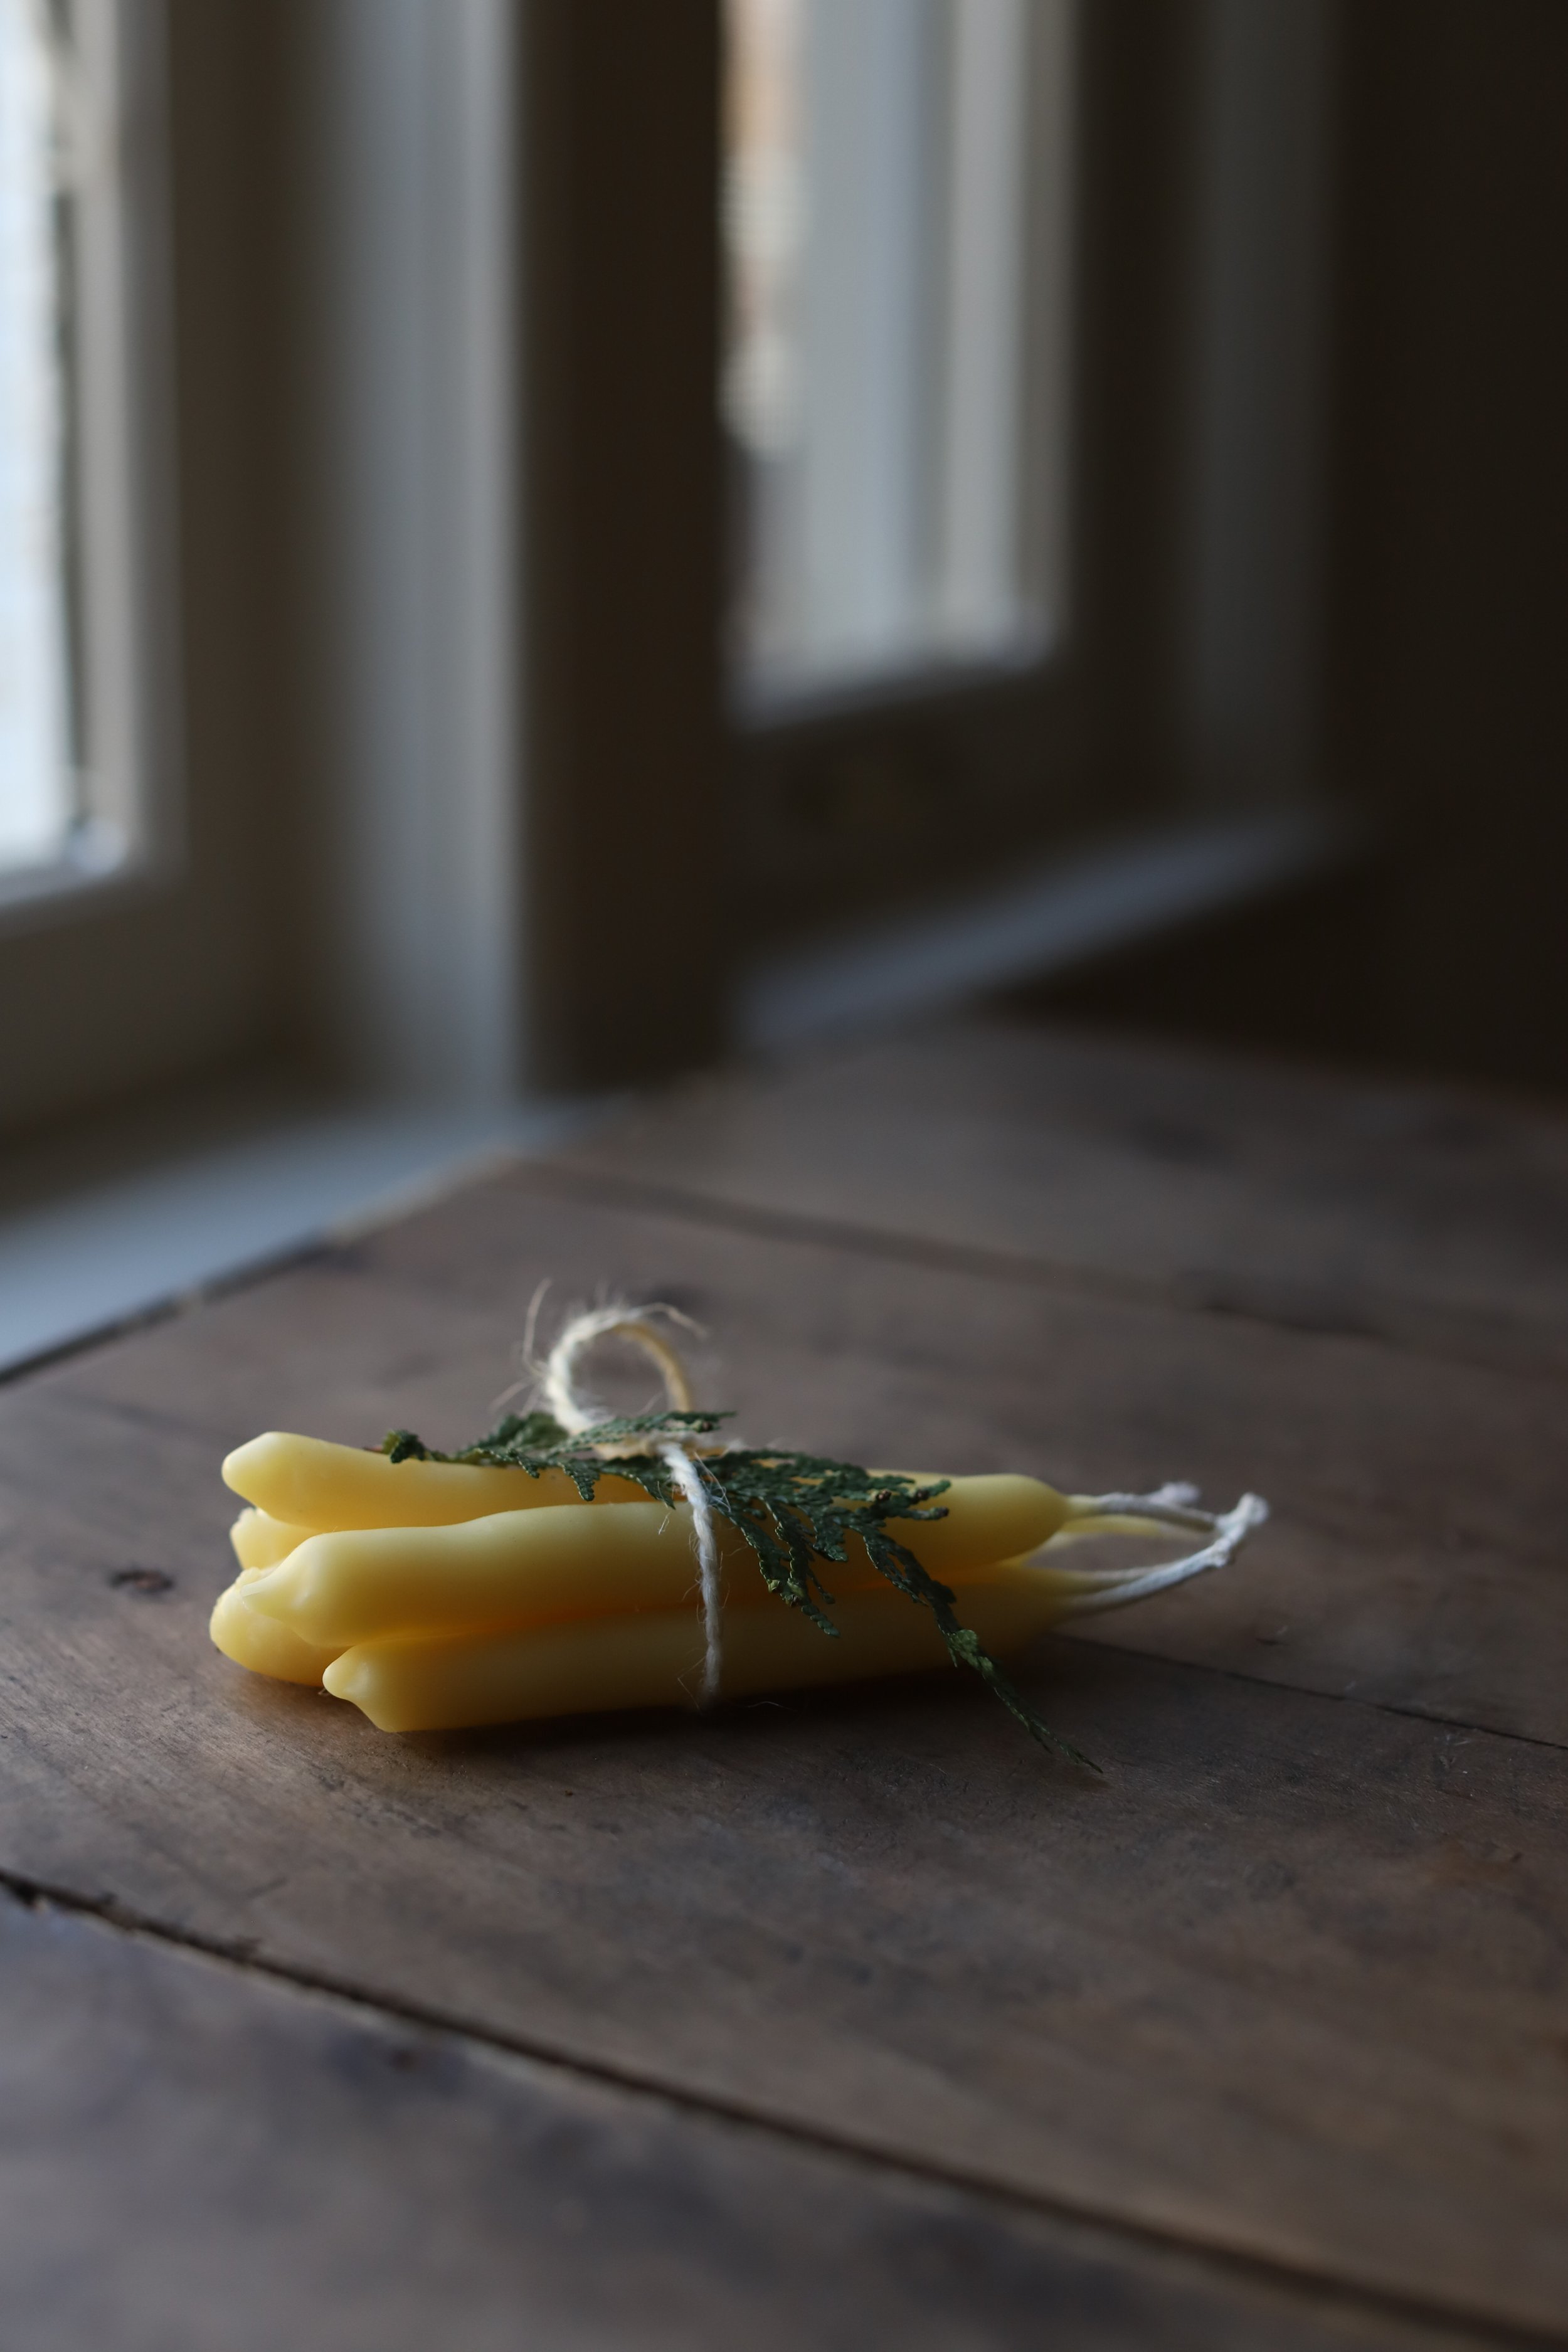
Hand-dipped Beeswax Candles
When Eloise and Benjamin were 3 and 6, we spent a day learning pioneer skills at a local farm school near our house in Washington, DC. I don’t recall everything we did that day, but I do remember carding wool, spinning yarn, making butter, and dipping candles.
Our school day took place outdoors on a cold December day, I suppose to make the experience feel as authentic as possible. Perhaps that’s why I spent so much time making candles - anything to be near the vats of beeswax warming over open fires. What I remember most about that experience is walking around a wide circle of waist high vats, each filled with melted beeswax or ice cold water.
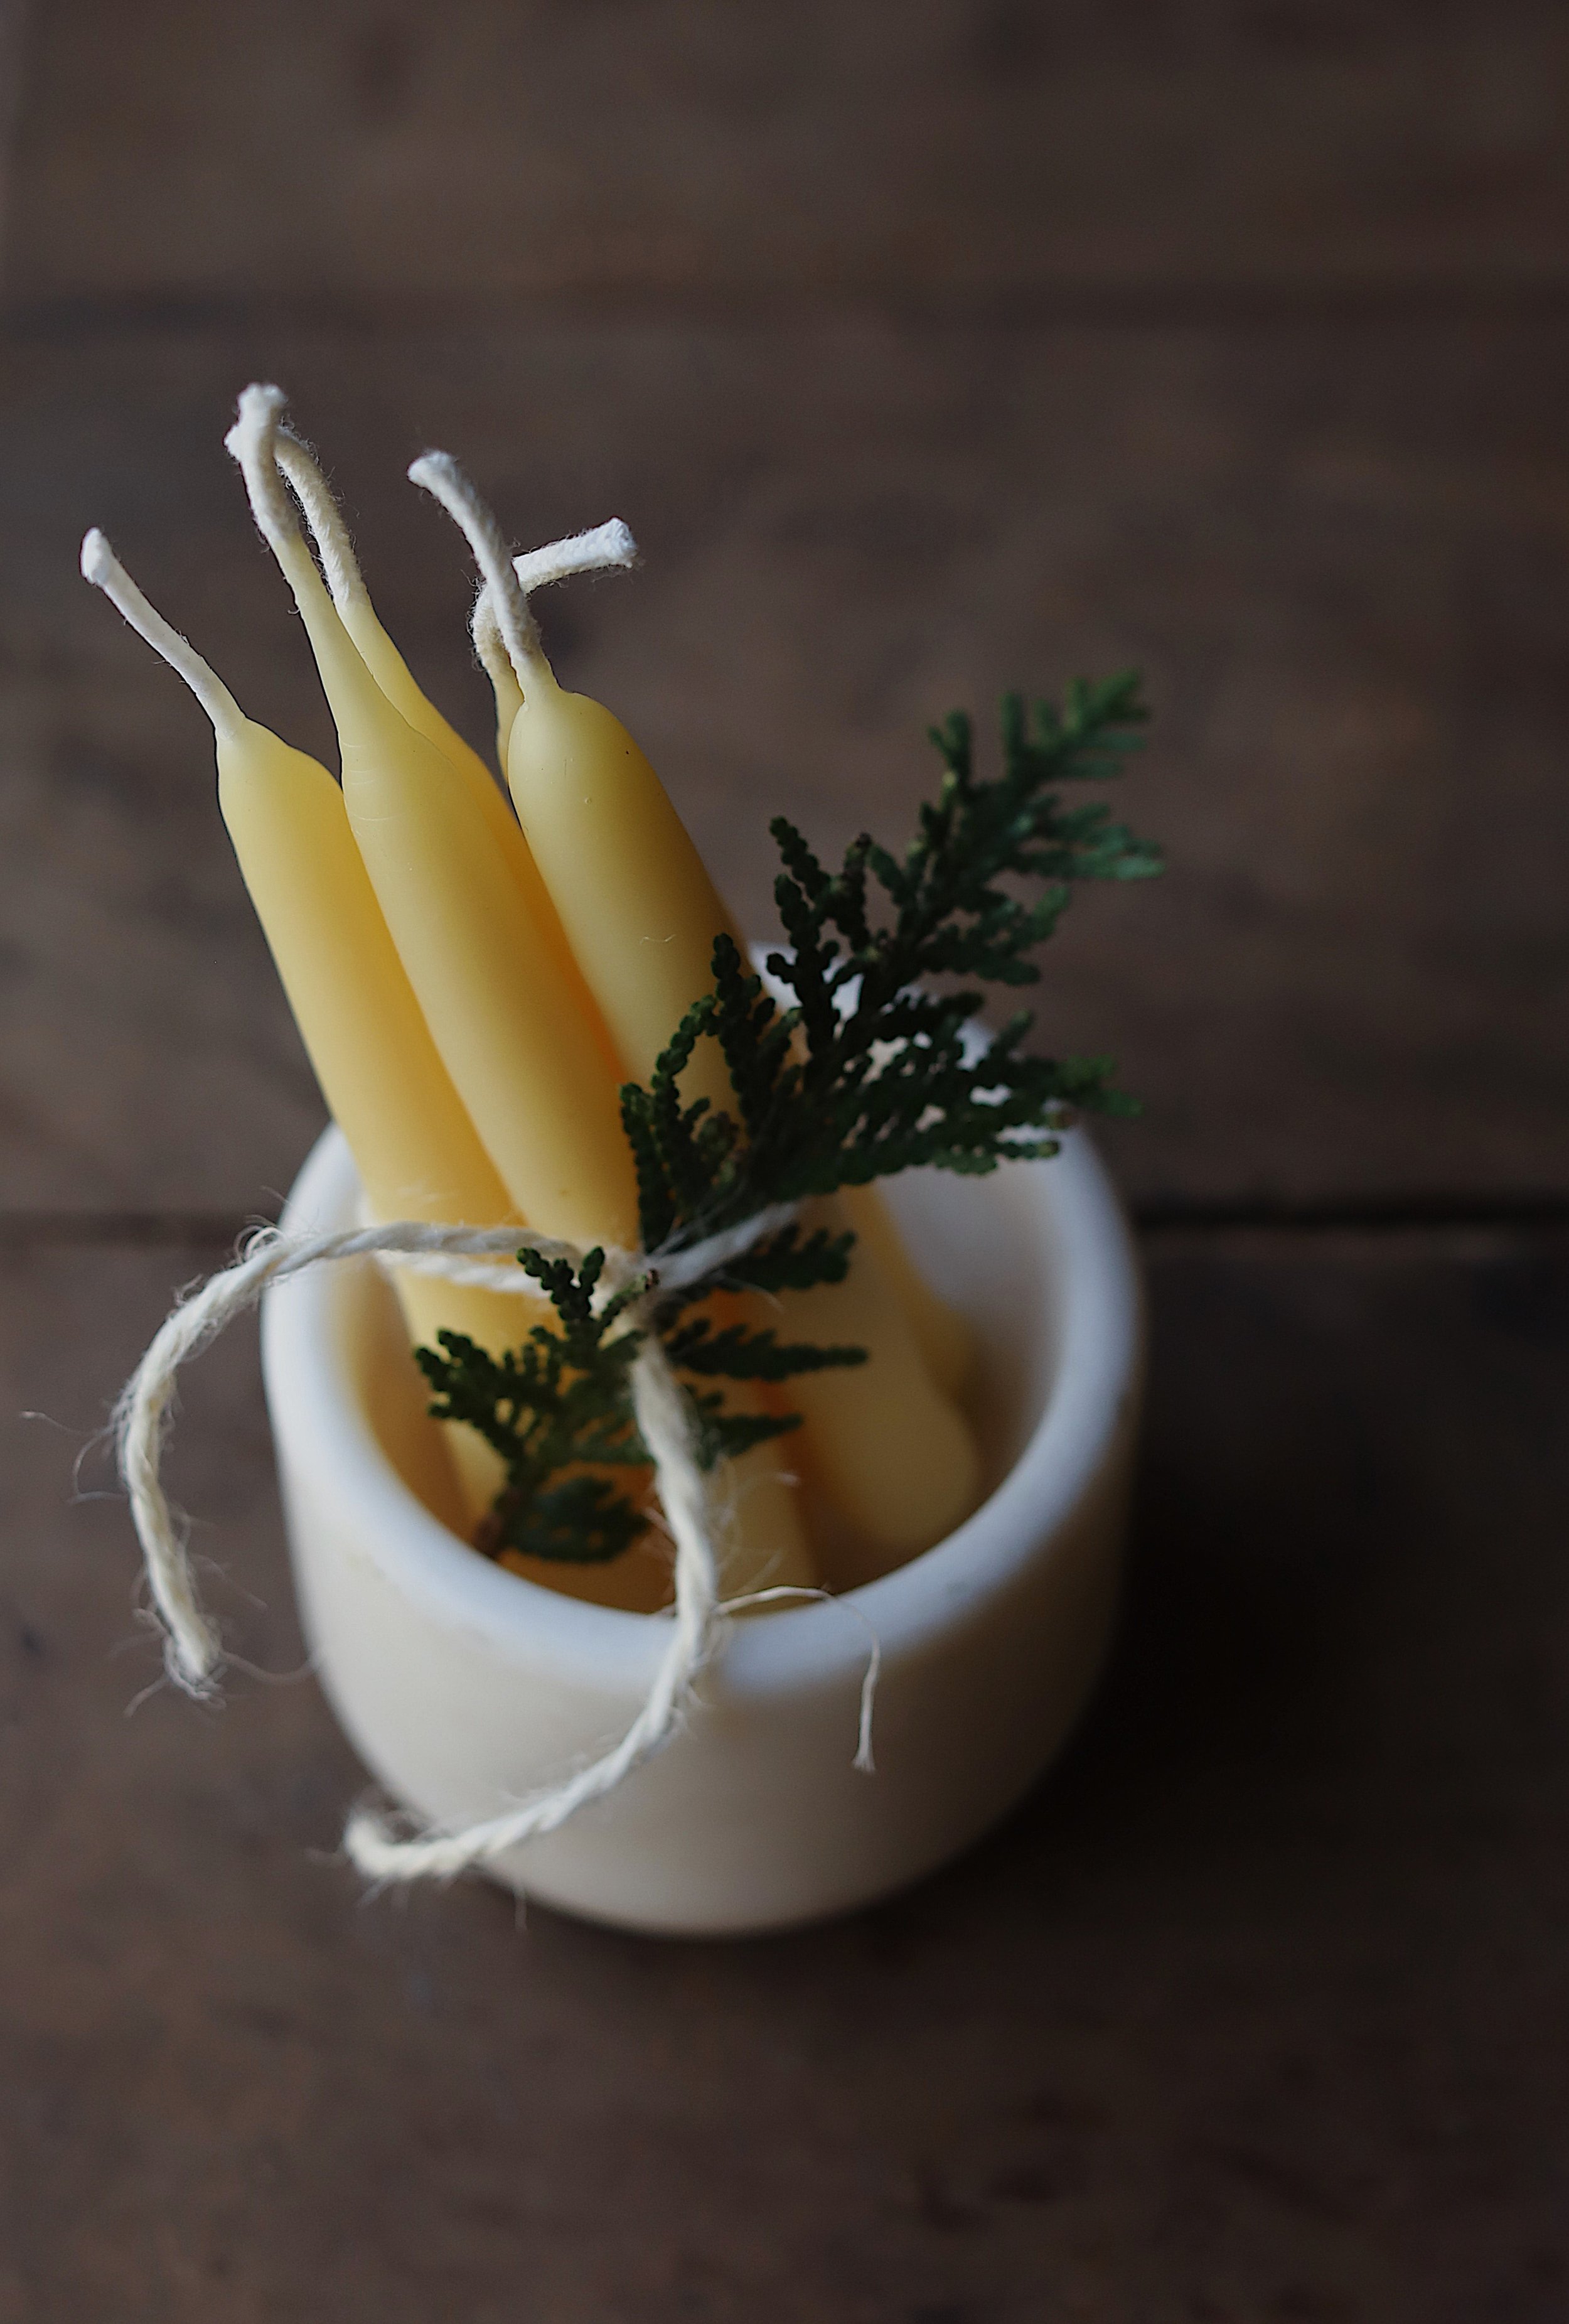
While we walked the circle, we dipped our long cotton wicks in alternating baths of beeswax and water. The beeswax coated the wick, while the cold water helped it harden and set. If I hadn’t been so cold (and covered in children), the repetitive movements might have felt like a walking meditation. With each passing step, our candles got thicker and thicker until, after just a few laps around the circle, we’d made long golden tapers that were as purposeful as they were beautiful.
The following Christmas, I set up a miniature version of the same activity at home. I made vats out of old aluminum cans and experimented with various techniques to make the candles as straight as possible. As things tend to go around here, we dipped candles once at home and then did it again every year after that!
This year, I’ve written up a tutorial for the method we use at home. It’s what I call the humble-homespun technique, meaning it’s so simple you probably won’t need to buy anything new to try it, but you’ll also end up with candles that look more handmade than store bought. Personally, I prefer them that way and am typically happy to trade in perfection for the pride of knowing I made something myself.
All to say, if you’re interested in making candles for the simple joy of working with your hands and making memories with your family, this tutorial is for you!
Before you get started, here are some tips to save you time and help you prepare. I’ve linked the materials you’ll need to give you an idea what they look like. If you prefer not to shop on Amazon, I’d recommend finding a local vendor on Etsy.
Beeswax: I prefer using beeswax for dipping candles. Not only does it burn longer than paraffin and soy, it also burns cleaner and won’t introduce unwanted chemicals into your living space.
When it comes to purchasing beeswax, you can buy it in blocks or as pastilles; the advantage of buying pastilles is that you can weigh them and use them right away. If you buy a block of beeswax, you have to cut it into smaller chunks and weigh them piece by piece until you’ve chopped enough beeswax for your project. Chopping beeswax is a commitment - it’s time consuming, labor intensive, and a wee bit messy.
Pastilles come in two forms: traditional dark yellow beeswax pastilles and organic white beeswax pastilles. Both types are fine to use - the only difference is that white pellets are triple-filtered and make for lighter, creamier-colored candles.
Wicks: Beeswax burns hotter than other types of wax so a larger size wick is recommended. I use a size 2/0 square braided cotton candle wick like this.
Candle dipping vat: To melt the beeswax, you’ll need a metal container. If you’re planning to make candles on a regular basis, you may want to invest in a metal candle pouring pot; otherwise a tall recycled aluminum can works fine too. Keep in mind that the height of your container will determine the length of your candles. I like to make small, four-inch long candles, so I can usually get by with a standard 14.5 ounce can; if you want to make longer candles, you’ll need a taller can. To keep from having to melt a large volume of wax, it helps to use a tall, SKINNY can. (Think: green bean cans!).
Double boiler: For safety reasons, and to ensure an even distribution of heat, you’ll need to use the double boiler method to melt your beeswax. There’s no need to go out and buy any fancy equipment - you can make a double boiler easily from everyday kitchen items. To make one, pour two to three inches of water in a medium size pot. Then, place a canning jar ring in the center of the pot and set the candle dipping vat (your metal pot or aluminum can) on top of the ring. Next, place the beeswax inside the vat, set the pot on top of the stove, and heat it on medium until the wax liquefies. As the beeswax melts, be sure to keep an eye on the water level - if it boils down too much, you’ll need to top it off with more water.
Candy thermometer: Although you could probably make these candles without one, I’d recommend using a candy thermometer for best results. With beeswax, the best time to start dipping the wick is when the wax liquefies and reaches a temperature between 150 and 170 degrees F. You don’t need to buy an expensive thermometer - I use a simple one like this.
Safety: Always be careful when handling hot wax. Use proper safety techniques to avoid overheating the beeswax and use pot holders when transferring your container to your work space. Also, never leave melting wax unattended. Beeswax is highly flammable if it gets too hot (another reason to use a candy thermometer!).
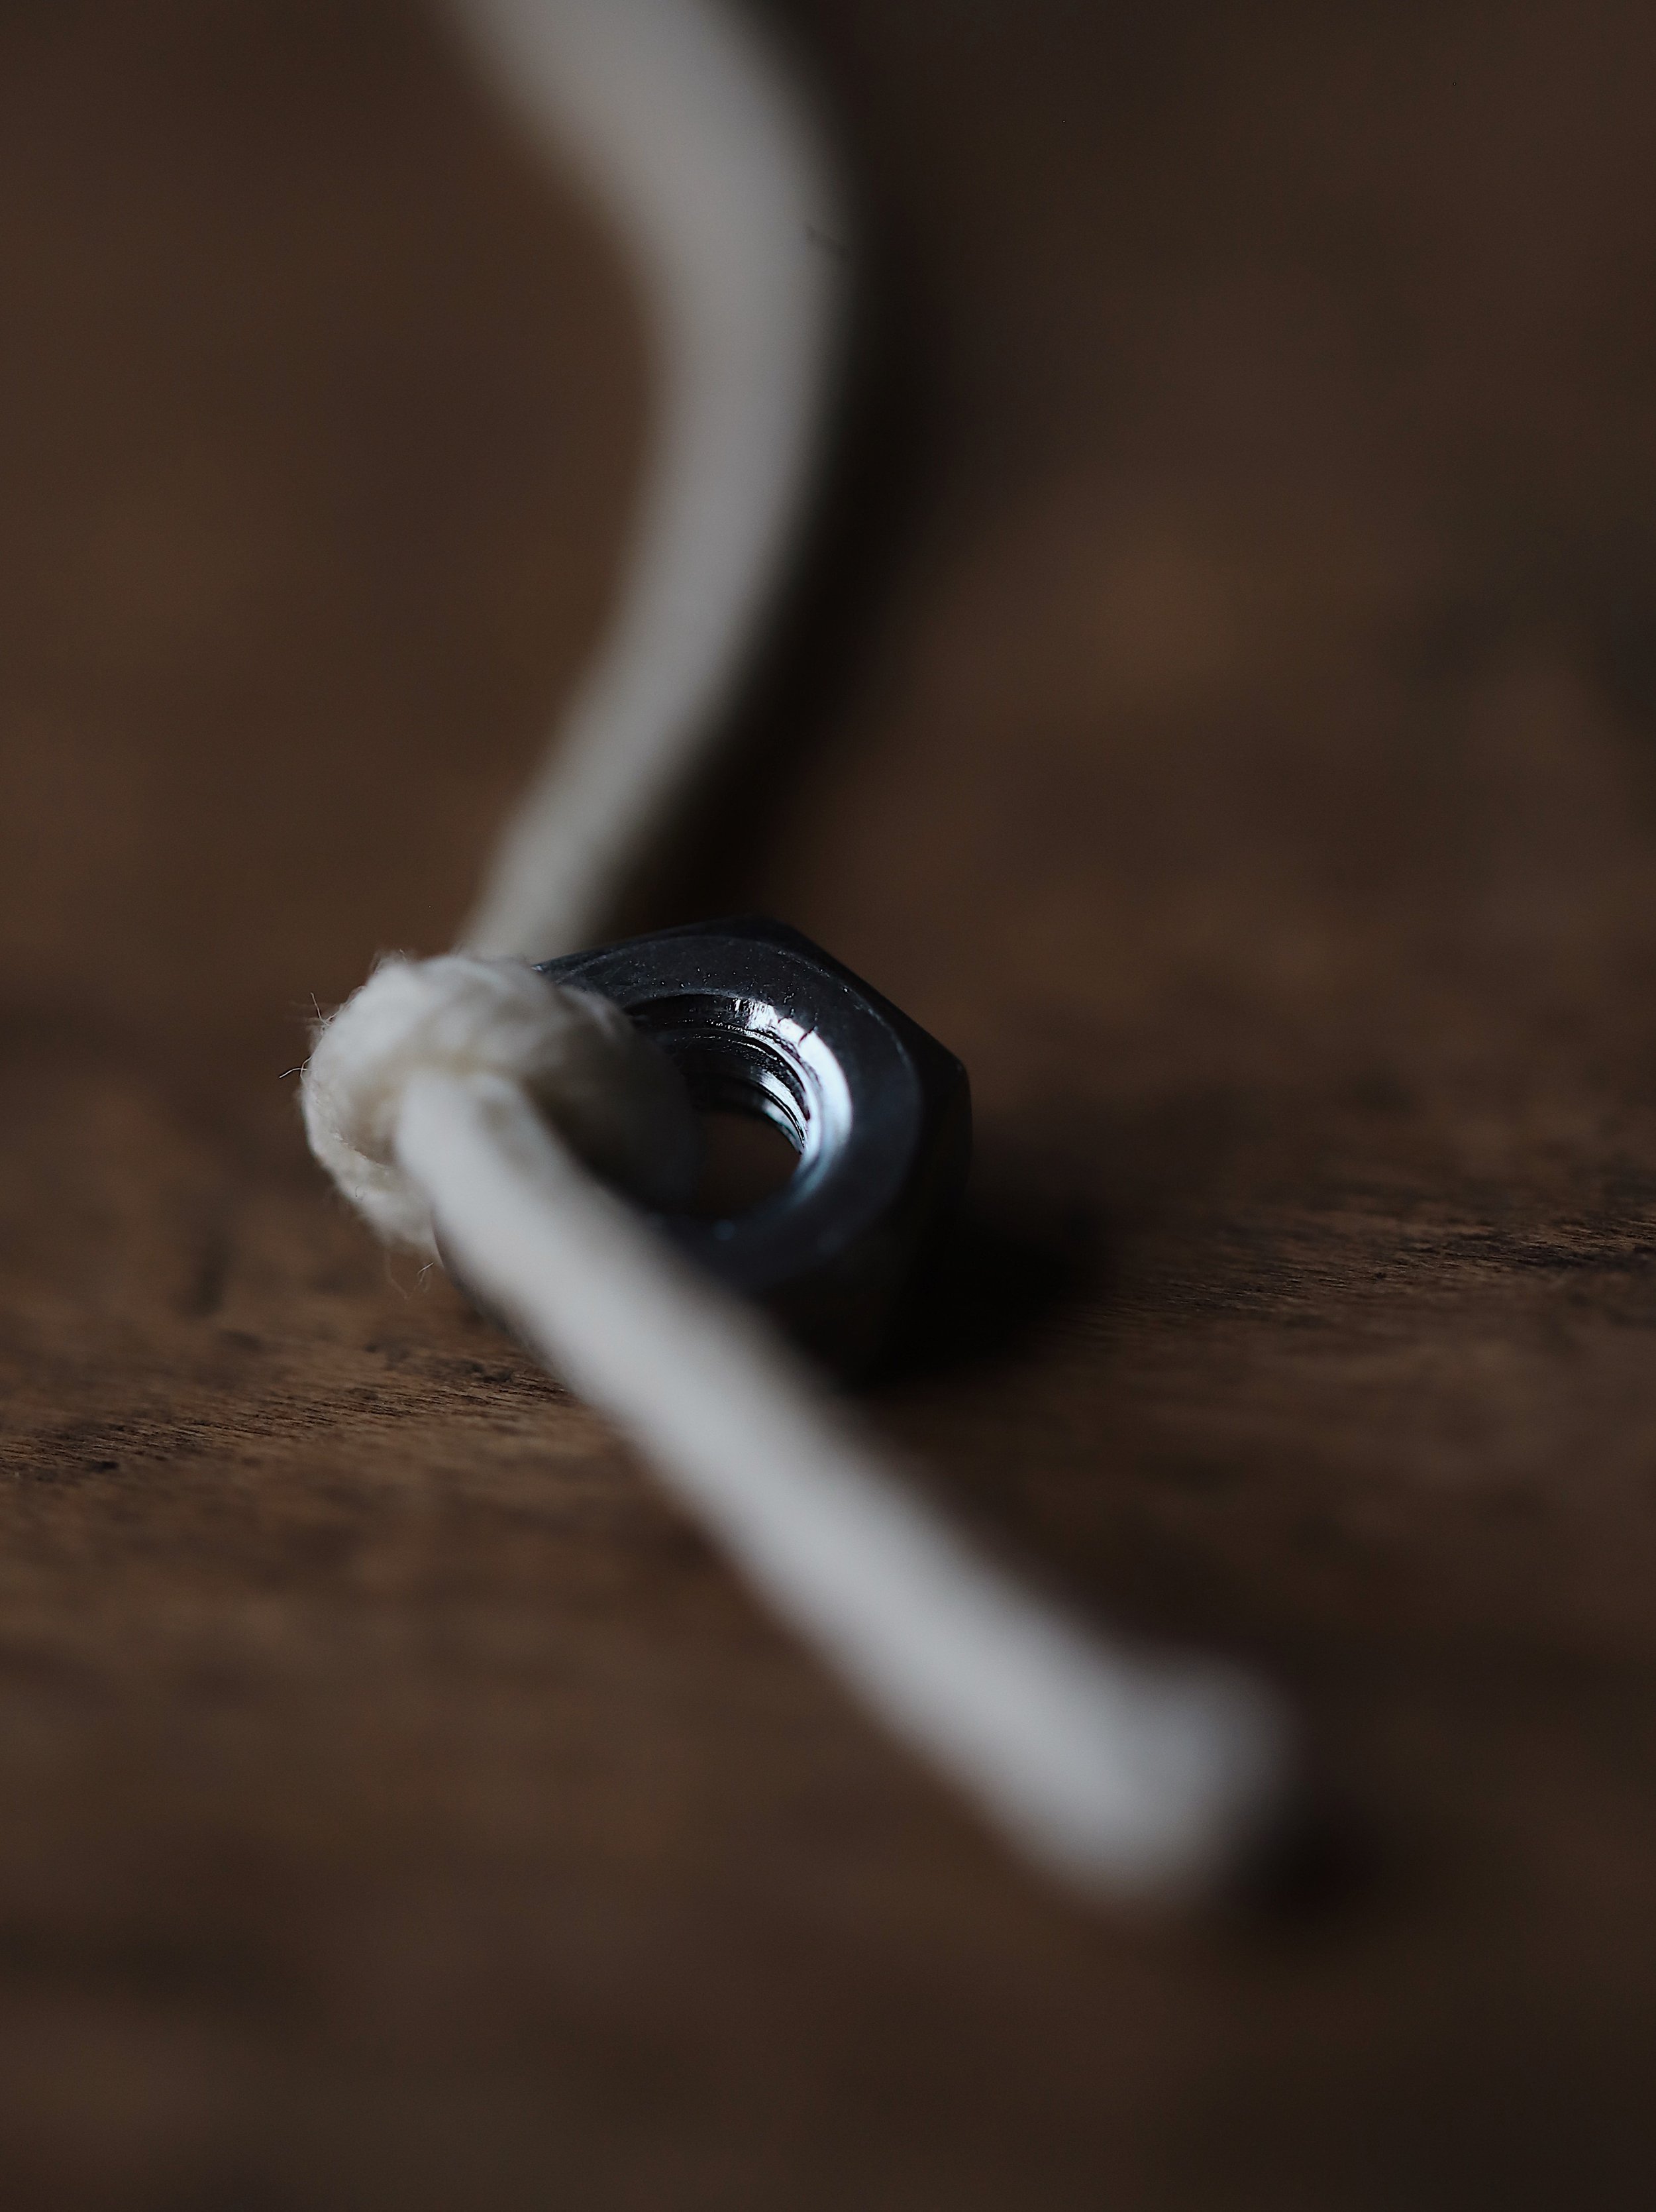
Weights: The trick to making straight(ish) candles is to tie a weight to the bottom end of the dipping wick. If you don’t use a weight, the wick will curl up after the first few dips; then, once the wax dries, it will be impossible to manually straighten the candle without cracking the wax.
For a weight, I like to use a metal washer or a hex nut. If you prefer, you can cut the weight off with a pair of scissors after 3 dips; otherwise you can cut it off with a sharp knife once your candle is full size and dry/solid. If you cut it off early in the process, your candle will have a tapered bottom; if you wait until the end, your candle will have a flat bottom.
Support: After dipping your candles, it helps to hang them from a support structure until they’ve completely dried. In a perfect world, we’d all have a cute miniature drying stand like this; but in the real world, most of us will resort to creating a makeshift support. I’ve used a doll-size clothesline and a wooden peg rack to hang my candles to dry. Be creative and use whatever you think might work.
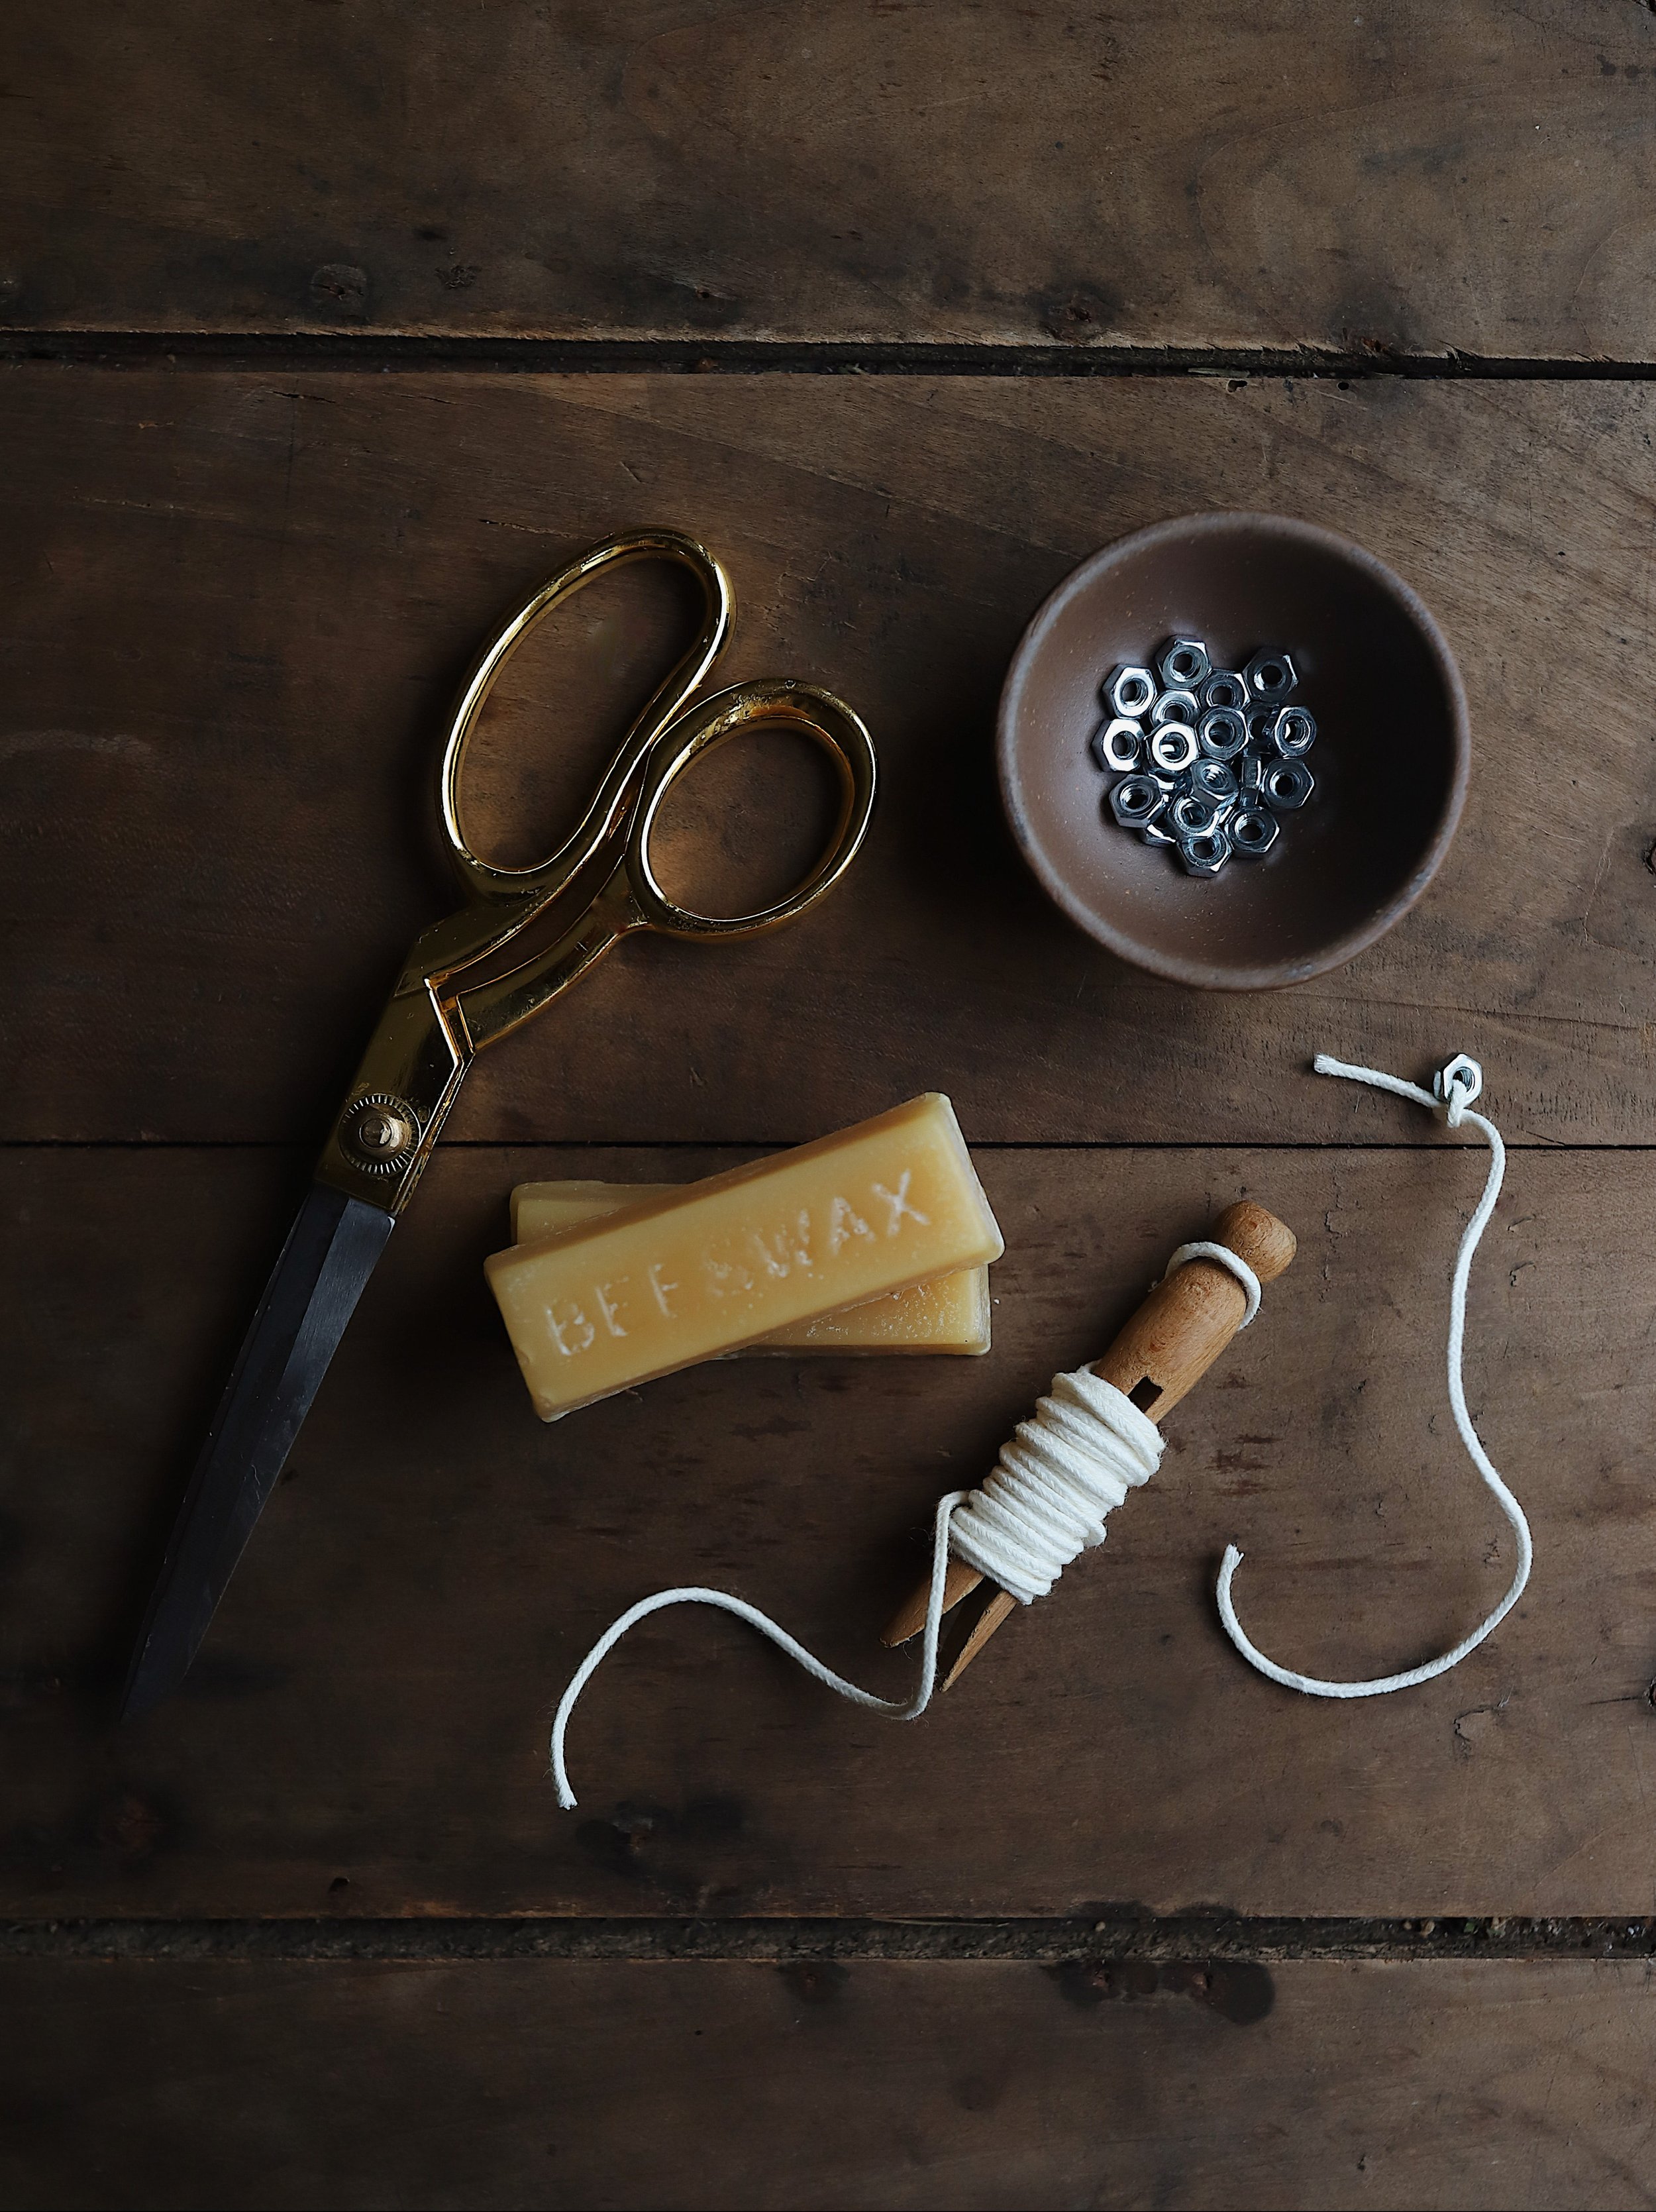
Materials:
kraft paper or newspaper
2 lb pure beeswax
metal pitcher or aluminum can
candy thermometer
#2/0 cotton candle wicks
scissors
metal washers or nuts
double boiler (homemade)
support to hang the candles
Instructions
Cover your work surface with kraft paper or newspapers - dripping beeswax is messy!
Prepare a wick by tying a weight to one end and cutting the remaining end 2 inches longer then you want your candle to be. I like 4 inch long candles so, after tying a nut to one end, I measure six inches of wick before snipping the other end.
Create a double boiler by placing two inches of water in a medium size pot. Place a canning jar ring in the center of the pot and set your aluminum can on top of the ring. Attach the candy thermometer to the can, place the beeswax inside the can and heat the pot on medium low.
Once the wax has liquefied and reached 150F to 170F, carefully remove the aluminum can from the pot, dry off the water from the outside of the can, and transfer the can to your work space. After ten minutes or so, the wax may start to cool and solidify again, in which case you’ll need to reheat it again before you can continue dipping candles. (I’m usually able to dip 5 or more candles before it needs to be reheated).
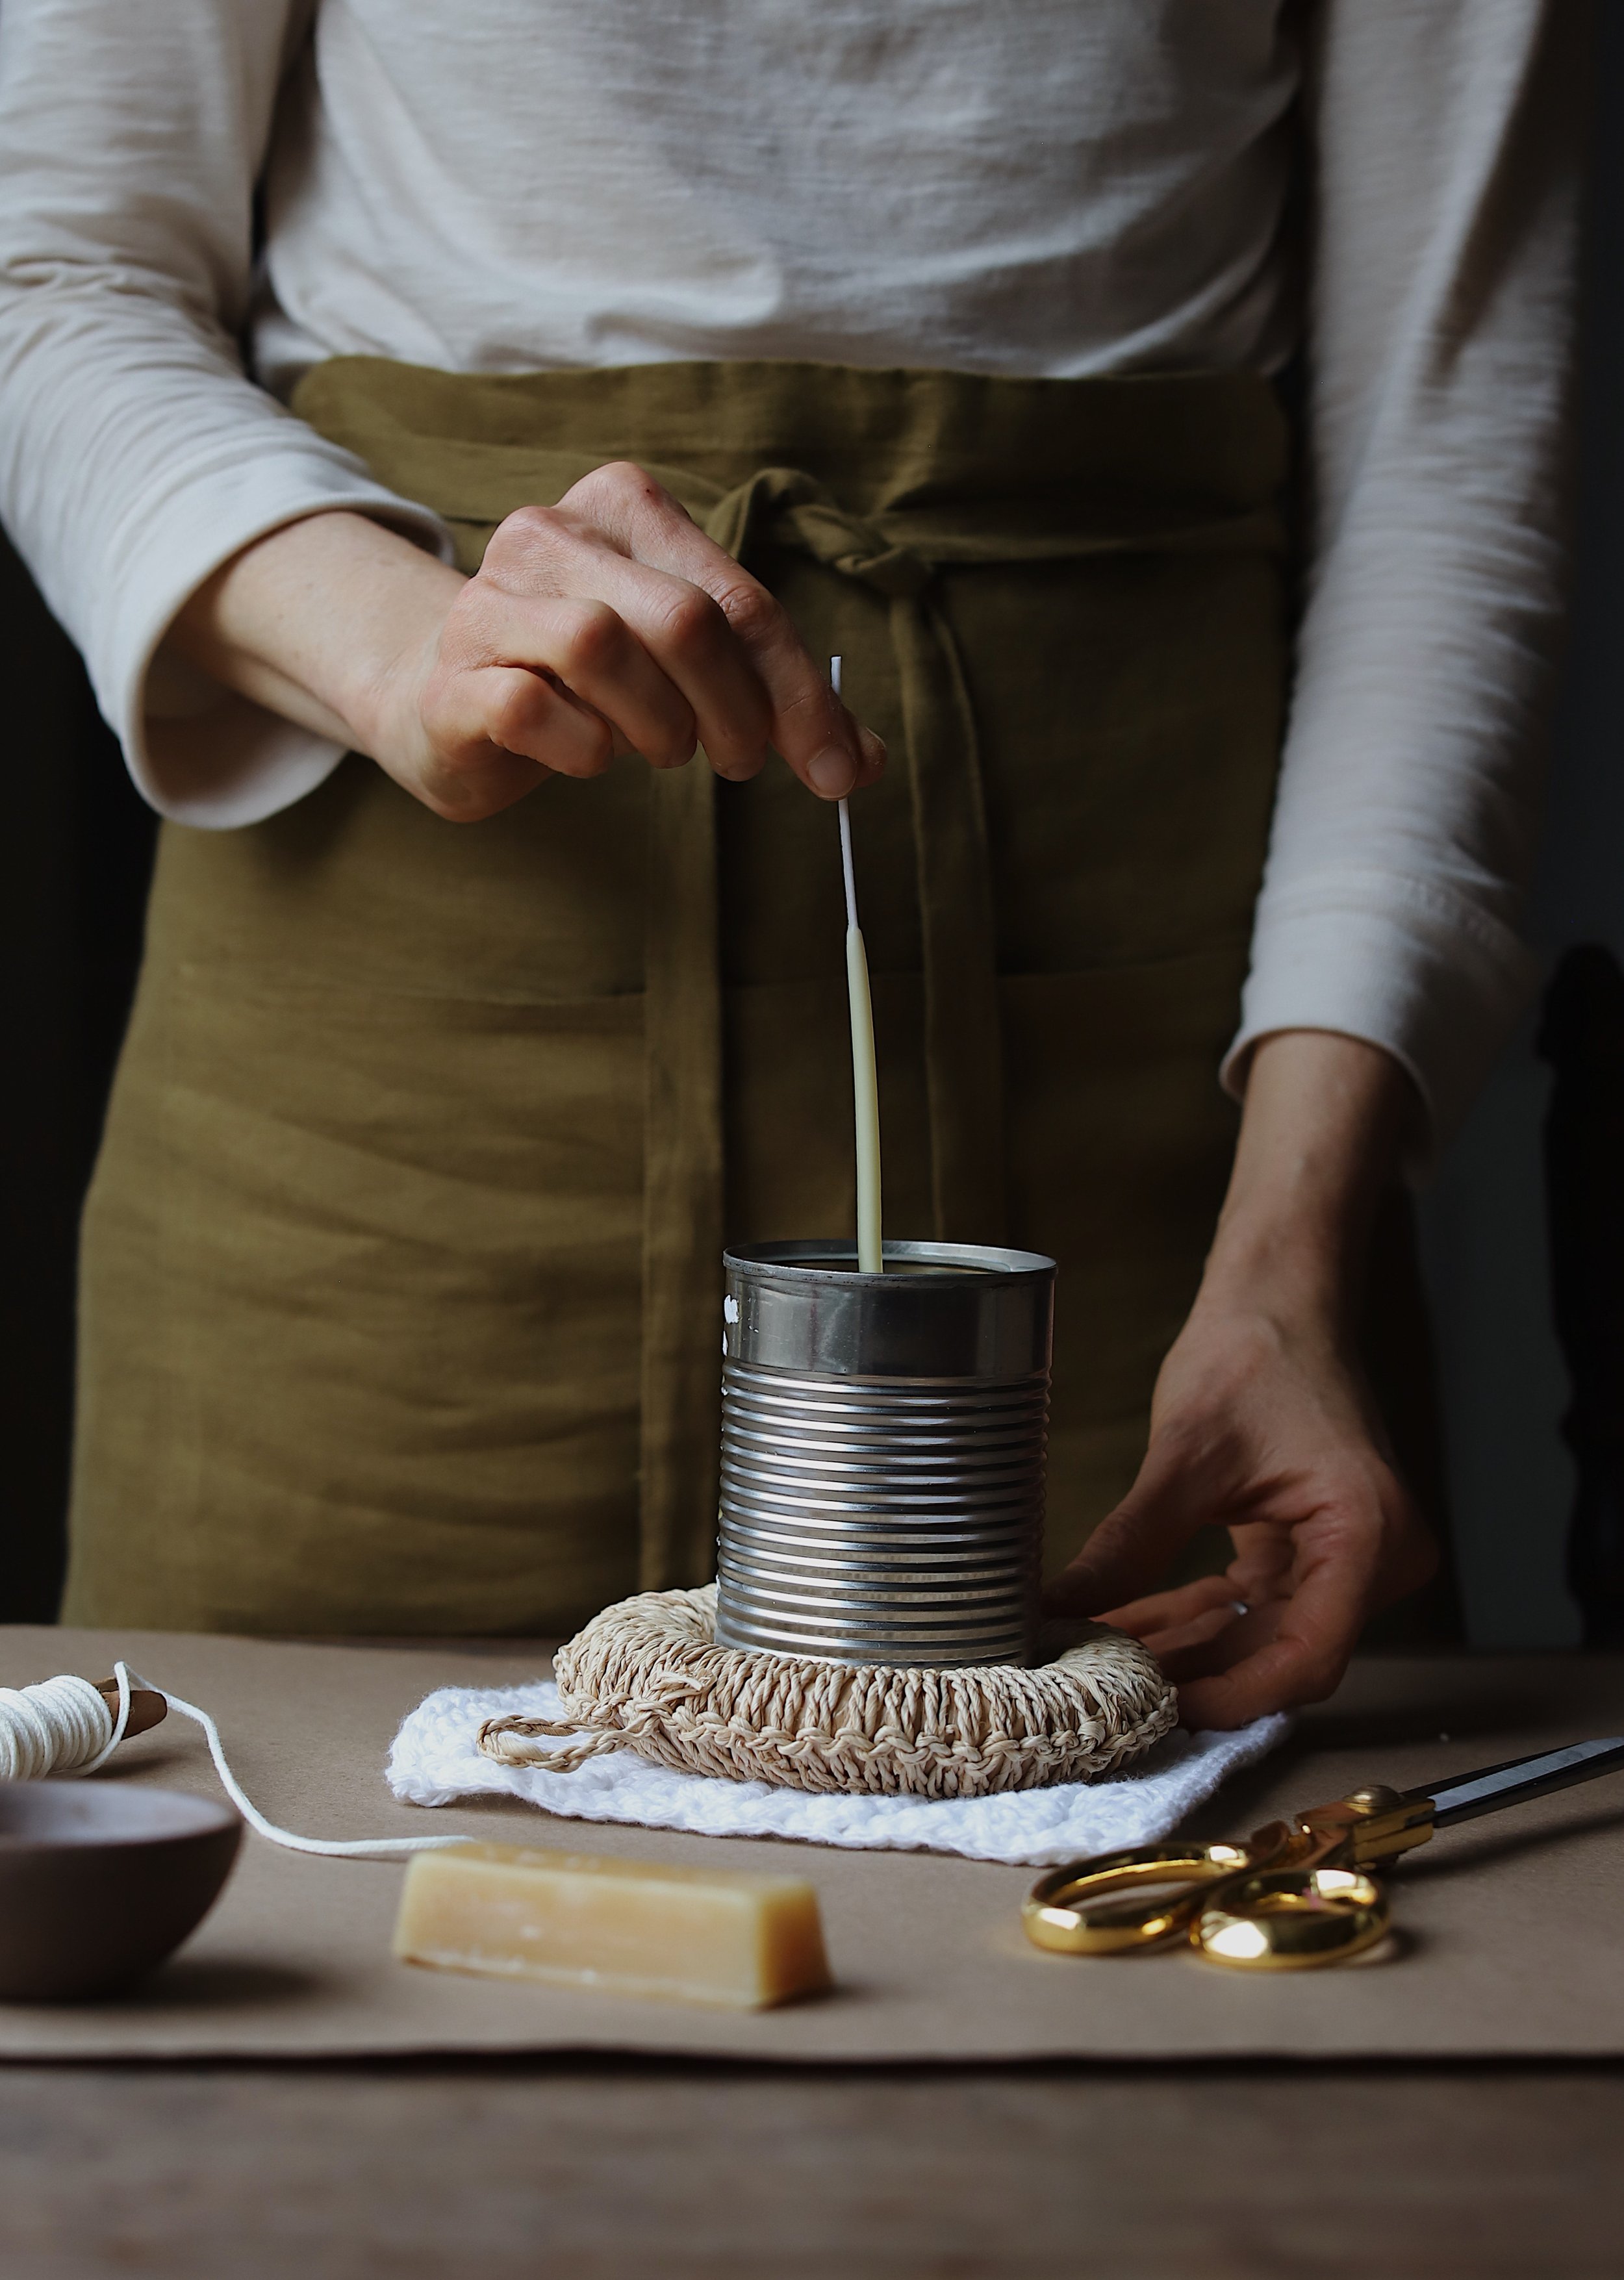
Start making a candle by dipping the wick (weighted-side down) into the hot wax. Dip the wick 3 consecutive times - dip into the wax, remove completely from the wax, dip back into the wax, etc., Then, using your fingers, gently straighten the wick to ensure it has a nice shape.
Let the candle cool for about a minute, then snip off the weight if you want your candle to have a tapered end (otherwise, you can leave it and cut it off with a sharp knife at the end of the dipping process).
Repeat the dipping process until your candle is as thick as you want it to be. Don’t worry if your candle is a little bumpy - it’s very hard to create commercial looking candles at home!
Hang the candle to dry for an hour or more, then store it in a cool, dry place.
Trim the wick to about ¼” before burning.
