Felted Wool Dryer Balls


Last year around this time, I wrote a lengthy post sharing ways to create a natural, low-waste laundry routine. I included all sorts of suggestions, ranging from 1) buying clothes made of natural fibers to 2) using a clothesline, 3) switching to natural soap, 4) ditching fabric softeners, and 5) avoiding single-use dryer sheets.
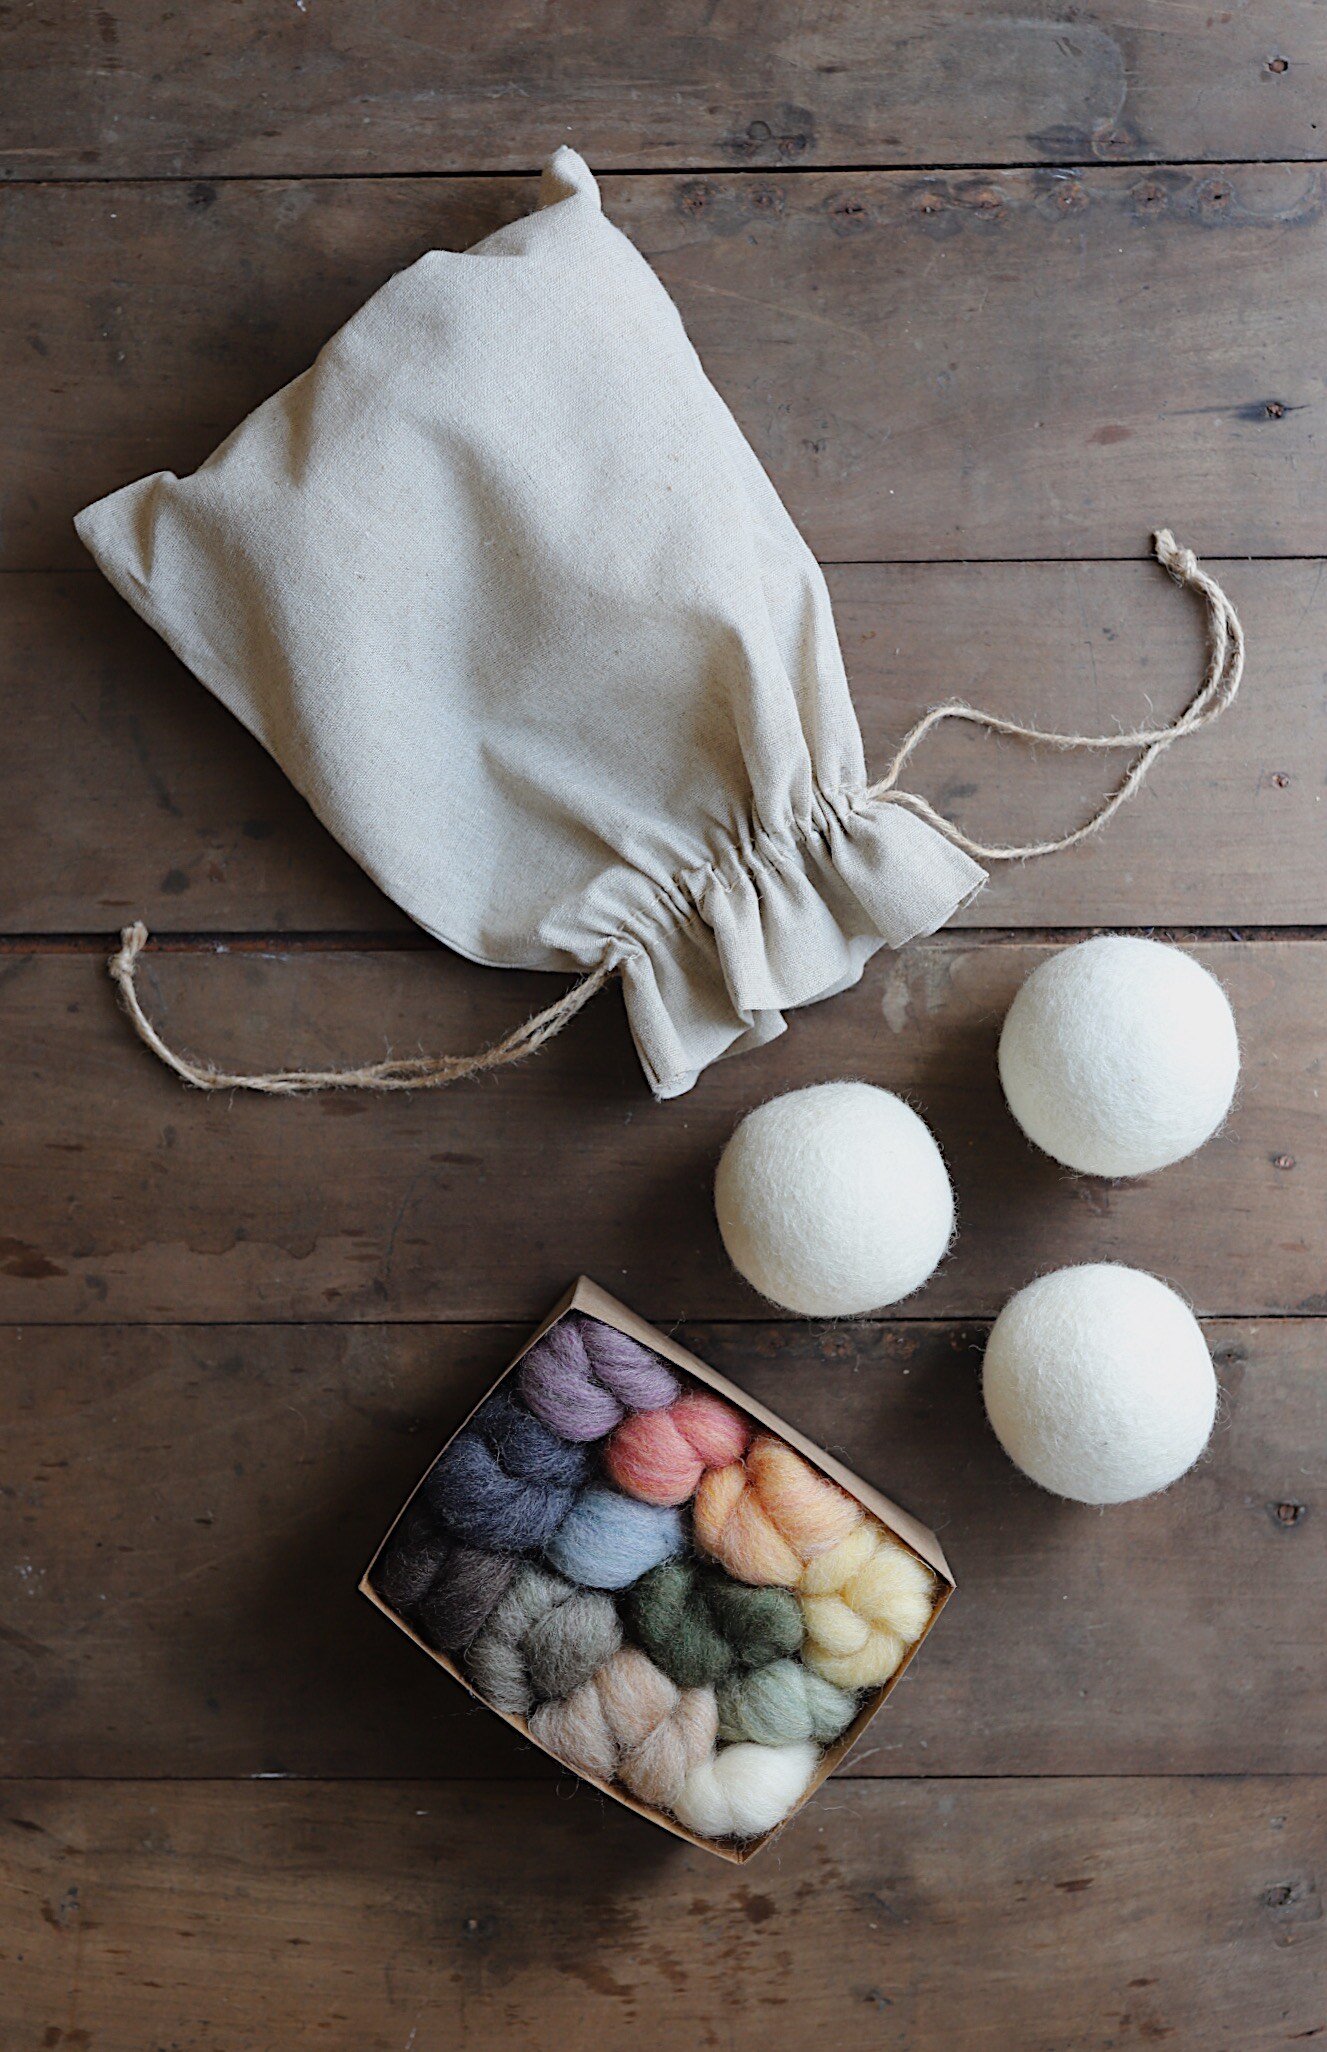
As an alternative to dryer sheets, I recommended wool dryer balls to prevent static and soften fabrics, without creating waste or exposing people and the planet to harsh chemicals and synthetic fragrances. In my book Simply Living Well, I shared a tutorial for making dryer balls using a skein of wool yarn and an old pair of panty hose. But if you don’t have the patience or the time to make them yourself, you can easily buy a set online from small shops like Helen Milan Home. They’re well worth the Investment - they’ll save you money in the long-term and they’ll keep heaps of unsightly garbage out of the landfill. They’re also a bit twee, to say the least, and help to bring meaning to an otherwise humdrum task.
Recently, while brainstorming ideas for Mother’s Day gifts, I mentally sifted through a wonted list of ideas, only to realize that none of them Inspired me. Around the same time, my friend Ashley sent me a beautiful box of wool roving from her shop Woodlark. As soon as I saw the roving, it occurred to me that I should use it to needle-felt spring and cheery Mother’s Day gifts. A few minutes later, while doing laundry, my first and best idea sprang to my mind: “I should needle felt spring embellishments on wool dryer balls.” And so…I did!
Before I jump into sharing step by step directions, here’s an explanation of the materials and techniques i used for this project. If you’re familiar with the concept of needle felting, you probably know exactly what to do. If you’re new to handwork, I’ll do my best to cover the basics first so that my directions will make sense at the end. I’ll also include a beginner video I found on youtube that will walk you through the basics if, like me, you’re more inclined towards visual learning.
Needle felting explained
First things first, what is needle felting? Needle felting is a handwork method that involves using a special barbed needle (called a felting needle) to transform wool roving into 3-dimensional objects or 2-dimensional shapes. 3-D objects can include things like stuffed animals or soft toys, while 2-dimensional shapes are often created to embellish a fabric or to mend a hole in an old sweater or worn-out pair of jeans. In this project, we’ll create 2-D shapes to decorate the wool dryer balls.
Age-appropriateness
Needle felting isn’t for everyone. It requires patience, hand-eye coordination, and attention, especially since it involves working with a very sharp needle. Although this post is in the children’s section of my blog, most parents and teachers wait until their children are between the ages of 8 and 10 before introducing them to needle felting. As a parent, you’re the best judge of your child’s readiness, but I’d recommend starting with a 2-D shape (as opposed to a 3-D object) and needle felting inside a cooking cutter to guide your child’s work, to help define the shape, and to protect your child’s fingers from the prickly point of the needle. (I’ll explain more below).
What you’ll need to learn needle felting
You don’t need a lot of fancy tools for needle felting - just some roving, a needle, and a surface to protect your hands and lap. Here’s more information about each of them.
· Wool roving. Needle felting is typically done with wool roving, which is a piece of wool that’s been combed, drawn into a clump, and twisted slightly, both to hold the fibers together and to prepare them for spinning into yarn.
· Felting needle. A felting needle is different than a sewing needle because it is has a sharp, barbed blade designed to agitate wool fibers. The surface of wool fibers is covered with tiny overlapping scales. The barbs along the sides of felting needles have tapered points so that when the needle is pushed into the wool, the scales on the wool fibers get caught on the barbs. As you continue to push the needle into the wool in a repeated up and down motion, the fibers tangle and mat together, forming felt. What’s interesting about needle felting is that, while pushing the wool, not only do you felt it, but you also use your needle to sculpt it into different shapes or objects.
Depending on what you’re trying to make, you can use a single felting needle or a tool with multiple needles. A single needle is ideal for felting small shapes or objects, while a tool with multiple needles is handy for larger projects (like a hat, gloves, or a play mat). For this project, you’ll need a single felting needle.
· Felting surface. For most felting projects, you’ll need a special felting surface both to avoid poking your fingers or lap as well as to provide the felting needles something soft to stick into so they don’t break. Sponges and foam pads work well for needle felting. Sponges are cheap and easy to find but they don’t hold up very well after several uses. If you’re going to do several projects, you may consider investing in a felting pad. As a side note, I felted directly onto the balls for this project, so you could get away with not having a felting surface if you feel comfortable working this way. Some folks felt the shapes on the pad, then transfer them to the ball, in which case you’d need a special felting surface. It’s totally up to you!
· Cookie cutters. Cookie cutters are a great way to introduce felting to kids, mostly because they provide a border to help focus and guide their work. There’s also a lot you can do with cookie cutters since they come in so many fun shapes and sizes. Miniature cookie cutters (like these) are particularly handy for mending small holes or decorating sweaters, jeans, or wool dryer balls. You just place them over the hole, stuff them with wool roving and punch into the fabric until the roving and fabric bind together and keep the hole from growing. (More on this below too!).
How to needle felt a 2-D shape: the basics
There are three basic steps to needle felting a 2-D shape, which include prepping the wool, poking the wool, and sculpting the wool. Here’s how you do each step:
Prepping your wool. Tear off a piece of roving at least half an inch thicker and larger on each side than the shape you plan to make.
Poking the wool. Place the wool on top of your felting surface and use the needle to poke the wool, going into the felting surface about 1/4 inch deep each time. Poke the wool in a continuous up and down motion so your needle goes in and out of the felt easily. Do this gently as you can easily break the needle (actually expect to break 1 or 2 while learning!). Be careful to keep your fingers out of the path of the needle. It hurts like the dickens when you poke your finger!
Felting and sculpting the wool. Continue poking the wool until the fibers start to bond together (felt). As they felt, use the needle to shape the wool into whatever object or shape you are trying to make. It’s definitely a bit of an art, but you’ll get the hang of it. If you’re a visual learner, the video included on this page might be helpful!
MATERAILS
wool dryer balls (I used this set from Helen Milan Home)
wool roving (I used this set from Woodlark)
single felting needle (if you order wool roving from Woodlark, it comes with several needles)
pencil and paper
cookie cutters (optional, I have these)
felting pad (optional, I have this one)
DIRECTIONS
1. Plan how you want to embellish your dryer balls. Sketch out shapes or designs on a piece of paper. Then, decide how you want to felt your shapes - you have two options: you can felt them directly on your wool dryer balls (what I do) or on the felting pad. If you follow the latter method, you’ll need to transfer your shapes onto your dryer ball once they’re finished. The only downside to this method is that your shape can loose it’s, umm, shape when you pull out away from the felting pad. It’s not a big deal, but you’ll need to re-sculpt it a little when you needle felt it onto your ball. To attach it to the ball, use the same punching method you use to felt the roving (see step 3).
If it’s your first time felting, consider using unique-shaped cookie cutters that can guide and create a border for your work. (The image to the left demonstrates what that looks like). You can use them directly on the ball or on the felting pad.
2. For your first shape, tear off a piece of roving in the appropriate color. Remember to make sure it about a half an inch thicker and larger on each side than the shape you plan to make.
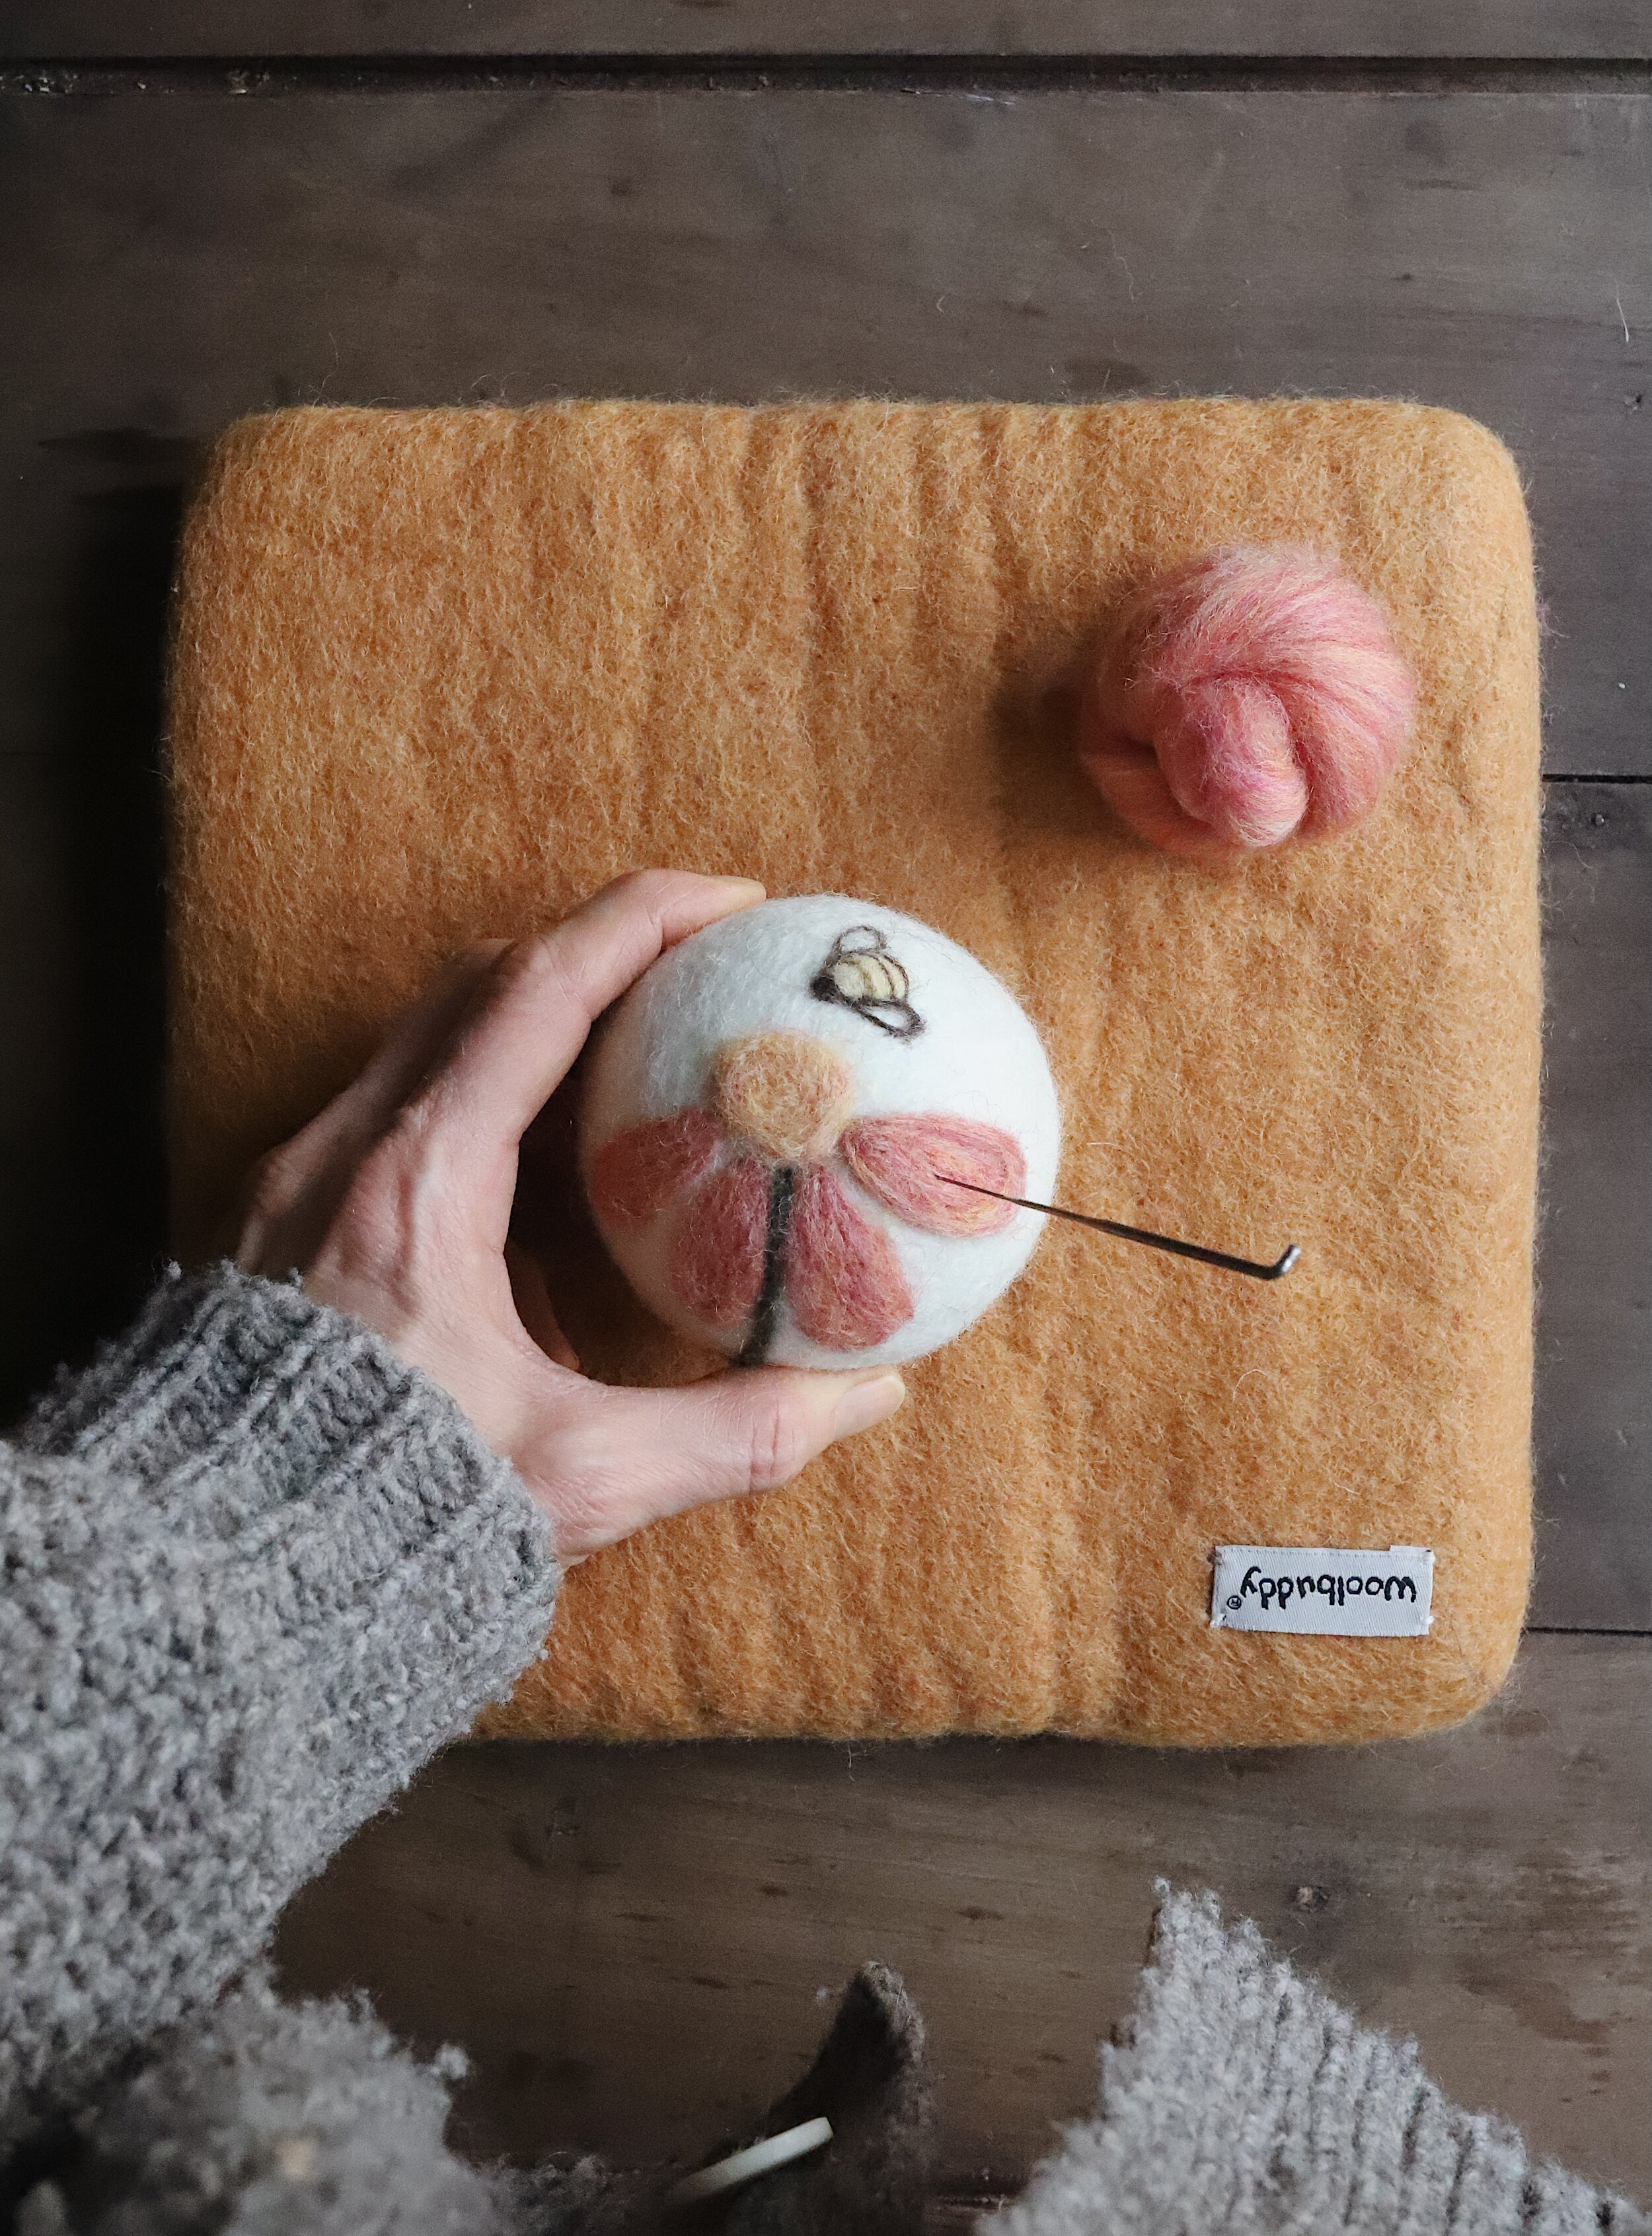
3. Place your roving on top of your wool dryer ball or felting pad. Use your felting needle to begin felting it into the shape you planned in step one. Poke the wool, in an up and down motion, going into the felting surface about 1/4 inch deep each time. Take your time so you don’t prick your finger or break the needle - both are easy to do!
If it would help to see a video, check out this beginner video on you tube video. The tutorial shows you how to make 3-D balls, but the poking and felting motion are the same.
4. Continue poking until the wool begins to felt and mat together. As it’s felting, use your needle to sculpt the wool into the desired shape.
5. If you felted your shape on a pad, once the wool is felted and sculpted, pull it away from the pad and lay it on top of the wool dryer ball. Use your felting needle – and the same motion you used to create the felted shape – to bind it to the wool dryer ball. You may have to touch up the shape a little as it can stretch out when you remove it from the felting surface.
6. If your shapes are a little raised on the surface of the dryer balls, you can iron them flush against the ball with a hot iron. It’s a little tricky maneuvering the iron over a round surface, but the heat helps to flatten it nicely.
7. That’s it! Now just toss a few into the dryer with your clothes and let them work their magic!
A big thank you to Woodlark and Helen Milan Home for providing the materials for this project!