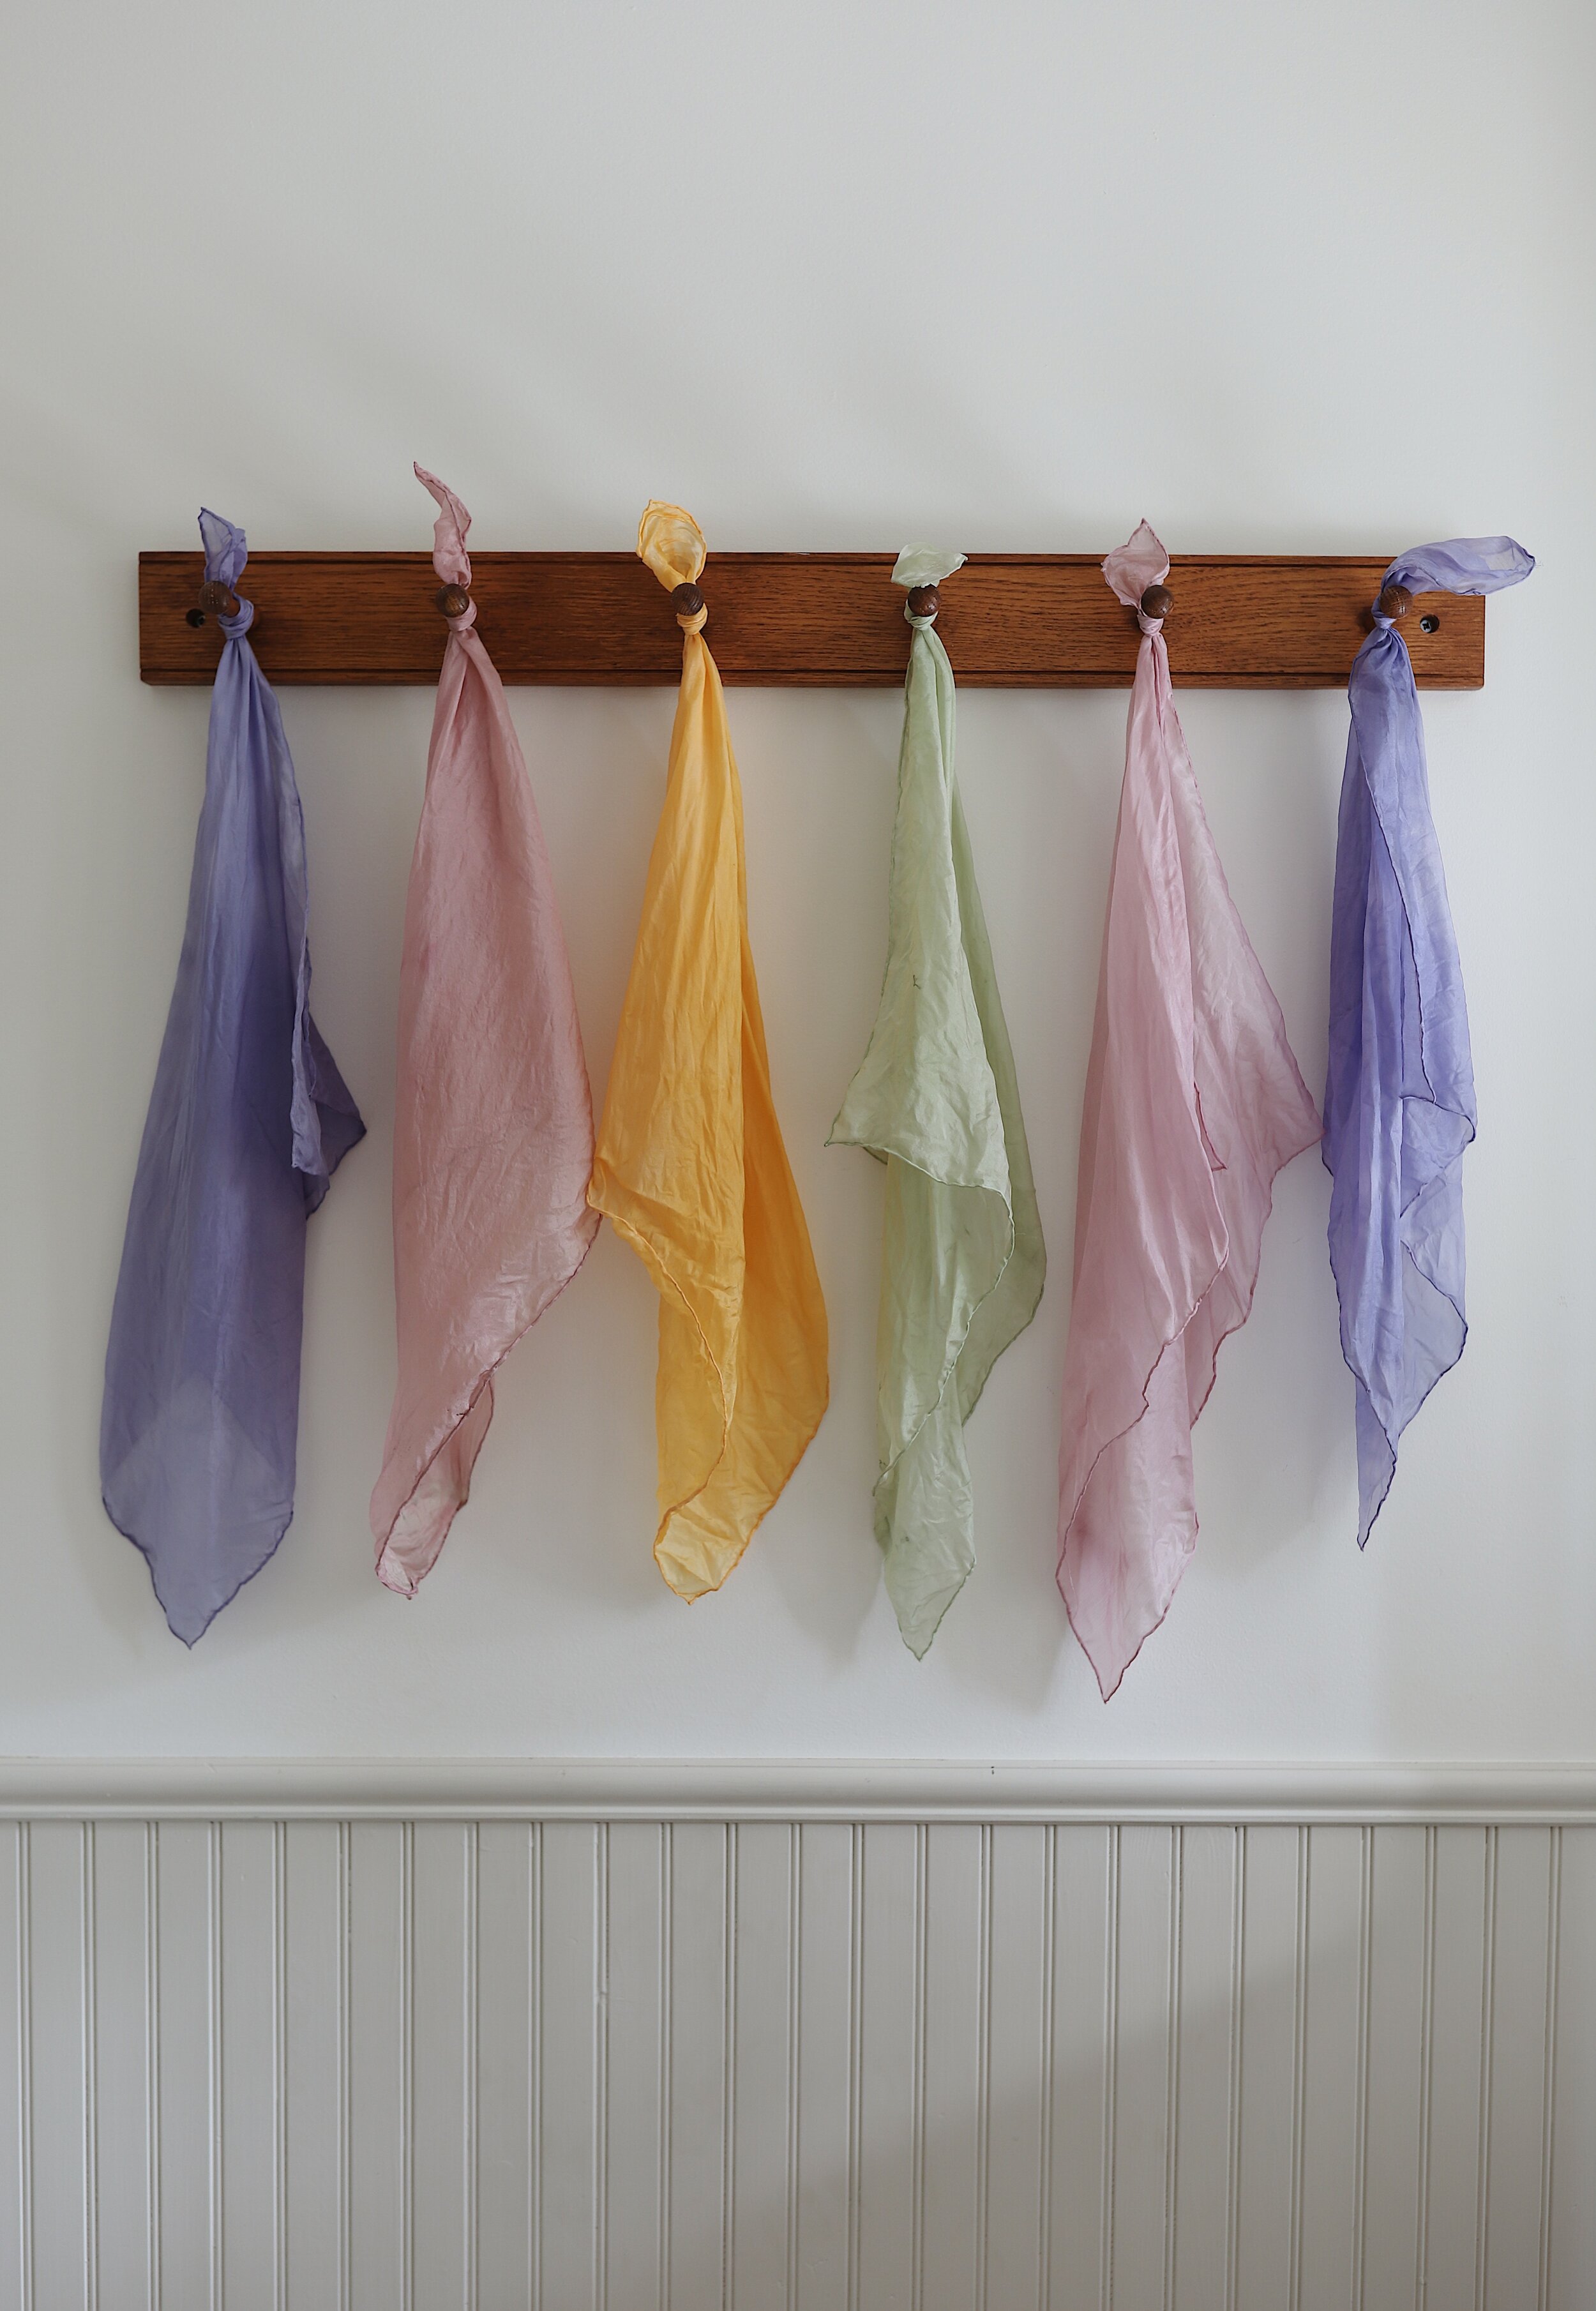
Solar Dyed Play Silks
Eloise and her best friend dyed a half dozen play silks this weekend, and it got me thinking - I’ve posted several photos over the years of some of our dye projects without once taking the time to really explain the process we use. Today, I made a few notes about how we solar dyed these silkies, using plant parts we found around the house and garden. Here’s what I can share, if you’d like to dabble.
Dyeing with plants: The world of dyeing with plants is vast and rich. There are as many methods available as there are plants to use. A good place to start, especially with children, is by using the sun to extract colors from plants. With this method, there’s no cooking over flames and you can work outdoors where the garden can inspire you. But before you get started, it’s good to know a little bit about the types of materials you’ll need to use.
Fiber: Protein fibers such as silk or wool are the easiest natural fibers to dye - they bond readily with natural dyes and also take less time and effort to mordant. For a first-time project with children, I recommend dyeing play silks as they make for a versatile open-ended toy. Though they don’t look like much, children can use them to create all sorts of things from tents to slings, capes, flags, and scarves. The materials section at the end of this post links a shop where you can buy a packet of white silks to dye. As a second project, wool yarn is a wonderful fiber to dye!
Mordant: Most plant dyes need something called a mordant to help them adhere to natural fibers. There are a number of different types of mordant, but I recommend using aluminum sulfate, also known as “alum” since it’s safe for people and the environment. It can also be purchased readily in the spice section of most grocery stores.
Dyes: When it comes to natural dyes, the possibilities are endless. I like to start by looking around the garden and kitchen to see what’s available for free. If you can’t find the color you’re looking for, powdered dyes for plants like hibiscus, madder, and indigo can be purchased online at places like Mountain Rose Herbs. Here’s a list of some of my favorite dye plants and the colors they create.
Blue: dried black beans, corn flower, elderberries, indigo, mulberries, red cabbage, tomato leaves and stems
Yellow: aster, brown onion skins, calendula, chamomile, dandelions, goldenrod, marigolds, mint, mullein, parsley, Queen Anne’s Lace, sunflowers, sunflower seeds, zinnia
Green: black-eyed Susans, carrot leaves, chamomile leaves, green tea, nettle leaves, red onion skins, spinach, spirulina powder, yarrow flowers
Orange: coreopsis, eucalyptus, turmeric root, brown onion skins
Pink: avocado pits or skins, cabbage leaves, cherries, roses
Red/Purple: avocado pits and skins, hibiscus, madder root, beet root, mulberry, St. John’s wort, wild grapes
Brown: coffee grinds, dandelion roots, oak bark, black tea leaves, walnut hulls
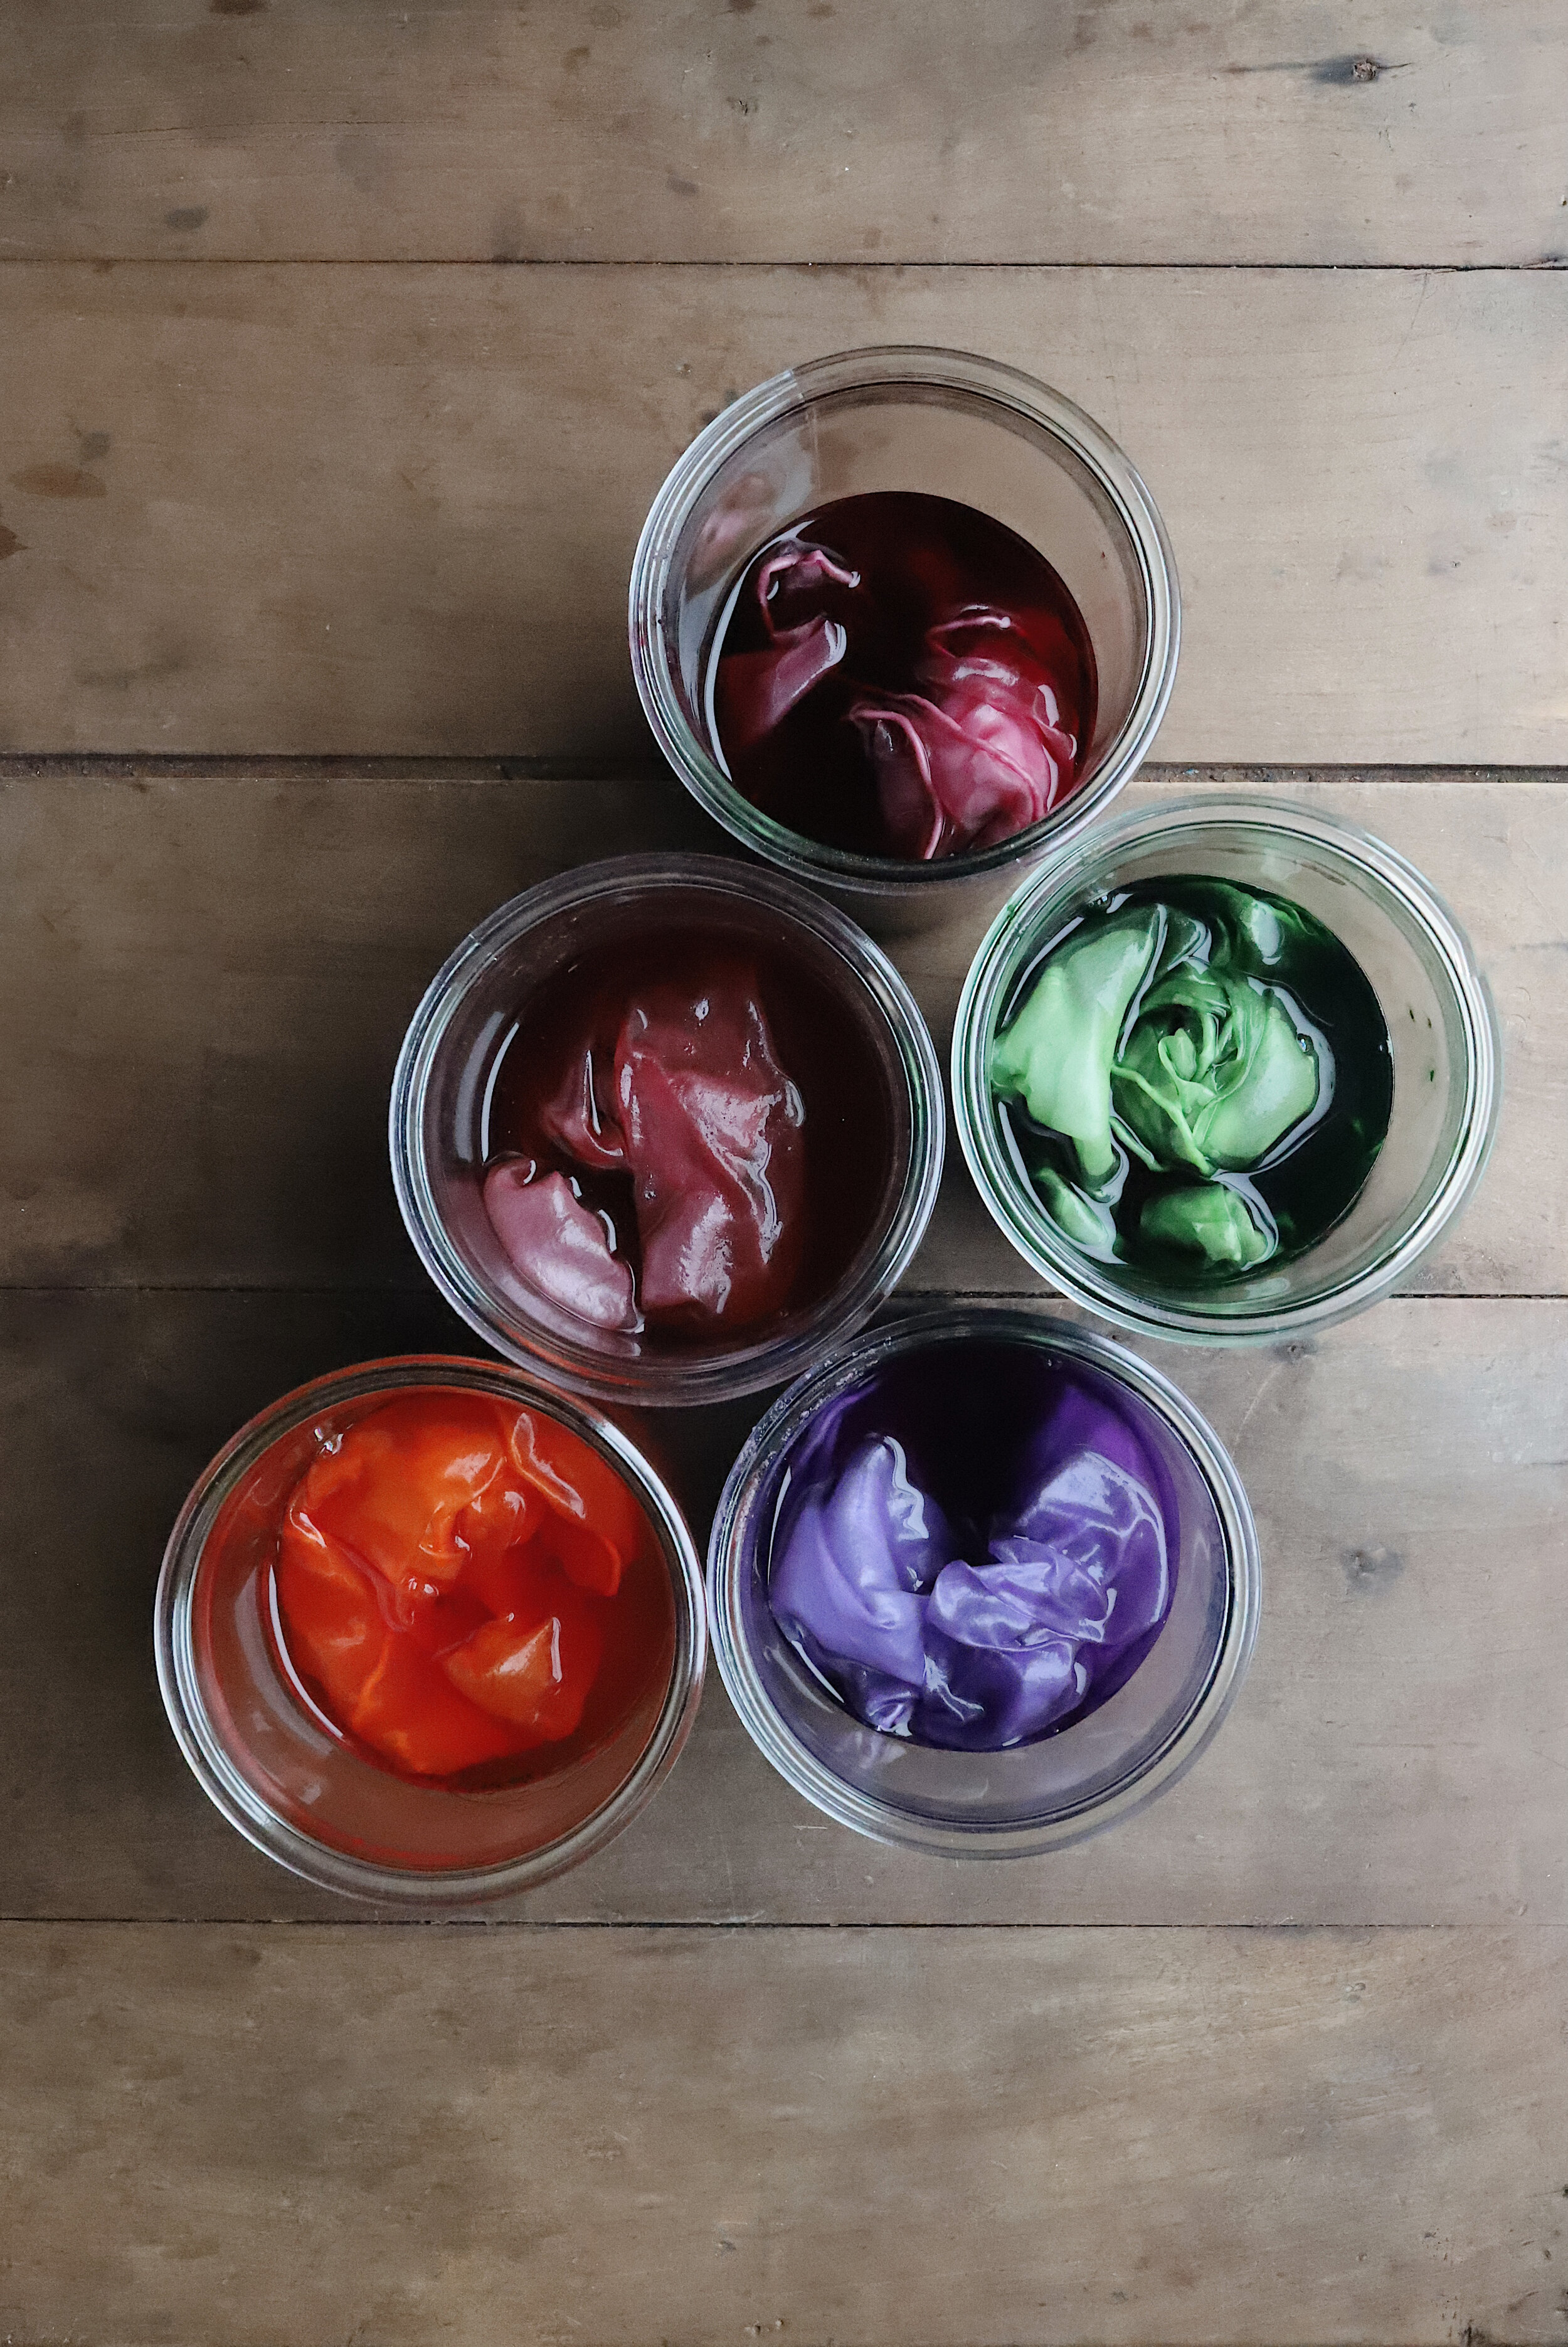
Plant dyeing play silks: Now that you know the basics, you can collect your materials. For plant parts, you can use flower heads, flower petals, or pieces of fruits or vegetables. Some plants, like cabbage, may need to be chopped into small pieces to fit them into your jar. When making your dyes, remember the more plant parts you add to each jar of water, the darker the dye will be. Also, be sure to collect one jar for each plant you plan to use and color you wish to create. At some point, you might want to combine plant parts to create interesting to colors, but I’d recommend starting with one plant per bath until you’re familiar with the colors each one creates.
Materials
empty quart size jars and lids
boiling hot water (3 cups per quart size jar)
aluminum sulfate (1/2 tsp for each jar)
spoon
clean plant parts for dyes
white play silks (I use these)
gloves (optional)
labels and pen
Directions
1. Fill the glass jars 3/4 of the way with boiling water. Add 1/2 teaspoon of aluminum sulfate to each jar and stir to dissolve it.
2. Add the plant parts to your each jar. If you use a plant powder such as hibiscus powder, for example, stir the water until it dissolves.
3. Using a spoon, submerge a play silk into each jar. Top off the jar with additional water, if needed to fill the jar to the top.
4. Seal the jars with airtight lids, then label them with the date and type of plant. Place the jars in a safe, sunny spot outside, or a south-facing window inside, for 3 weeks.
5. After 3 weeks, strain the plants and dye water. Compost the plant parts.
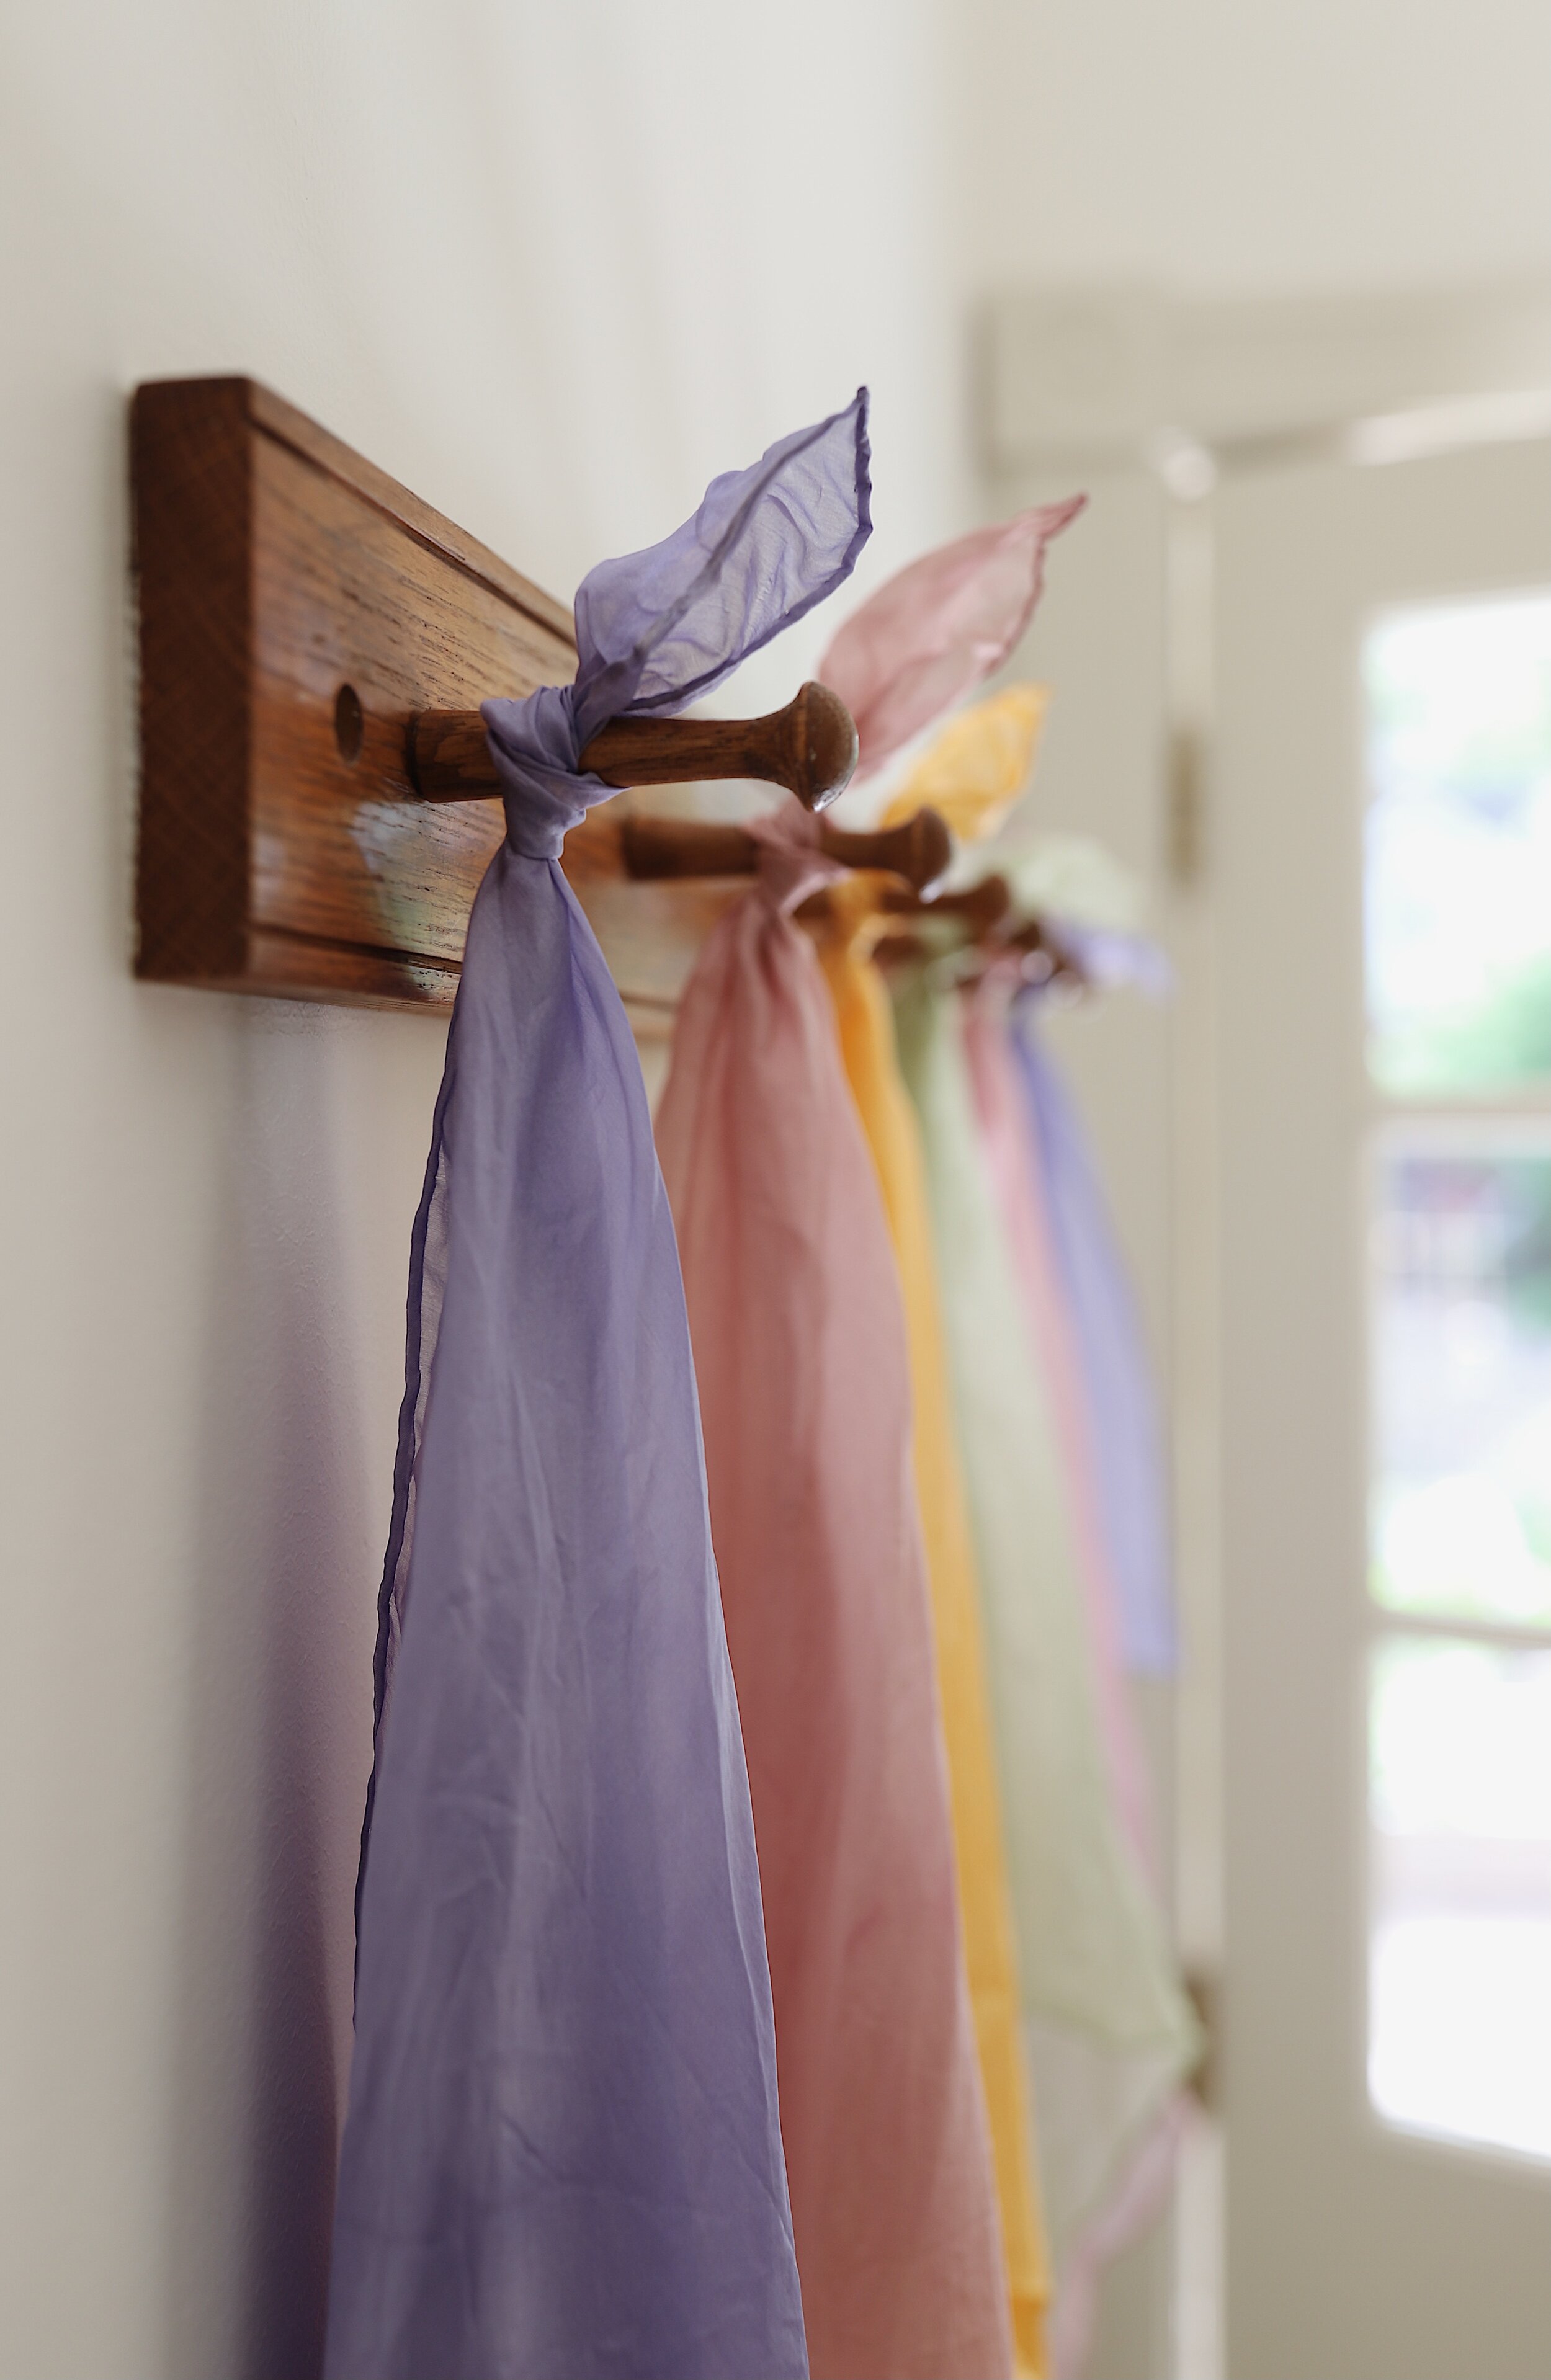
6. Hang the play silks to dry outdoors in the shade. (It’s also okay to dry them in the sun, but the UV radiation will likely fade the colors).