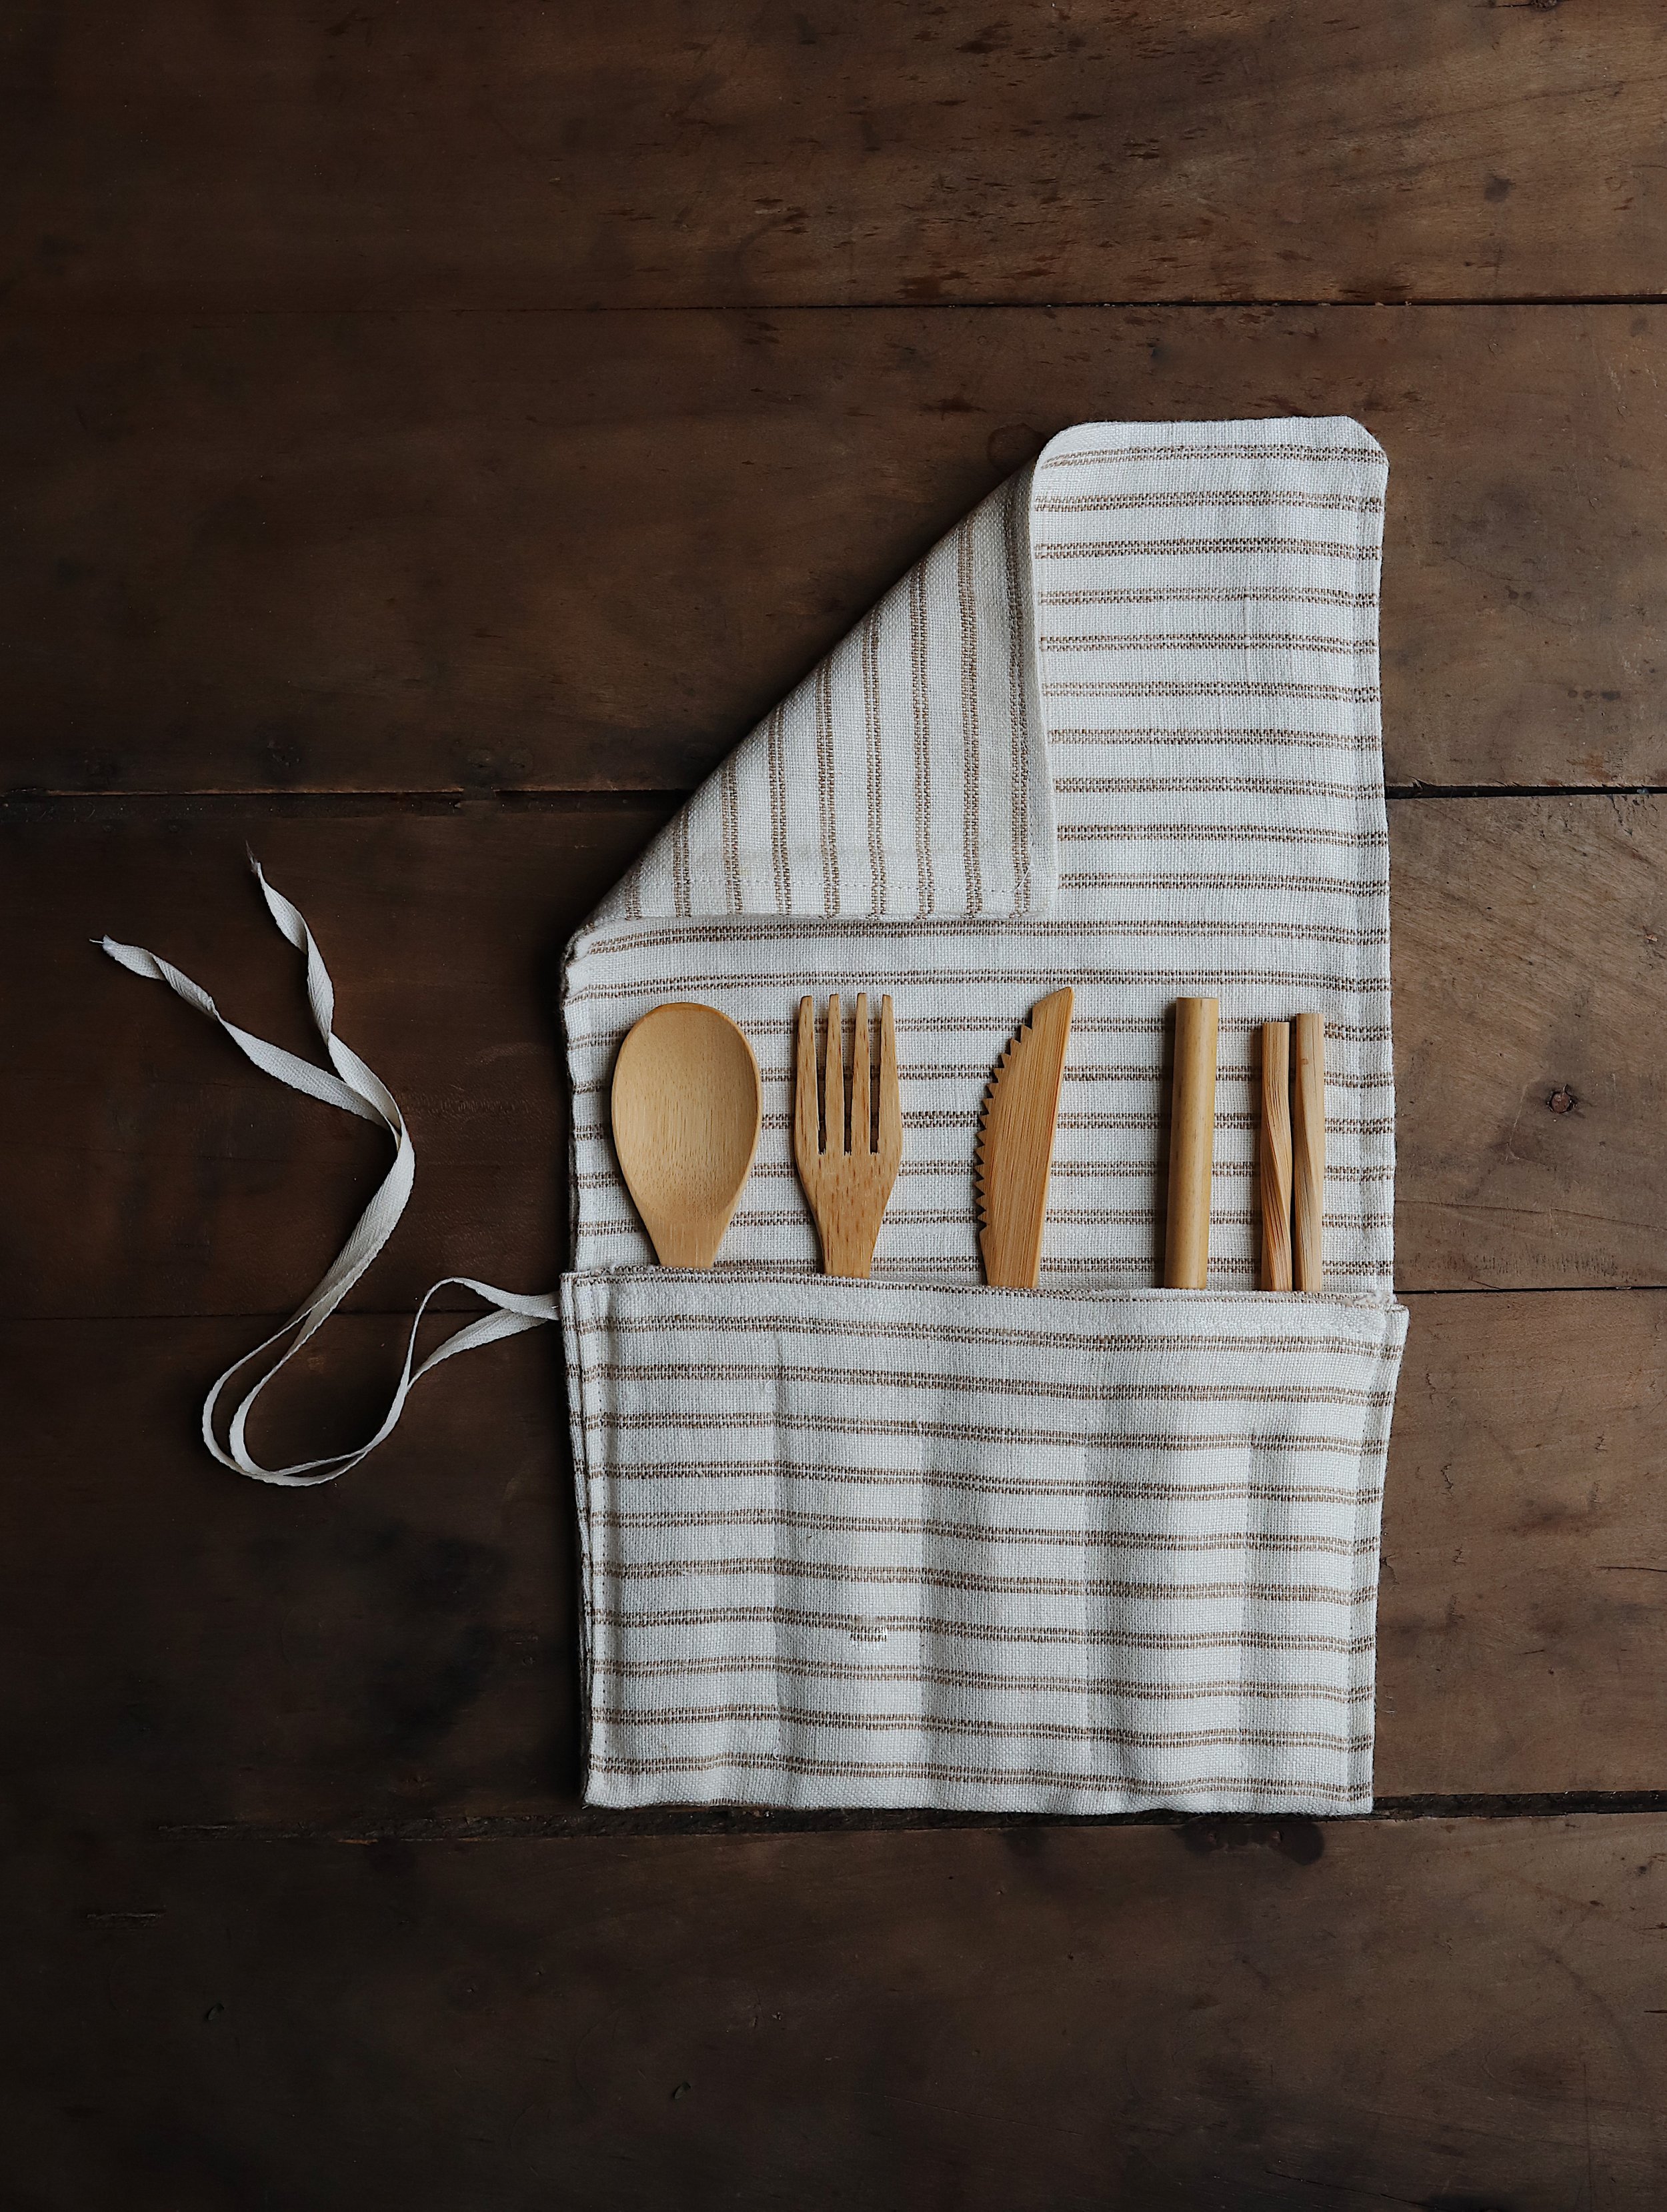
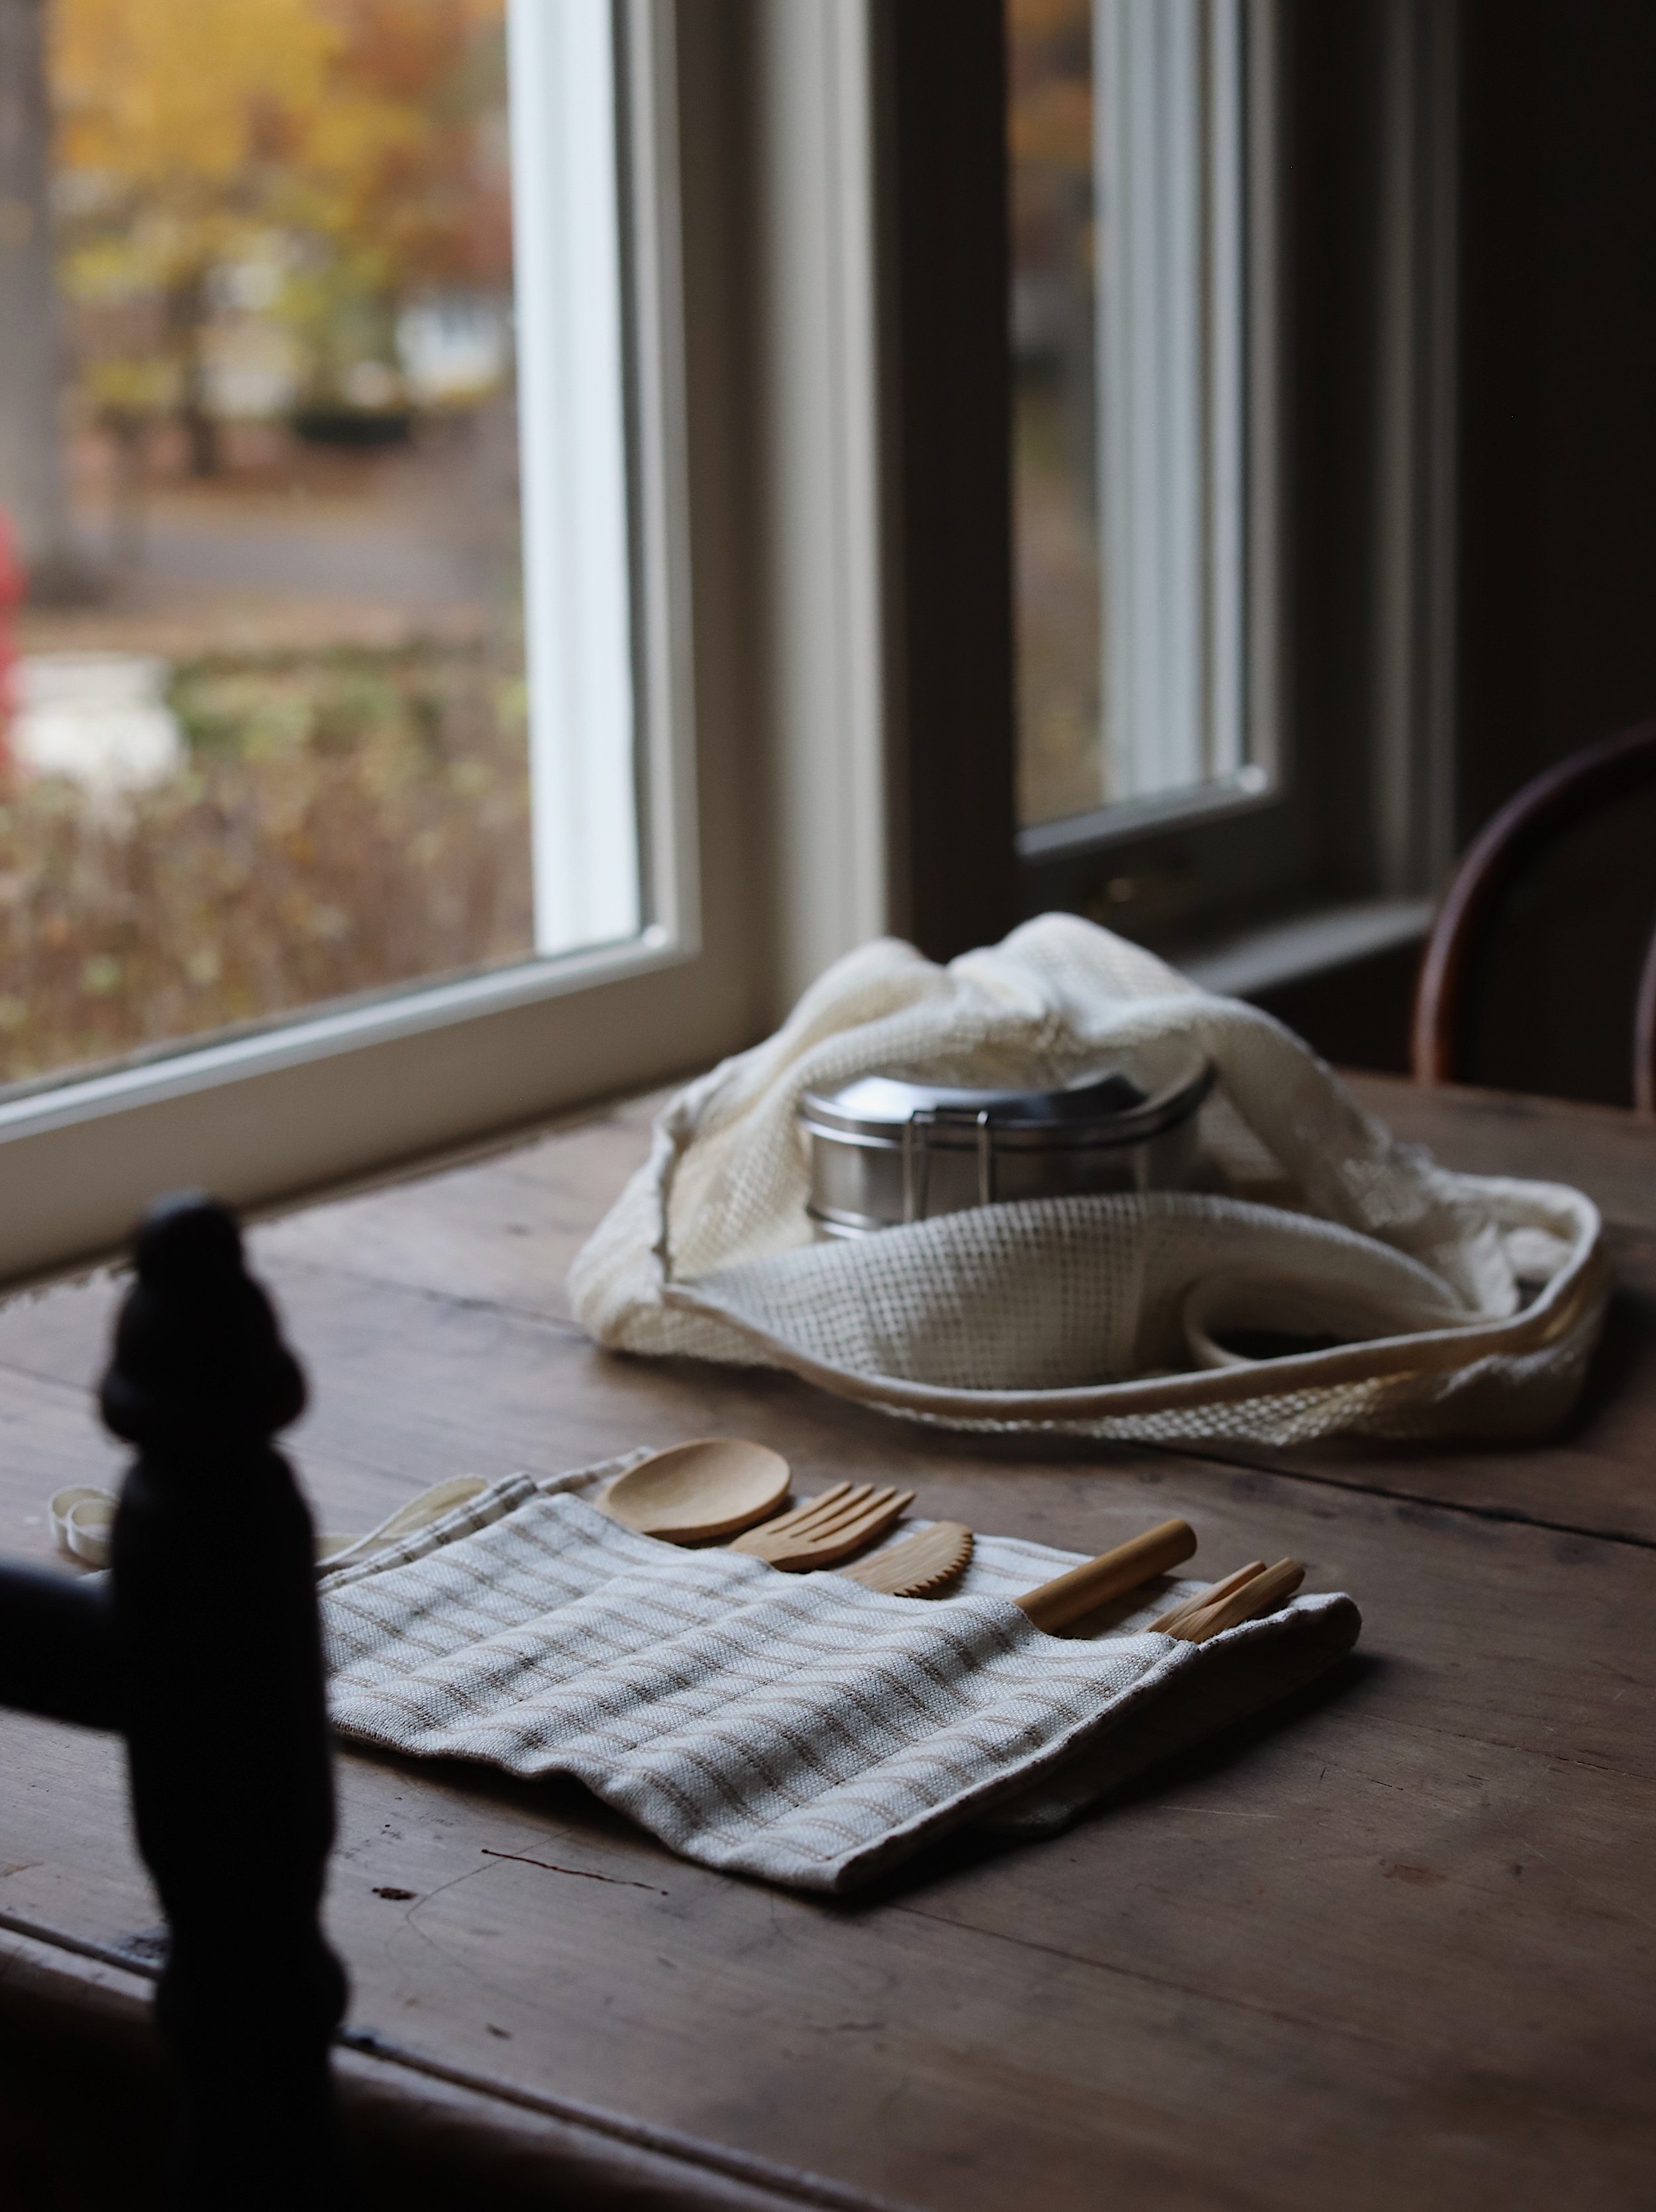
DIY Reusable Utensil Roll
Last summer, our dog Gus ate my favorite linen pillowcase. He tattered the edges, cracked the buttons, and pushed his owner to the brink of tears. While the minimalist in me wanted to deconstruct it and toss it in the compost heap, the sentimentalist in me folded it neatly into a square and placed it hopefully on top of a pile of fabric scraps in the corner of our art room.
A few months later, when I was packing Eloise’s lunch for school, I crammed a spoon and a fork in the tiny front pocket of her lunchbox. The same day, she came home complaining that her utensils had fallen out somewhere between our house and the school yard. She’d gone hungry at school and, for goodness sakes, that could never happen again. I scratched my head for a solution and found it etched in my memories of Instagram between 2018 and 2020. Those were the years when zero-waste was all abuzz and every other photo on my feed displayed a flat lay of various reusable objects - canvas shopping bags, shiny metal straws, elastic bowl covers, and of course cloth cutlery rolls.
So we took to our art room and made one, finally finding a purpose for the linen pillow case that once looked so nice in our living room.
What I love most about these rolls is that they’re practical. Also, they can be made by machine or by hand. They’re the ideal first sewing project for kids too! Eloise, age 9, made this wrap herself, with just a a little help from mom. It was a tricky fabric to be sure, if only because it had lines that made obvious every simple mistake, but I have a soft spot for wabi-sabi crafts and think it turned out beautifully for her first solo sewing adventure.
Once her roll was finished, we popped spoons, forks, and straws into the pockets, rolled up the fabric, secured it with a tie, and sent Eloise on her way. If you’re an artist, writer, or maker you could use these rolls to store paintbrushes, knitting needles, clay tools, or colored pencils. This particular pattern makes one roll measuring approximately 8” X 14”, but you can alter the pattern by cutting your fabric whatever width and length you wish. Enjoy!
Materials
pre-washed cotton fabric
scissors
iron
straight pins
sewing needle or sewing machine
thread
chopstick or knitting needle
ruler
fabric pencil or marker
1/4 inch cotton twill tape (or whatever
you can upcycled for the ties)
iron
Directions
1. Measure and cut two pieces of fabric 9” X 20” each. Choose pieces that match if you want the lining and outside fabric to look the same; otherwise, mix-matched pieces look cute too!
2. Measure and cut one 24” long piece of cotton twill tape for the ties.
3. Using the iron, press a 1/2” seam on one of the shorter ends of each piece of fabric to create a hem on the wrong side.
4. Pin the two pieces of fabric together with right sides facing and hems aligned and facing out.
5. Sew the fabric pieces together by stitching a half inch seam allowance along three sides, leaving the short side with the pressed hems unstitched and open.
6. Turn the fabric right side out and use the chopstick or knitting needle to gently push out the corners of the fabric. Be sure you to don’t push too hard and create a hole in the fabric.
7. Press the fabric with the iron to remove any wrinkles.
8. Using a top stitch, sew the short, open end shut.
9. Fold the hemmed side upwards 5 inches to create a pocket. Pin the edges of the pocket.
10. Fold the twill tape in half and insert the folded end (the midpoint) between the pocket and larger piece of fabric on the left side of fabric. Pin the tape in place.
11. Sew 1/4 inch all the way around the edges, being sure to secure the twill tape with the stitches.
12. To create individual pockets for your cutlery, measure 4-5 even increments across the pocket and mark them with a fabric pencil or marker. For our roll, we spaced the individual pockets approximately 1.5” apart.
13. Stitch the individual pockets vertically per the marked lines, leaving the top of each pocket open.
14. Add the utensils, roll up the fabric, and secure it with the ties.


