How to Grow Microgreens Indoors


Growing microgreens is one of the best ways to keep an ardent gardener happy during the heart of winter. Come February, our south-facing windows are usually jam-packed with tender shoots inching towards the light. Over the years, I’ve posted photos of our indoor microgreen gardens on Instagram, but I’ve never shared how we grow them. There are lots of tutorials online, but I suppose sometimes it’s nice to hear from a real person how they do it - for fun, on a small scale, and mostly by the seat of their pants. Here’s a little background information on microgreens and a simple tutorial for how to grow and harvest them.
What are microgreens
Before I knew better, I thought microgreens were a specific type of crop – a plant or variety of seed that grew tiny, beautiful plants. But microgreens are nothing more than the young seedlings of common, edible crops. A microgreen is essentially what you get if you let a seed sprout without letting it grow into a full-fledged mature plant.
What this means is that you can grow any edible plant as a microgreen, though some crops are more popular than others. The most commonly grown microgreens are arugula, basil, beets, bok choy, broccoli, cabbage, collards, kale, peas, radishes, Swiss chard, and sunflowers. And although any plant can be grown as a microgreens, you should avoid growing and eating ones from the nightshade family (tomatoes, peppers, potatoes, and eggplants) as their leaves and stems contain toxins that can make you sick.
If you’re not sure what to grow, the easiest way to get started is to buy a packet of microgreens from a seed company. I’ve been buying various microgreen mixes from Botanical Interests for years and have always had good luck with them. My favorite packets are these, these, and these and my kids absolutely love growing their pea shoots! Hudson Valley Organic Seeds also has a great variety of organic microgreens on their website.
Why grow microgreen
There are lots of reasons to grow microgreens - for one, they’re an excellent source of minerals, vitamins, and antioxidants. They’re also flavorful and often described as the more concentrated form of a vegetable. There’s a reason high-end chefs use them to add flavor, color, and volume to dishes - depending on the kind you grow, you can expect tastes ranging from mild, sweet, and bitter, to sour, spicy, and peppery.
Microgreens are also easy to grow indoors and make the experience of growing food accessible to city-dwellers and newbies alike. Not only do they require little in terms of space, but they’re also low maintenance and quick to grow. Most varieties can be harvestEd in as little as 7 to 14 days.. Take note though that each crop can only be harvested once - after you lop off the top of their shoots, you’ll need to start a new tray of seeds.
How to grow microgreens
Growing microgreens indoors is simple and can be done without special equipment. You can grow them without soil – on hydroponic grow mats or coconut coir - but the easiest way to grow them is in easy-to-source organic potting soil. Below is a list of all the materials you’ll need to get started.
Materials for growing microgreens
· Microgreen seeds. You can use regular seeds from any garden center, but as I mentioned above most seed companies also offer special microgreen seed mixes that are a great option for first-timers.
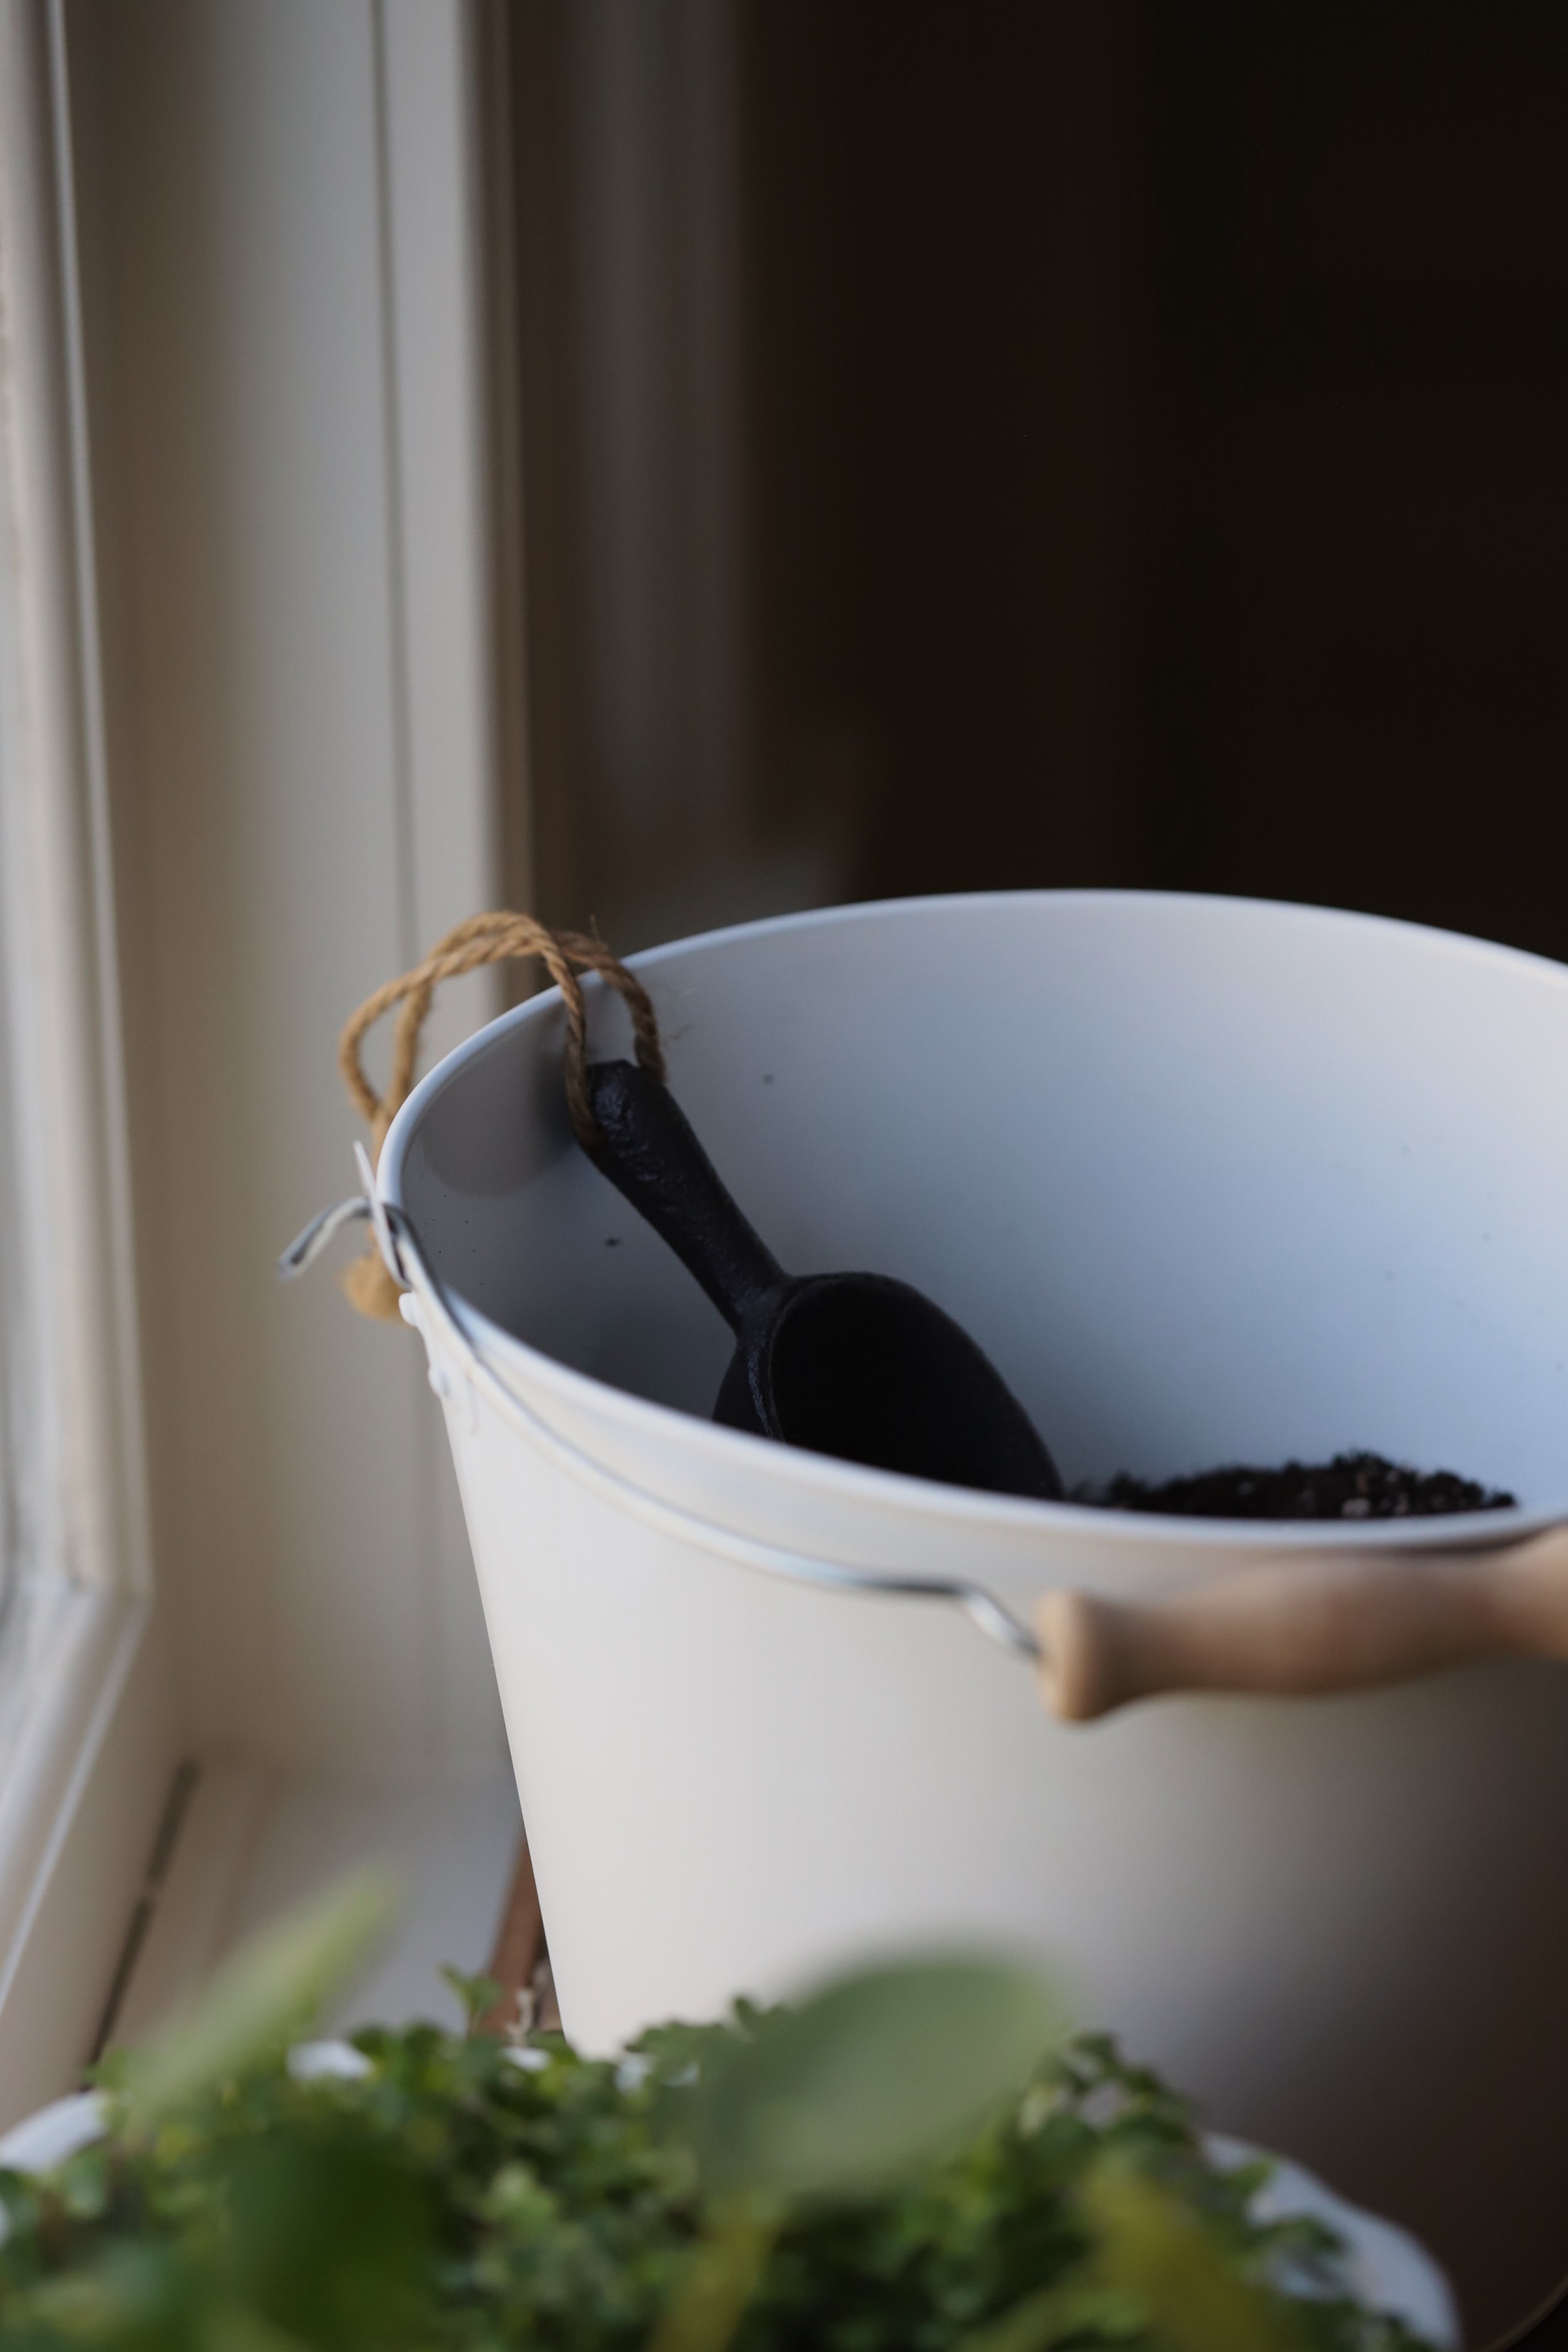
· Soil. A seed starting mixseed starting mix is your best bet, but any organic potting soil will also work. Potting soil is a misnomer since it’s not actually soil. Unlike garden soil or compost, potting soil is made up of sterile ingredients (like perlite and coconut coir) that allow for optimal drainage. Plants grown in containers can become compacted and waterlogged easily, so a soilless seed starting or potting mix is key!
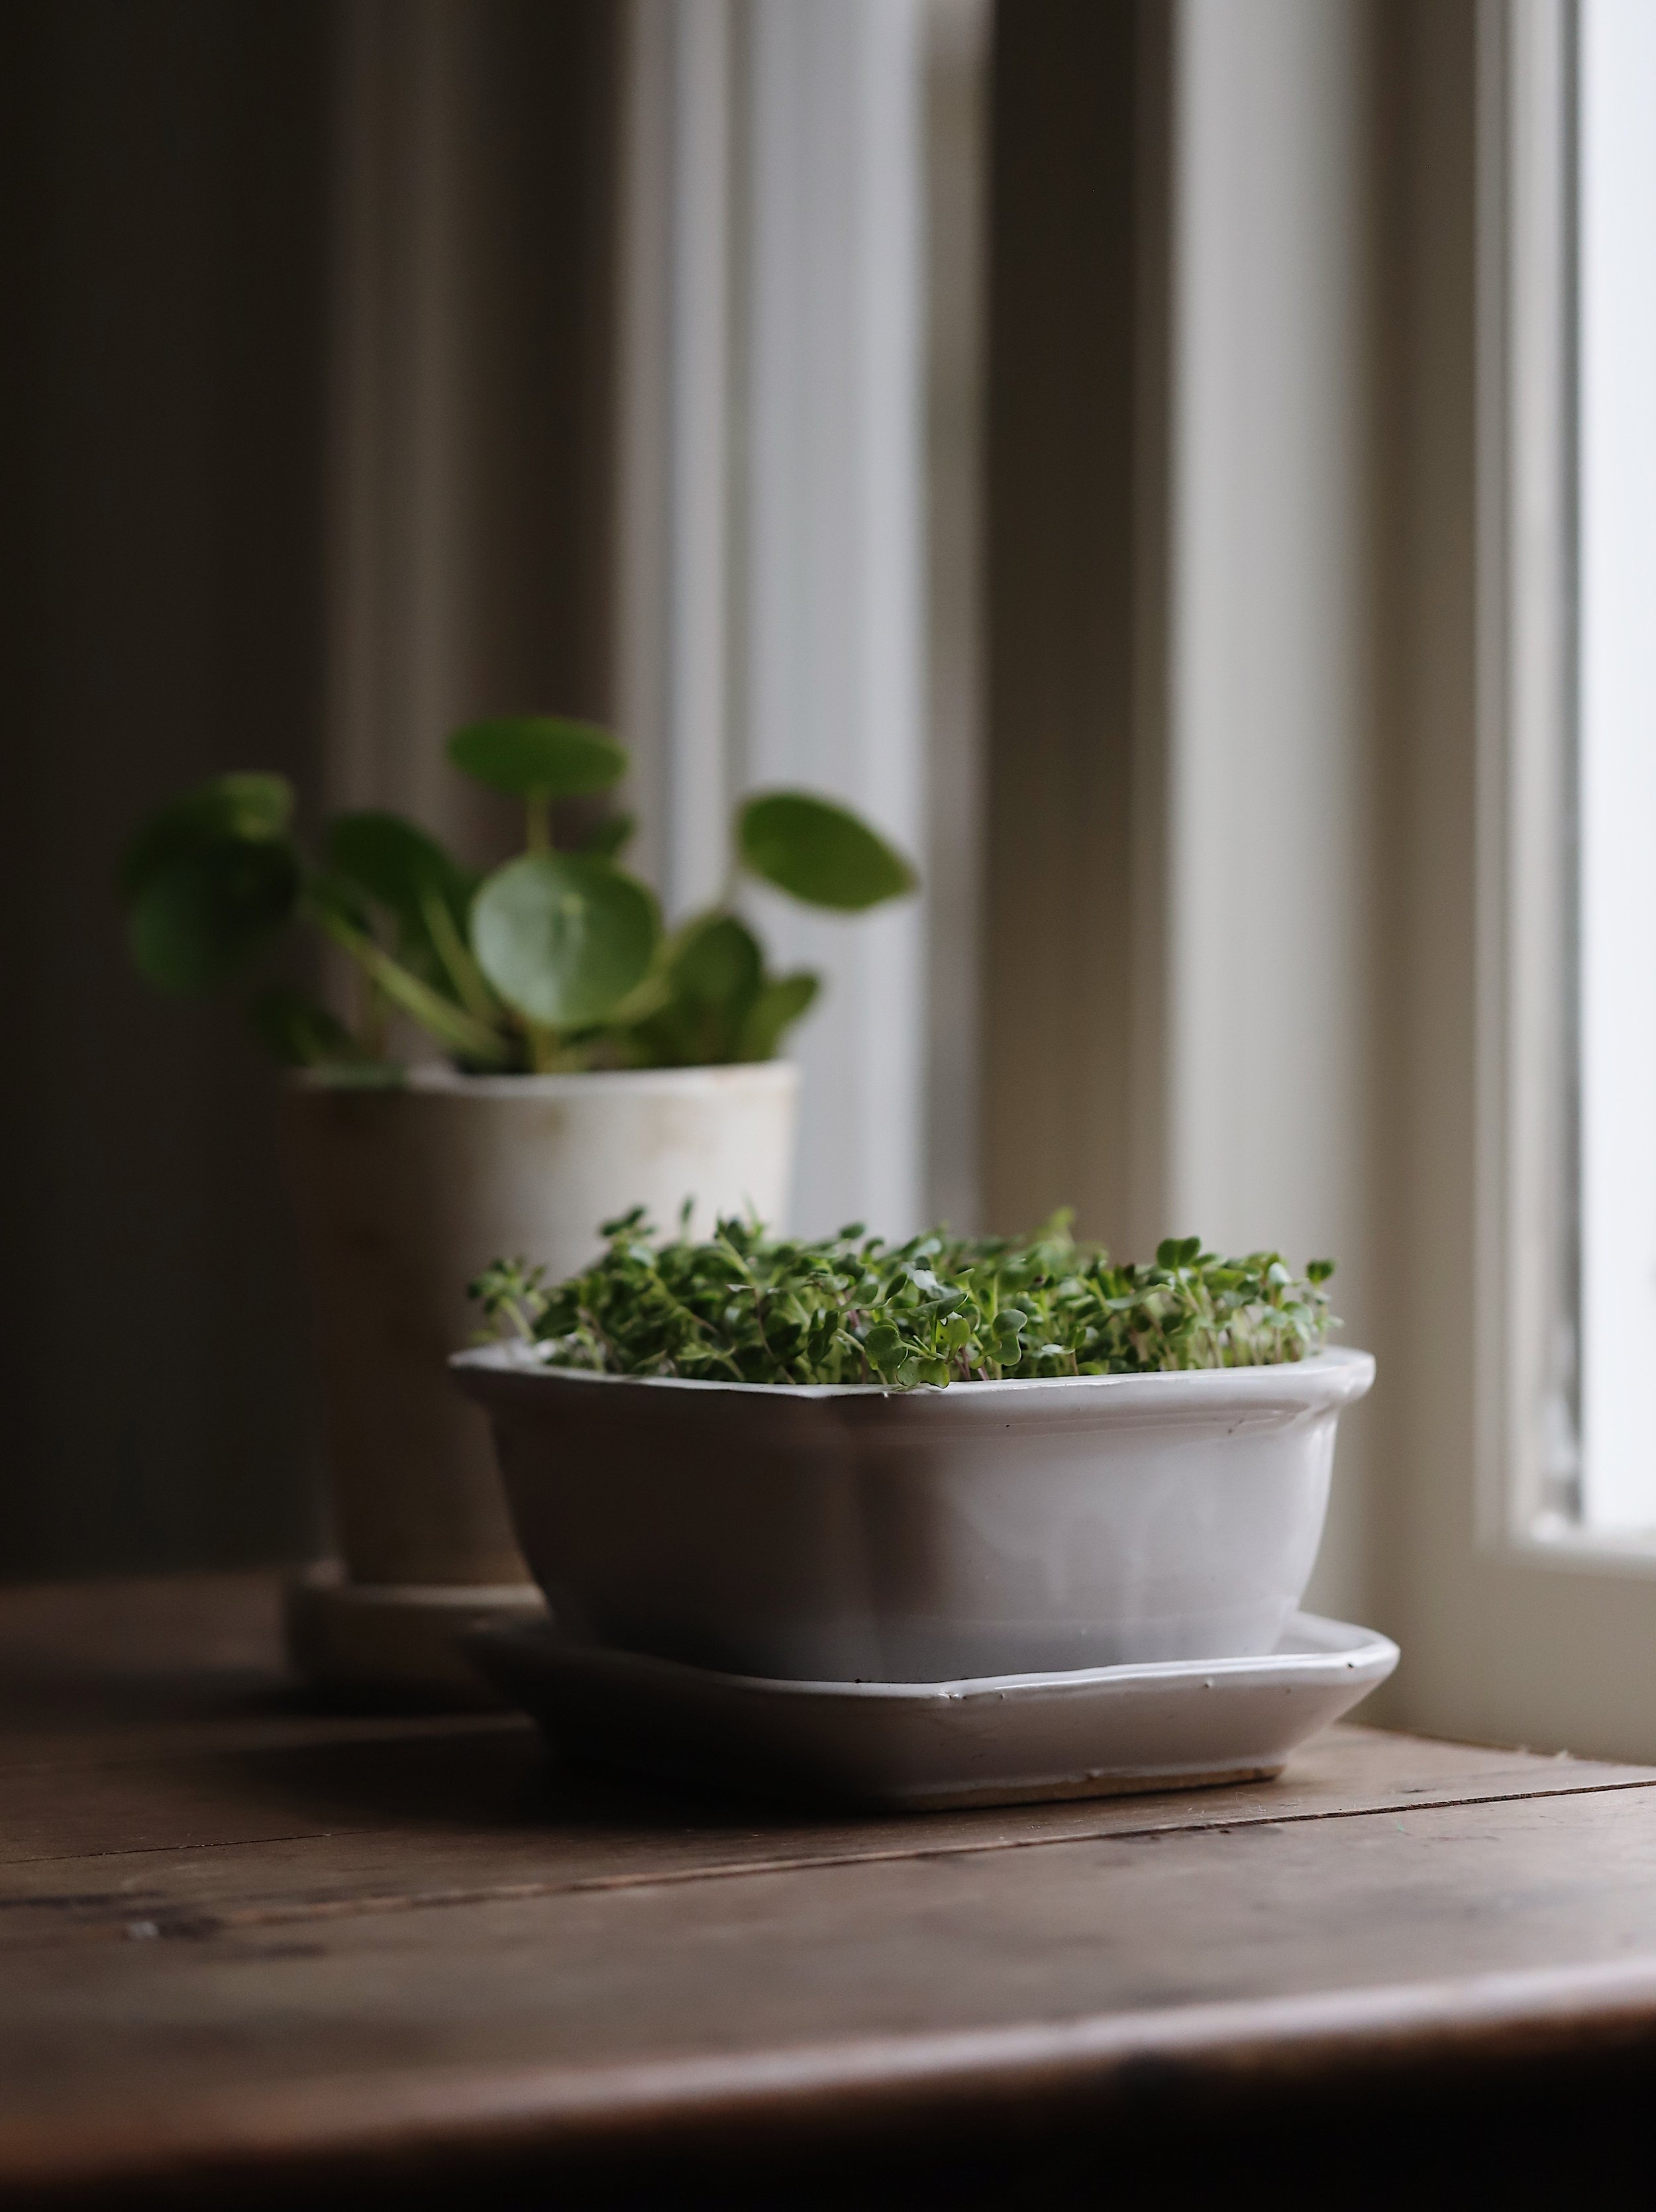
· Tray: You’ll need a tray (or container) to grow microgreens. People who grow them regularly often use shallow seed starting trays like these, but any container will work. If you have empty plastic berry containers in your recycling bin, this would be an excellent way to repurpose them. One thing to keep in mind is that, since microgreens don’t develop an intricate root system, they don’t require a deep tray. The more shallow the tray, the less soil you have to use. The less soil you use, the less waste you make! A tray or container that allows for 2 inches of soil is plenty deep.
· Light source. You can use natural light or artificial lights. I can typically grow microgreens just fine by a sunny, south-facing window that gets at least 4 hours of direct sunlight a day. Otherwise, grow lights are a wonderful alternative and can be as simple as a shop light with cool white fluorescent bulbs, or a mix of cool-white and warm-white tubes placed 1"–2" above the the top of your plants. If you put your plants under grow lights, you can keep them there for up to 14 to 16 hours a day.
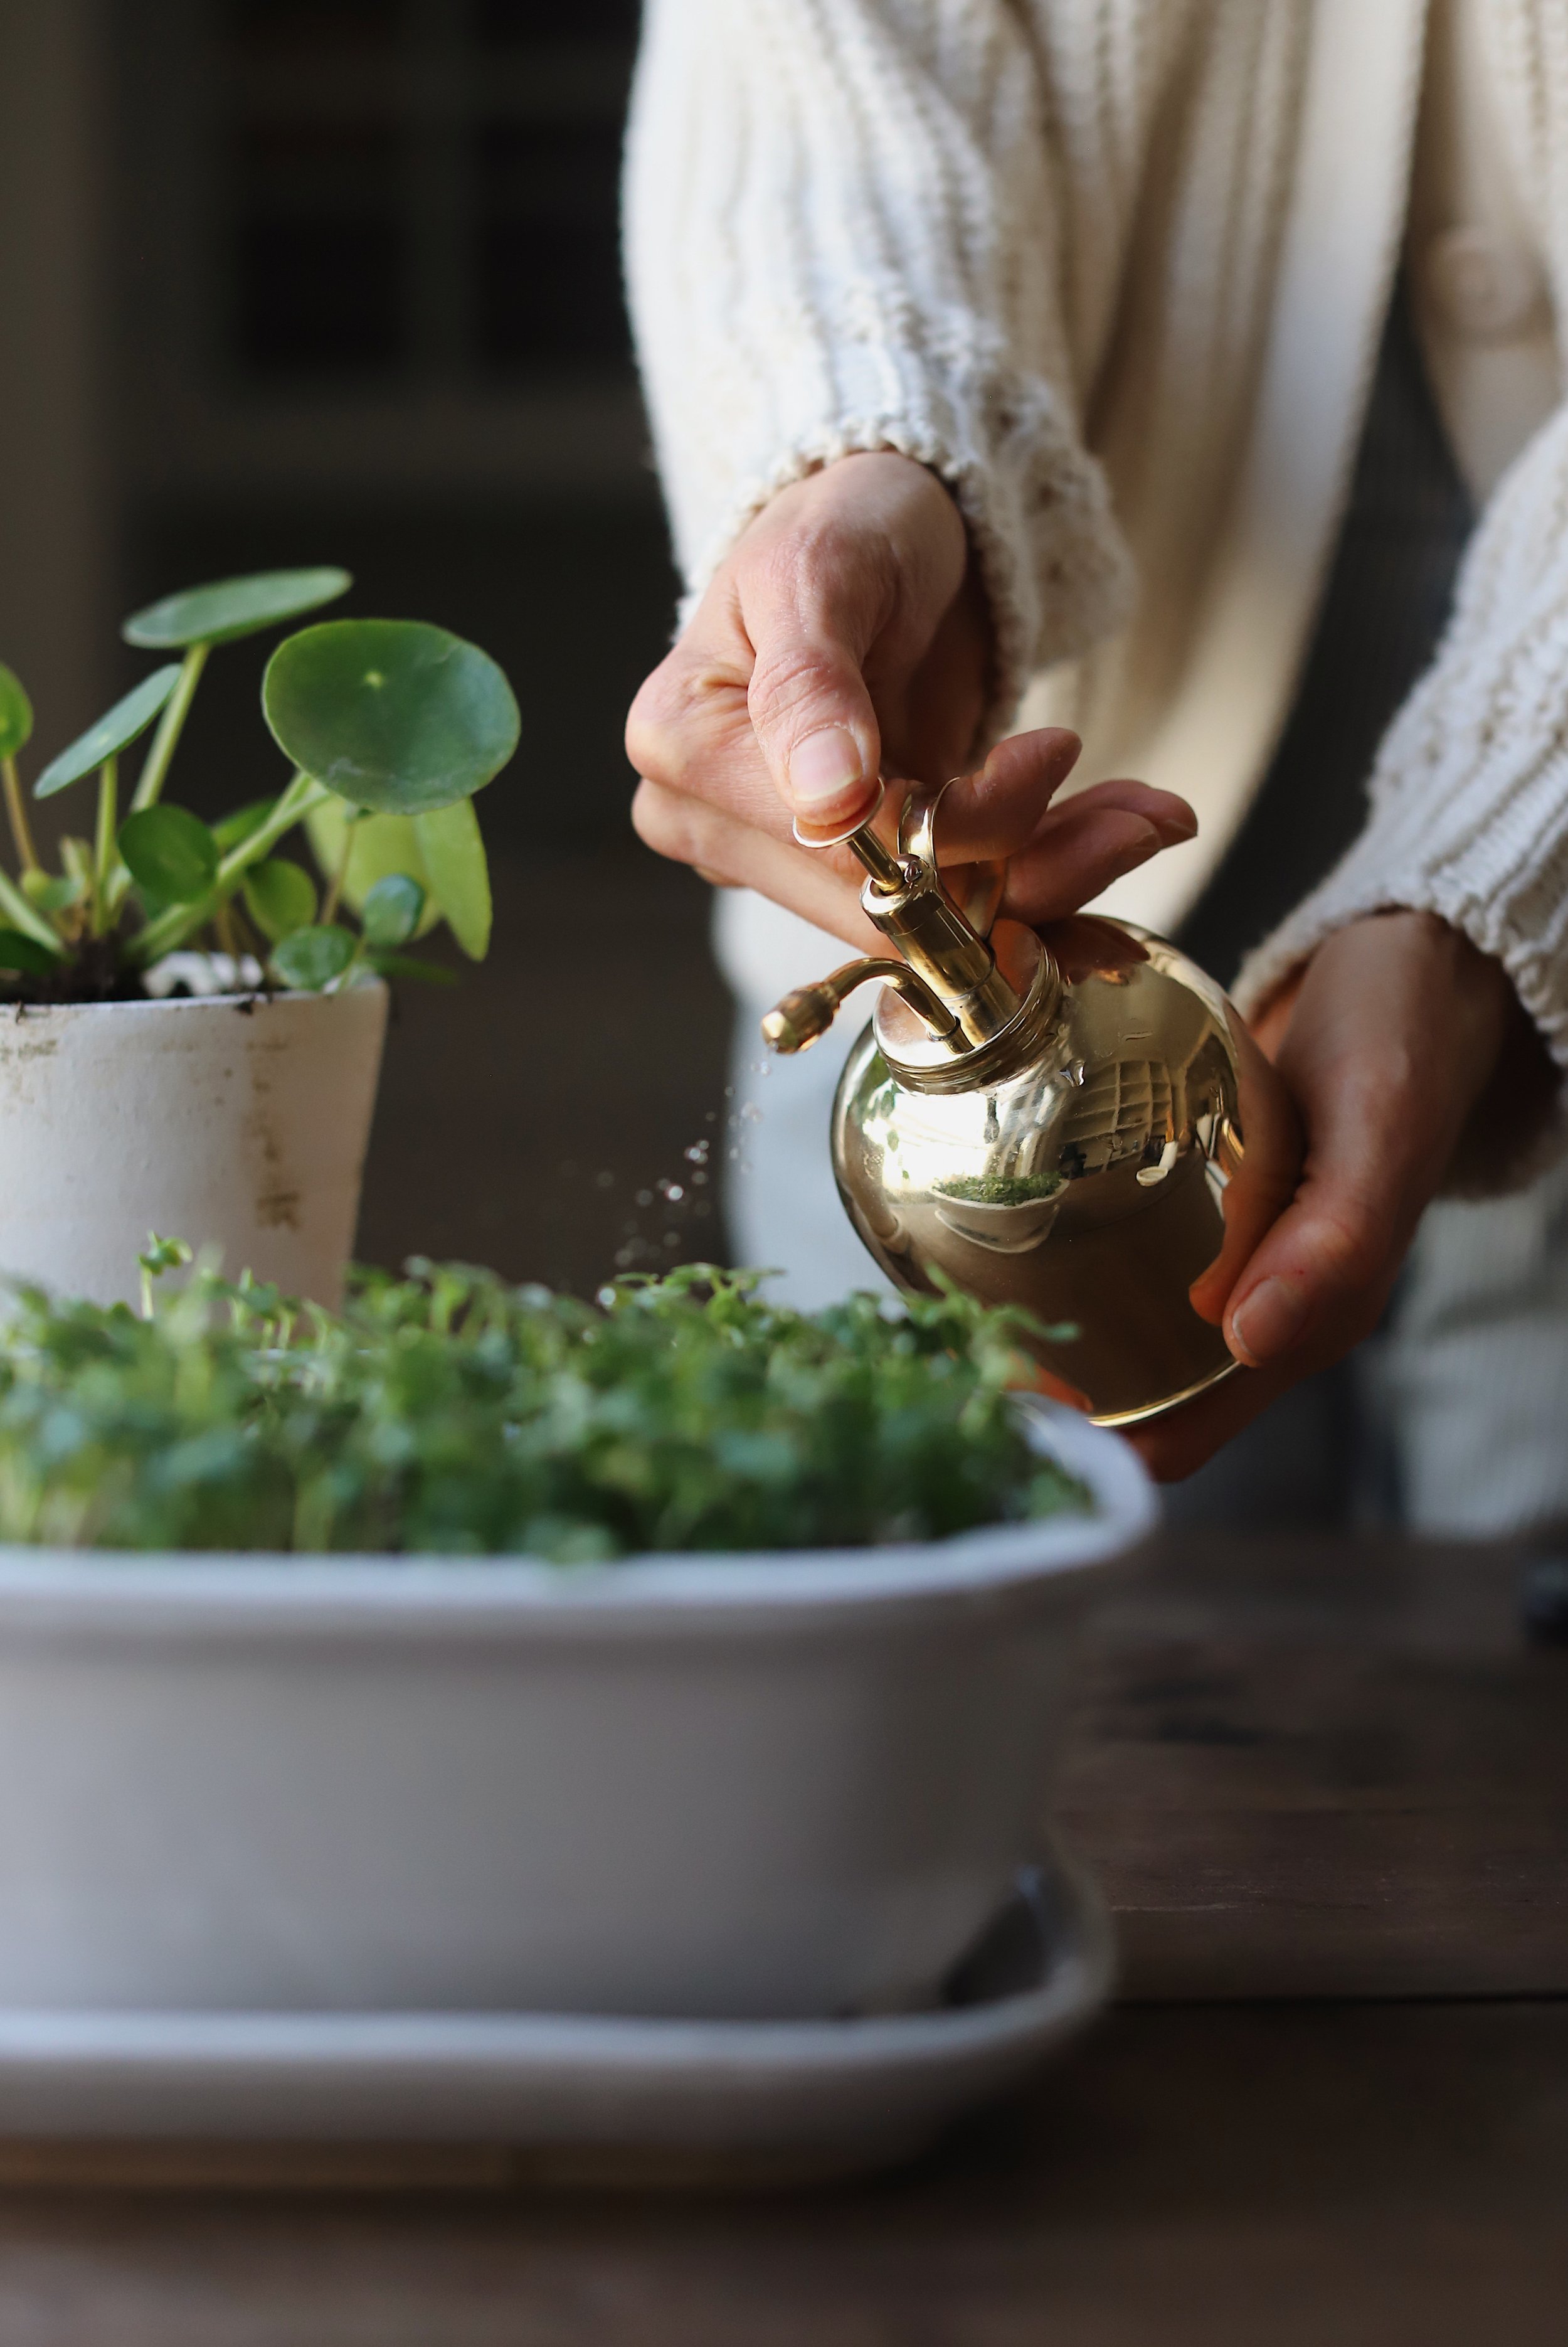
· Water. It goes without saying, but plants need water to grow. At the seed stage, it’s also important to keep the soil consistently moist. Once your seeds germinate, you can water plants once a day. Since their stems are fairly delicate, I like to spray microgreens with a mister or water bottle. Another option, assuming your tray has drainage holes and a catchment basin, is to water them from underneath. Just fill the catchment basin with 1/4” of water and let the soil absorb it through capillary action.
Directions for Growing Microgreens
1. Fill a tray with approximately 2 inches of seed starting mix/potting soil.
2. Water the mix/soil until it is sponge-damp but not soaking wet.
3. Broadcast the seeds over the surface of the soil, following the directions on the seed packet.
4. Sprinkle a thin layer of soil over the top of the seeds and use your hands or finger tips to press the seeds into the soil.
5. Water or mist the seeds and place the tray in a sunny spot (or under grow lights).
6. Mist daily, being sure to keep the soil moist, until the greens are ready to be harvested.
7. To harvest, cut the seedlings at the soil line.
9. For a continual crop, sow every 14 days.
How to harvest microgreens
When the seedlings emerge, the first leaf or pair of leaves to show are the cotyledons, which can look very different from the leaves that follow, called "true" leaves. Microgreens are ready to harvest in about 7 to 14 days after sowing, when they have cotyledons, and some true leaves.
Harvest with clean scissors, cutting just above the soil line. Rinse and use, or store dry micro- and baby greens in the refrigerator in a sealed container.
I’m sure there’s so much more to say, but this is certainly enough to get your started. Happy planting!