How to Start Your Garden Indoors


in the waning days of winter, it’s not uncommon for the homes of ambitious gardeners to look like runaway science projects. For various reasons, some of us just can’t wait until warm weather to begin our gardens. We rig up fluorescent lights in our living rooms; schlepp bags of potting soil to the kitchen table; and fill pot after pot with soil and seed.
In my last post, I shared a handful of crops you can start from seeds either 1) outside directly in the garden or 2) inside your home, in small pots or trays. The advantage of starting indoors is that it gives you a jump start on the growing season, which can make a big difference in cooler climates where the season starts late and ends early.
In terms of timing, many seeds started indoors are sown four to eight weeks before their prescribed transplantation date. But it’s best to double check, as some seeds need to start earlier or later than others. The seed package should tell you the best time to start, with guidance for starting indoors versus outdoors, based on your area’s last expected frost date.
My tomato seed packets, for example, tell me to start indoors six weeks before my last frost date. According to the Farmers’ almanac site here, my last spring frost is May 2, meaning I should start my tomato seeds on March 21, or as close to that date as possible.
Sowing seeds indoors can be a bit of a project—you’ll need a growing medium, containers, warmth, light, moisture, and time for feeding, thinning, repotting (if needed), and hardening off.
If you’re up for the challenge, here’s most of what you need to know about growing seeds indoors. I’ll try to provide as many (non-affiliate) links as possible, to save you the hassle of having to search for products yourself.
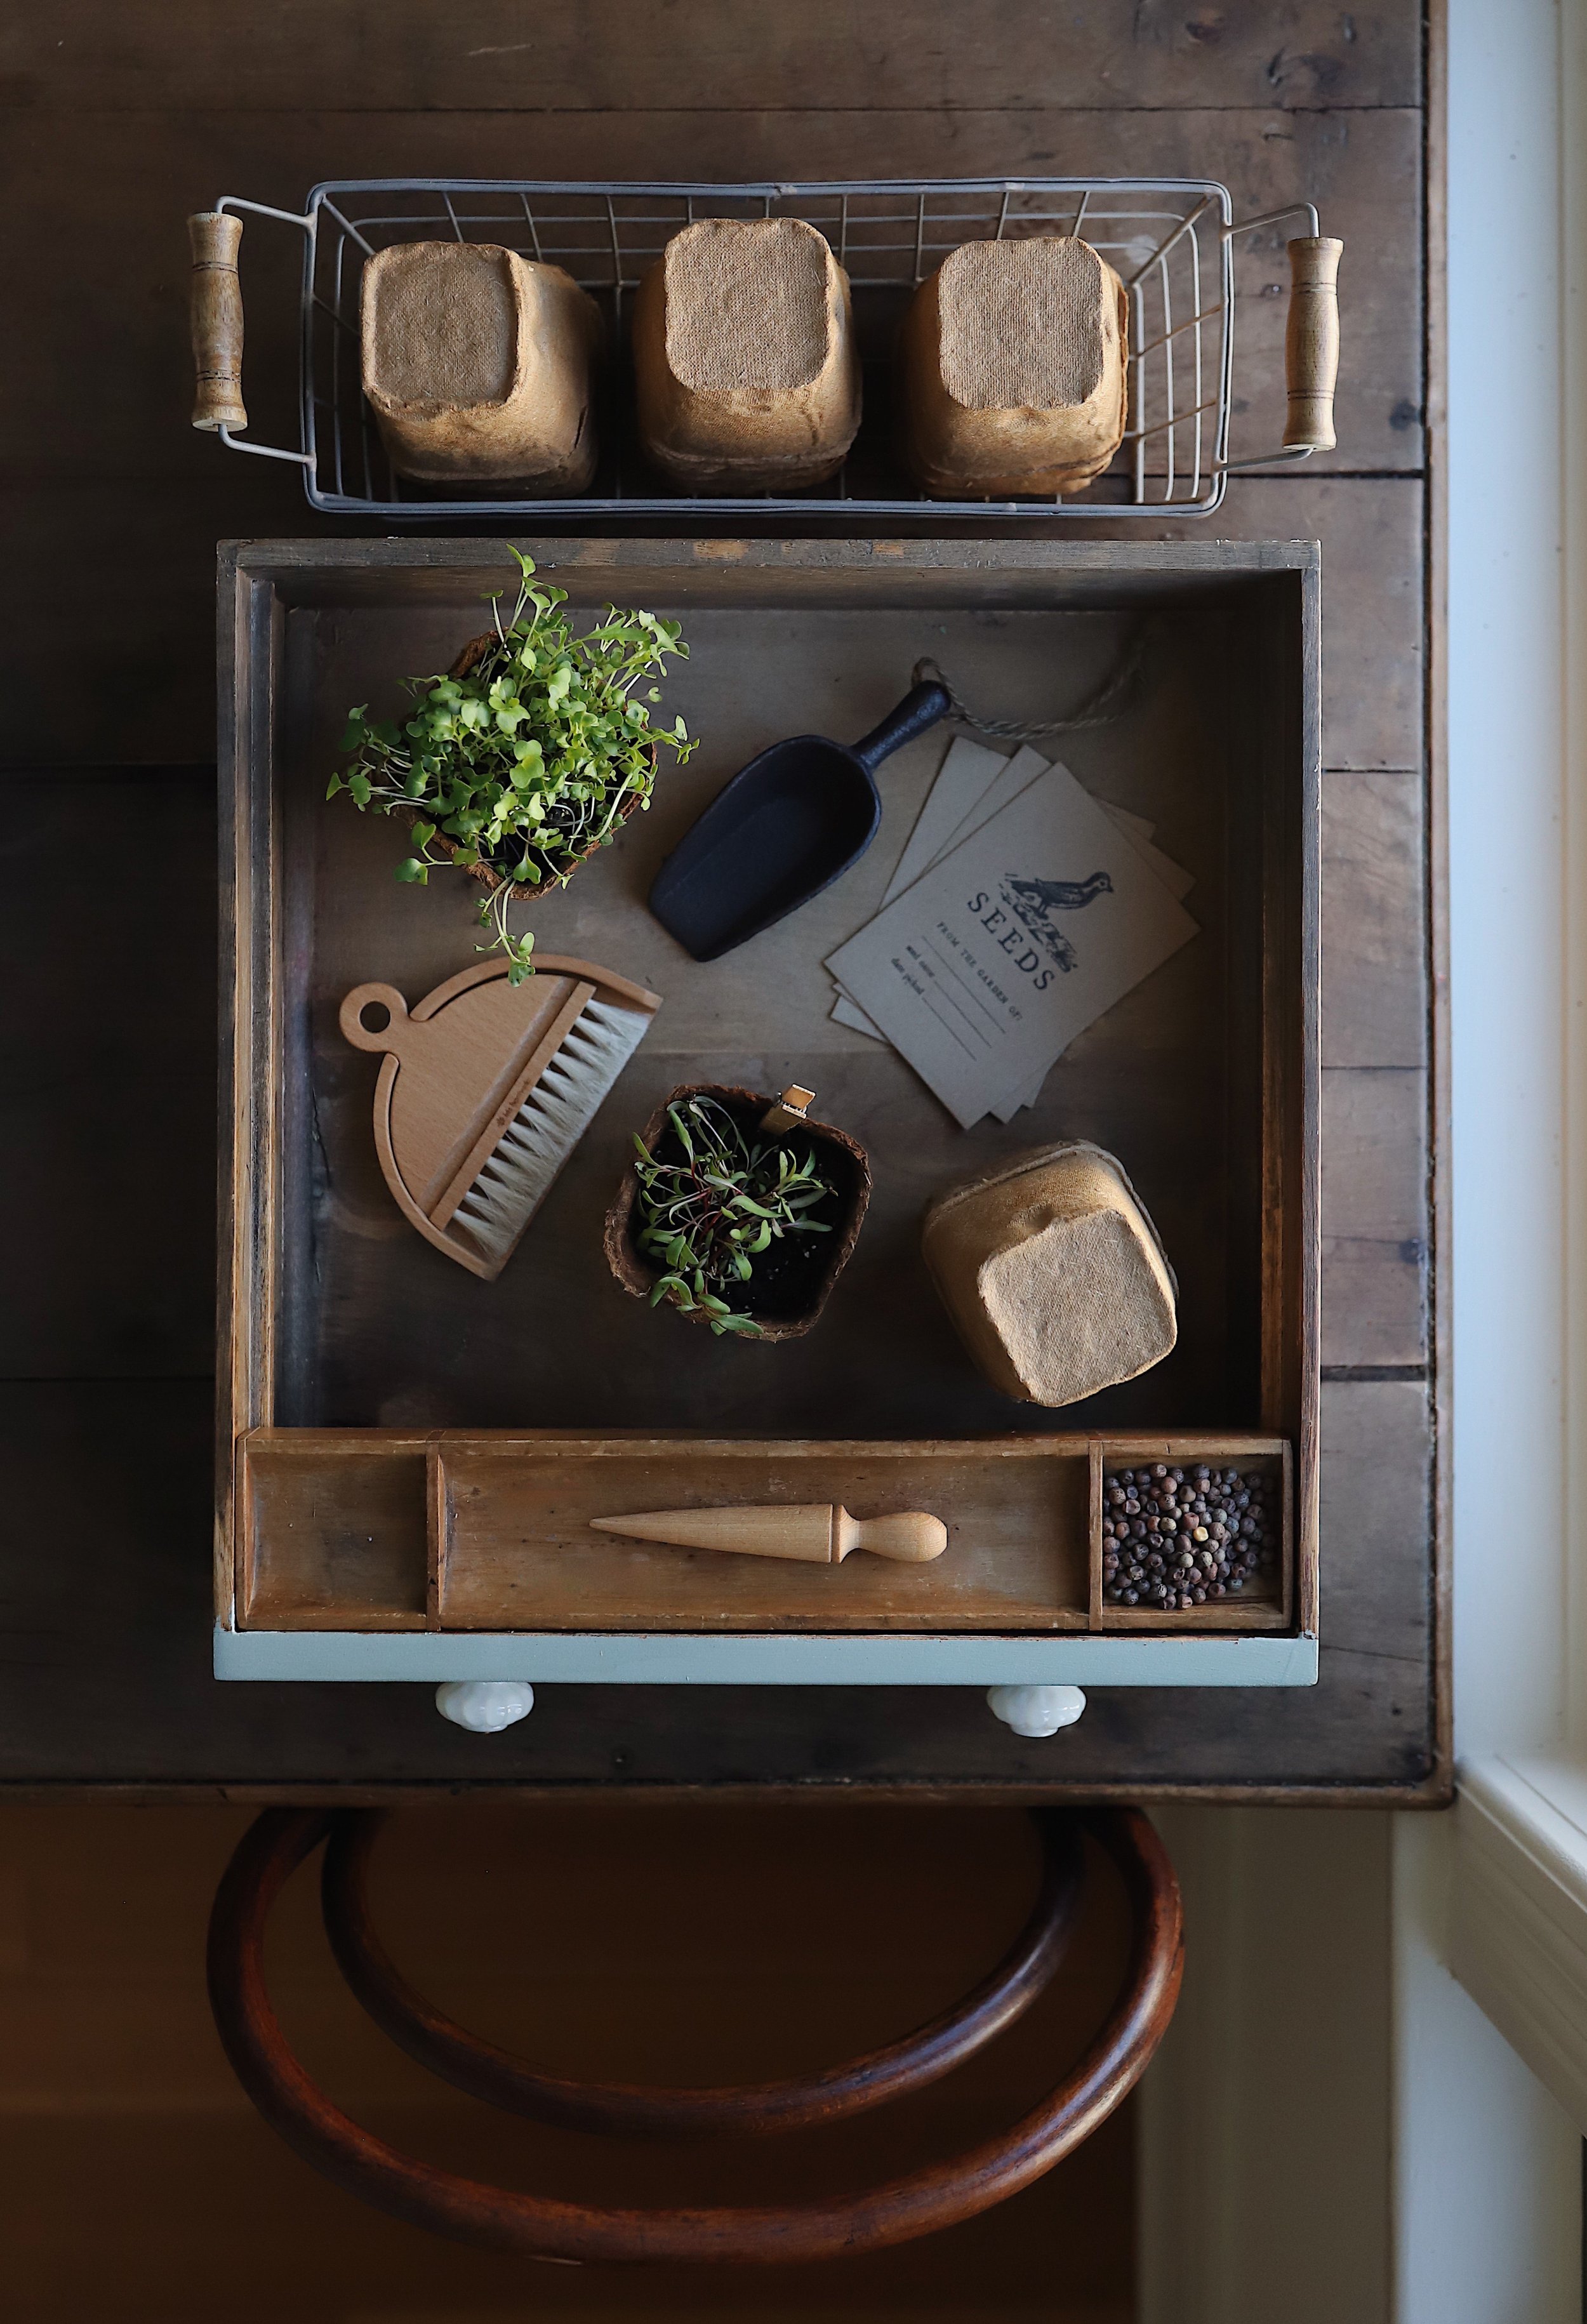
Growing Medium.
Seeds grown indoors should be started in a soilless seed-starting mix composed of fine particles, moisture-retaining amendments, and sterile ingredients that won’t stimulate fungal or bacterial growth. Seed-starting mixes are different from potting mixes, which are coarser in texture, less adept at draining, and amended with nutrients and fertilizers. Seeds need finer soil to allow their roots to develop properly. They don’t need nutrients since—not unlike eggs—they carry all the nutrients they need to sprout.
Once the seeds sprout and form true leaves (the third and fourth leaves to develop), they’ll need to be repotted in a container with potting soil to keep them growing strong until they’re ready to be transplanted into the garden.
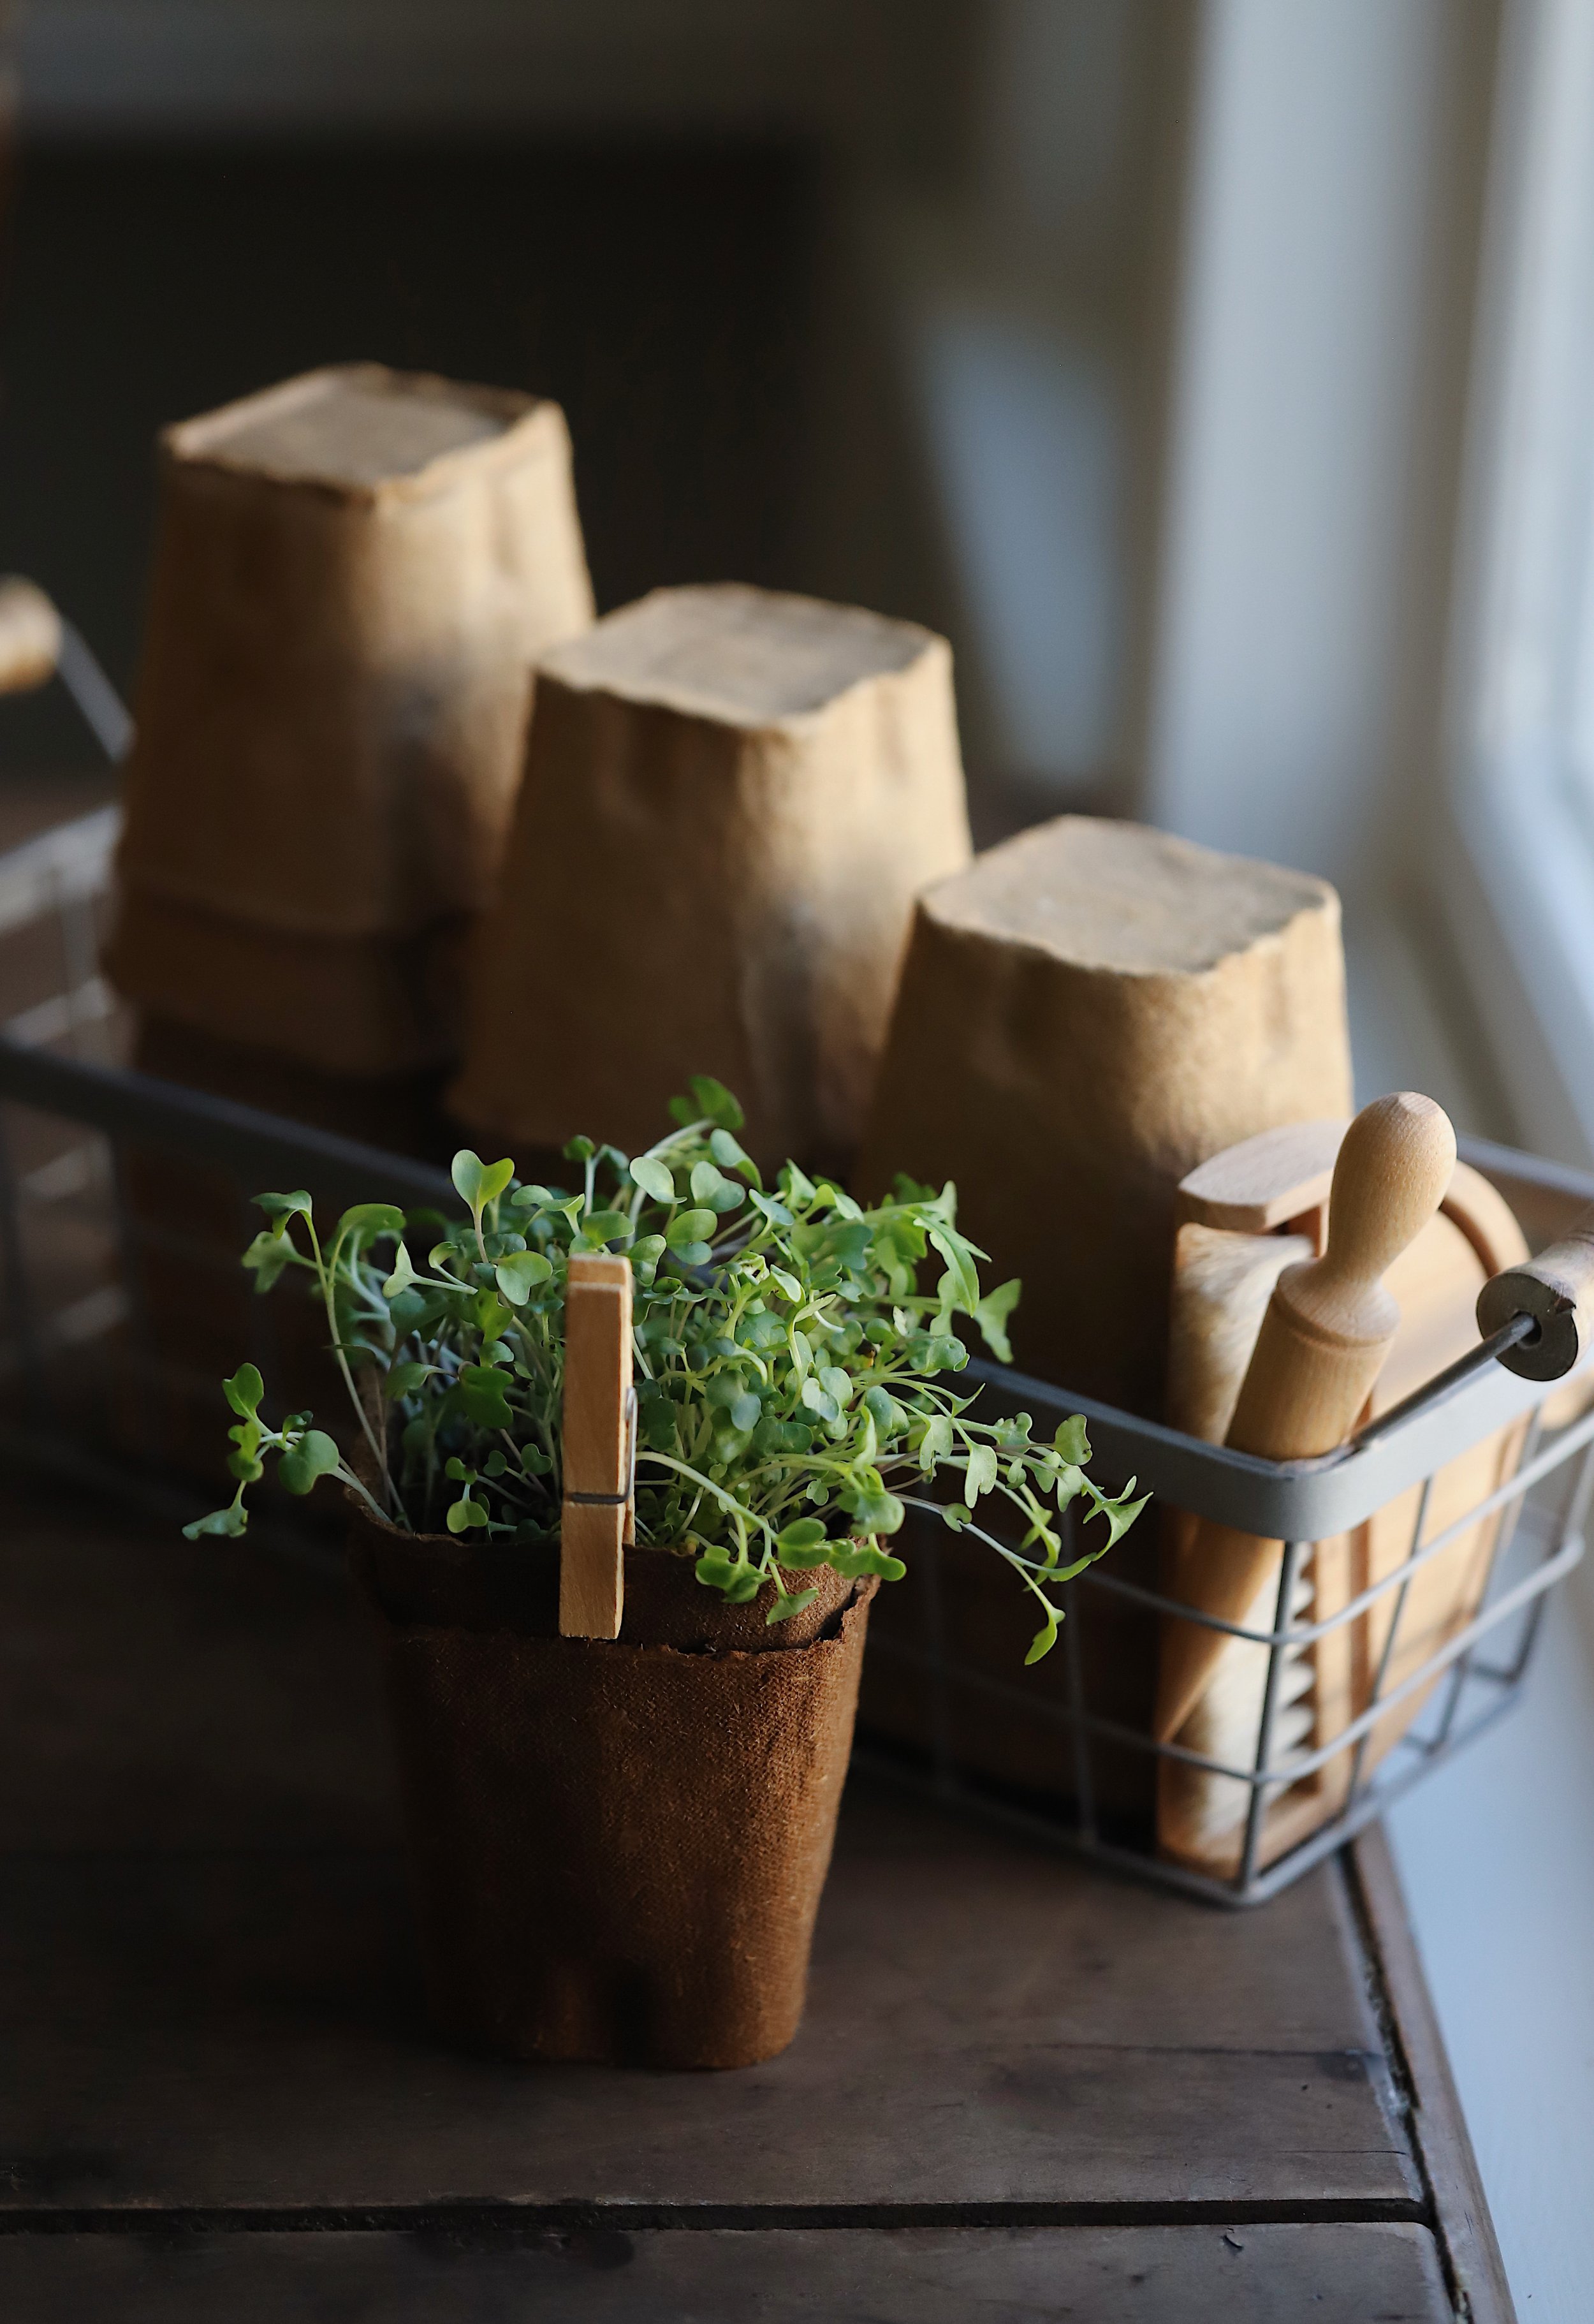
Containers.
You can start seeds in anything from seed modules to used yogurt containers, so long as there are holes in the bottom for drainage. Although I typically prefer to buy biodegradable supplies, plastic six-packs and flats are suitable choices that can be reused year after year. You can also make pots from recycled toilet paper rolls or old newspapers, either of which can be directly transplanted into the garden.
For young seedlings, I don’t recommend terra-cotta pots or compressed peat pellets, as they both dry out too quickly and risk over-stressing vulnerable plants. Also, if you are reusing containers from seasons past, it’s a good idea clean them beforehand to prevent contaminating plants with lingering fungi or diseases.
Warmth.
Seed starting happens in two different stages: 1) germination and 2) growing. Germination is the sprouting stage, when the root and leaves emerge from the seed. Light isn’t needed during this stage since it happens under the soil, but your seeds will need a warm (but not blazing hot) environment. You can buy heat mats to slip under trays or you can place them on top of a warm refrigerator. If you prefer to upcycle something you already own, a clever gardening hack is to place incandescent (not LED) outdoor Christmas rope lights under your flats to warm the soil.
Light.
Once the seeds have sprouted and their leaves have emerged, the sprouts will need a lot of light - ideally, 14 to 16 hours per day. In many climates, the late-winter and early-spring days are still quite short, so while a sunny window is always a good idea, it usually helps to add a fluorescent light, suspended just an inch or two above the tops of the plants. You’ll need to raise the lights as the seedlings grow, eventually maintaining a distance of four to six inches from the tops of the plants. If you’re interested in a grow light stand, I have this one. It’s an investment, but after five years, it has finally paid for itself. (Side note: You can often find the same model at discount websites online).
Moisture.
Keeping soil consistently moist, without overwatering plants, is key to the health of young seedlings. At this stage, you’ll want to avoid letting your soil fluctuate between the extremes of bone dry and sopping wet. Instead aim to maintain a sponge-damp consistency. I like to use a spray bottle to mist the soil from above, or I water seedlings from below by placing plants in a tray filled with one inch of water so the soil can absorb it naturally through capillary action. Don’t let pots sit in water too long—twenty to thirty minutes is usually plenty of time. Any more than that and you risk water logging the roots.
Feeding.
When a seed sprouts, the first leaves to unfold are called cotyledons. All the nutrients that are needed to sustain the plant at this stage are contained right inside the seed. But once the second set of leaves appear (“true” leaves, which have a different shape than cotyledons), you’ll need to begin feeding seedlings an organic liquid fertilizer, such as liquid kelp or fish fertilizer until you transplant them into the garden. To figure out how much to feed your plants, just follow the manufacturers suggestions.
Thinning.
Depending on your germination rates, you may have several seedlings growing in each pot. As hard as it may be, you’ll need to thin them out, removing the weakest seedlings to ensure the strongest ones have room to grow. A good rule of thumb is to leave one seedling per 3-inch pot and two seedlings for larger containers. To thin the seedlings, use a pair of scissors to cut them off at the soil line. If you have a lot of seedlings and can’t bear to compost or throw them away, toss them in a salad and enjoy the sprouts for lunch! Never pull the seedlings out of the soil, as you could damage the delicate roots of neighboring plants.
Repotting.
Some seedlings may outgrow their pots before it’s time to transplant them into the garden. These plants will need larger containers in order to continue growing at a healthy rate. If you’re not sure if a plant has outgrown its pot, observe how often it needs water and check to see if its roots have filled the containers. The thirstier it is and the more crowded the roots, the more likely the plant needs more room to grow.
Hardening off.
About a week or so before it’s time to transplant your seedlings to the garden, you’ll need to begin acclimating them to outdoor conditions. This transition period is called hardening off, and involves setting seedlings outside for increasingly long periods of time. The exposure to cooler temperatures and outdoor air prepares them for life in the garden and prevents them from languishing or dying after being transplanted.
I liken this stage to taking a child to school for the first time; you don’t just drop them off and leave them in a new environment for the entire day. Instead you scaffold the process by taking them for an hour the first day, a couple hours the second day, a few hours the third day and so on until they seem ready to be left alone in their new environment. It turns out, plants are babies too, but of course I don’t have to tell you that!
To harden off your plants, start by setting them outside in the shade for three to four hours. Then bring the plants back indoors at night. Repeat this process every day, increasing the time they spend outside by one to two hours per day, gradually exposing them to morning sun, and eventually leaving them outside overnight. After seven to ten days, your plants should be ready to move to their new home in the garden. If they wilt the first day or two, don’t worry - they’ll spring by up in no time at all, assuming they get the proper amount of sunlight and water.
I hope this was helpful! If you have specific questions, feel free to ask them in the comments below. Otherwise, happy planting!