Cloth Menstrual Pad Pattern


Historically speaking, disposable menstrual pads are a relatively new concept. For thousands of years, women have used a variety of reusable pads crafted from materials like rags, cotton, and wool. Today, with an ever-growing population of eco-conscious women, there’s a resurging interest in non-disposable menstrual products that are less costly, healthier for women’s bodies, and better for the environment.
Personally, I love the menstrual cup – it’s small, portable, easy to clean,, and simple to use )once you get the hang of it). That said, I know plenty of women who feel anxious about using one but would jump at the chance to try a reusable cloth pad. With several companies and artisanal makers selling them now, you can easily buy cloth pads online, but if you have basic sewing skills, you can also try making them yourself.
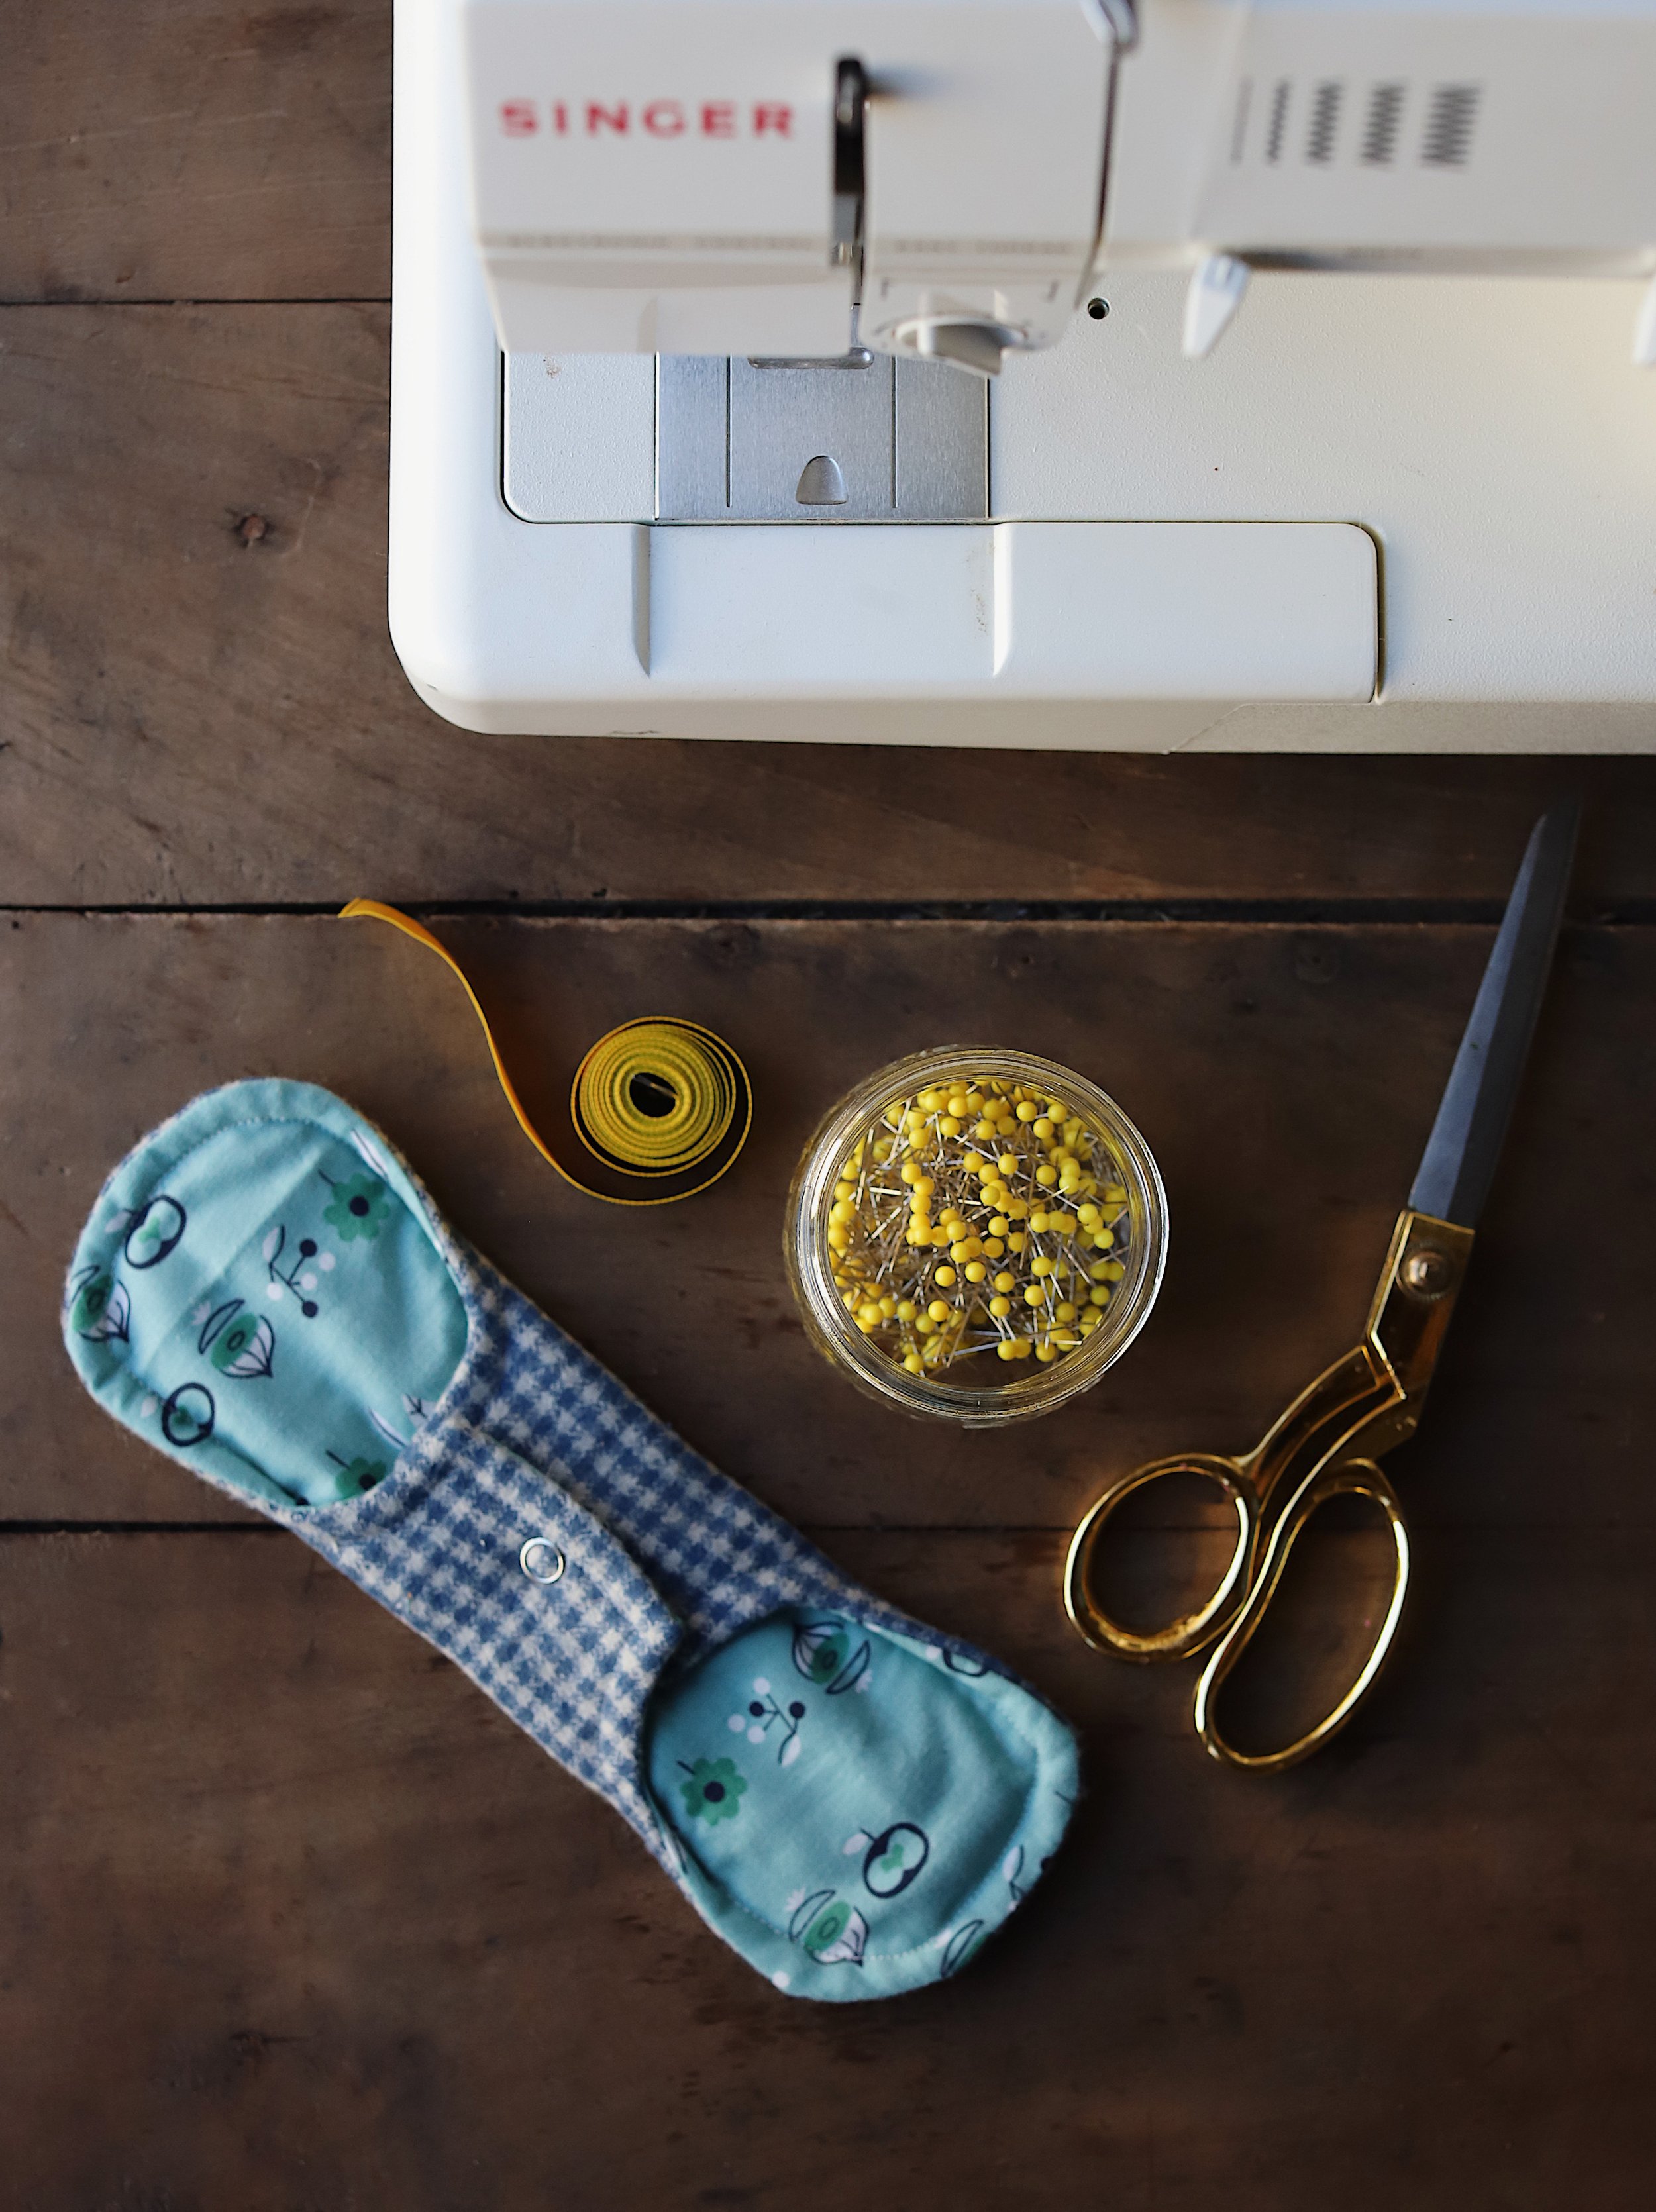
Last year, Amalia, the owner of Evanston Stitch Works, helped me craft these cute menstrual pads out of fat quarters and excess flannel scraps. As you’ll see below, you can choose from lots of different types of fabric when making them. If you’re a sewer and have scraps from former projects, this is the perfect opportunity to use them!
Pattern details
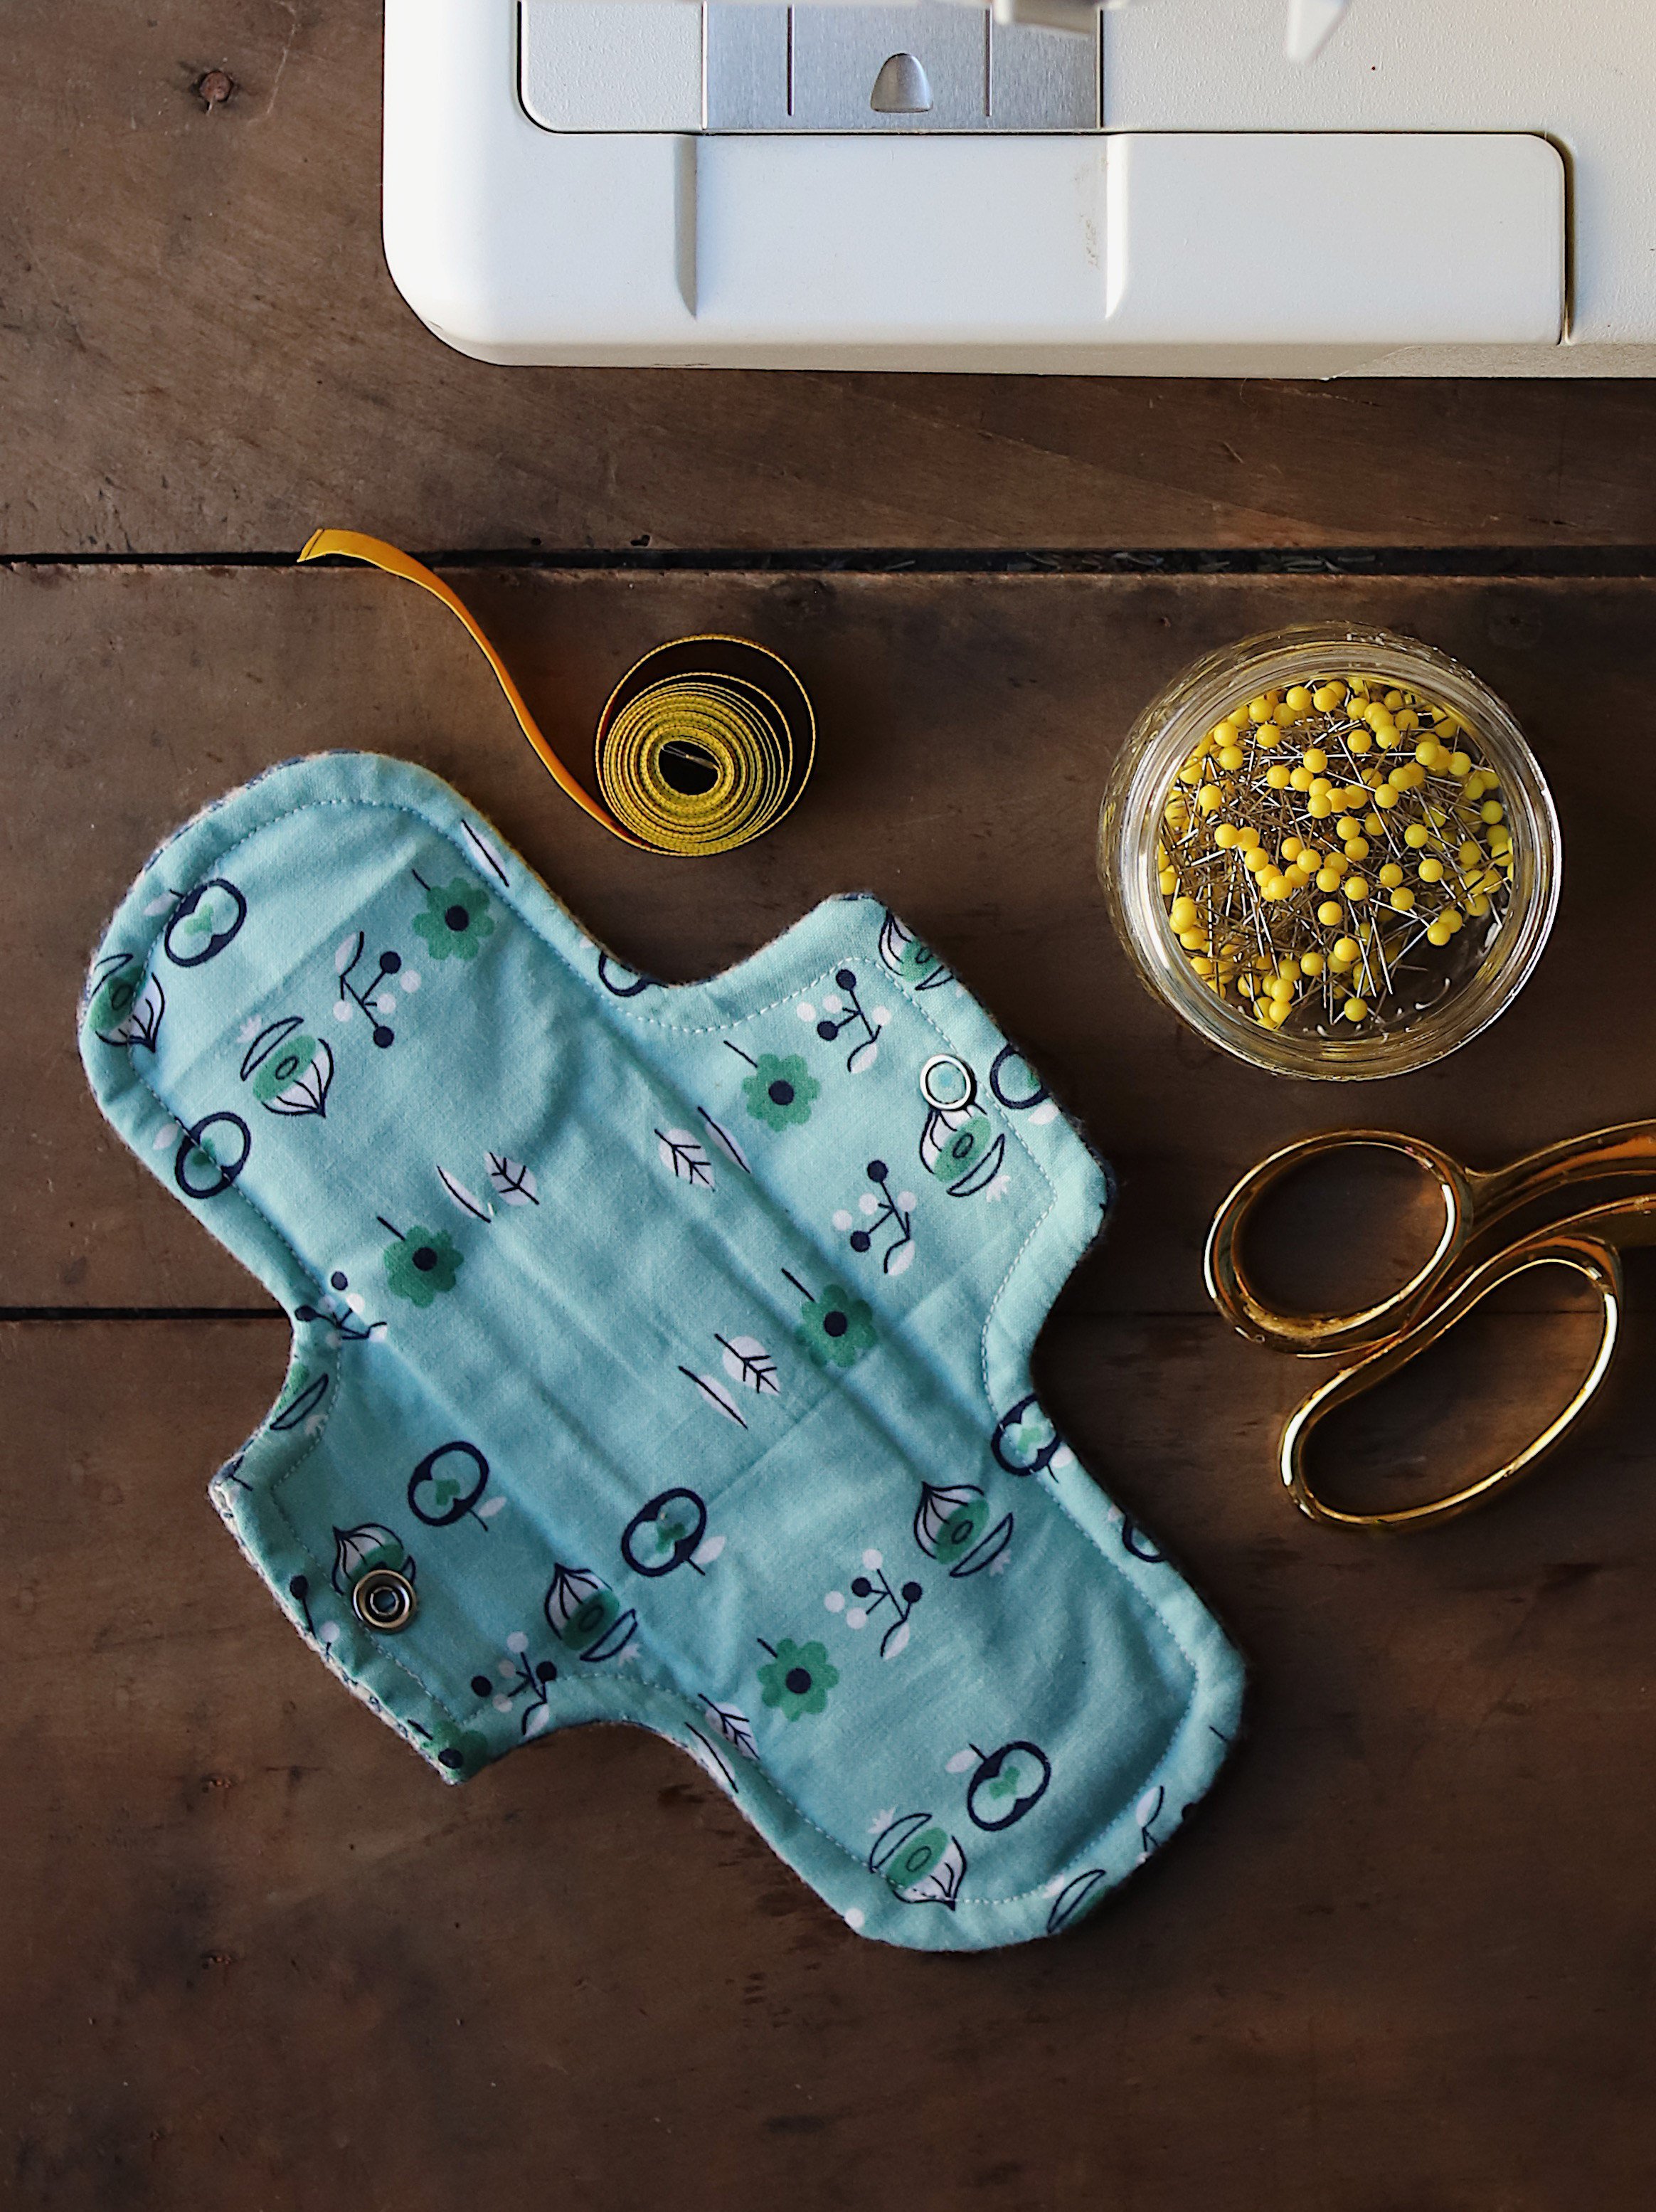
Finished pad: 9 1/2” x 7” (including wings)
Materials
Template for top and bottom layer
Template for padder inner layers
Fabric for top and bottom layer
Fabric for padded inner layer
Closures: Snaps or Velcro tabs
Scissors, thread, sewing machine, hand needle, straight pins
A note about fabric
You will need fabric for a top and bottom layer as well as several inner layers that will serve as “soaker” pads. Use what you have, keeping in mind that flat cotton, cotton flannel, cotton fleece, or cotton jersey work well for the top and bottom layers, while flannel, terry, or natural fleece work well for the inner layers. Each woman’s flow is different, so you may need to add or remove layers to create a pad that is just right for you. If using a midweight flannel layer, use three layers for light flow; four to five layers for medium flow; and six layers for heavy flow.
Directions
1. To prevent shrinking, wash, dry, and iron fabrics.
2. Prepare padded inner layers: Using the template for the padded inner layers, cut as many pieces as needed. Stack the layers neatly and pin them securely in place. Set the sewing machine to a zigzag stitch and stitch the padded layers together, staying just inside the line.
2. Prepare the top and bottom layers: Lay the top fabric on top of the bottom fabric. Trace the template for the top and bottom layer onto the fabric. Pin the fabrics securely and cut along the line. You should have a top fabric and a bottom fabric. Set the bottom fabric aside until later.
3. Sew the padded inner layers to the top layer: Lay the top layer right side down. Set the padded inner layers in the center of the top layer and pin the pieces together securely. Set the machine to straight stitch and sew about 3/8 inch in from the edge of the inner padded layers.
4. Assemble all the layers: Place the top and bottom layer fabrics right sides together, with the padded inner layer on top. Pin the layers securely together.
5. Sew the pad together: Starting on the side edge of one wing and leaving a 3/8 inch seam allowance, backstitch for five stitches, then sew around the entire pad. Stop stitching when you come to the other edge of the same wing, leaving a 1.5 inch gap for turning the fabric right side out. Make five backstitches and clip thread.
6. Trim your seam allowance to ¼ inch everywhere except the gap, or notch the positive and negative curves to keep the fabric from bunching when you turn it right side out.
7. Through the wing flap gap, turn the pad right side out. Use a chopstick, pencil or knitting needle to smooth out the seam.
8. Fold the excess fabric on the wing flap gap inwards and either hand stitch it using ladder stitch to reinforce the gap closure, or pin it and topstitch around the entire pad.
9. If you choose to topstitch, start at the beginning of the wing flap gap 1/8 inch from the edge of the pad and sew around the entire pad.
10. Apply a closure: If you have a snap, attach one half to each wing, ensuring that they overlap and snap onto one another below your underwear.
Cleaning cloth pads
Cleaning your pads is very simple. During your cycle, you can soak them until you either run out of pads and need more or when you’ve completed your cycle. Many women soak them in a clean, enamel compost bin with a lid that they keep conveniently in the bathroom. When you’re ready to wash them, you can use regular laundry soap and wash in a hot wash/cold rinse cycle.